Getting Started
Yes, you can make candles at home, and no, you don't need a studio full of equipment to do it right. Candle making comes down to five decisions and one process: choose a wax, size a wick to your vessel, add fragrance at the right temperature, pour, and cure. That's it. We take that process seriously, because we've watched it go sideways in every way imaginable, so this guide walks through each step in order, tells you what to actually buy for your first pour, and calls out the mistakes that catch nearly every beginner before they catch you.
Jump to:
- What You Need to Make a Candle
- Choosing Your Wax
- Choosing Your Wick
- Choosing Your Fragrance
- How to Make a Candle, Step by Step
- Common Beginner Problems
- Ready-Made Kits: The Shortcut
- Ready to Pour Your First Candle?
- FAQ
Candle making is also a bigger world than you might think, and honestly, we love that about it. The U.S. candle market was valued at roughly $3.68 billion in 2024 and is projected to keep growing at around a 3.9% CAGR (Source: Custom Market Insights ). Member companies of the National Candle Association alone account for roughly 80% of the candles made in the U.S. (Source: National Candle Association ). Here's why that matters to you: the supply chain behind this craft is mature. Good wax, well-tested wicks, and reliable fragrance oils are everywhere. You're not out here inventing a wheel. You're joining a community of people who have already figured out most of the hard parts.
What You Need to Make a Candle
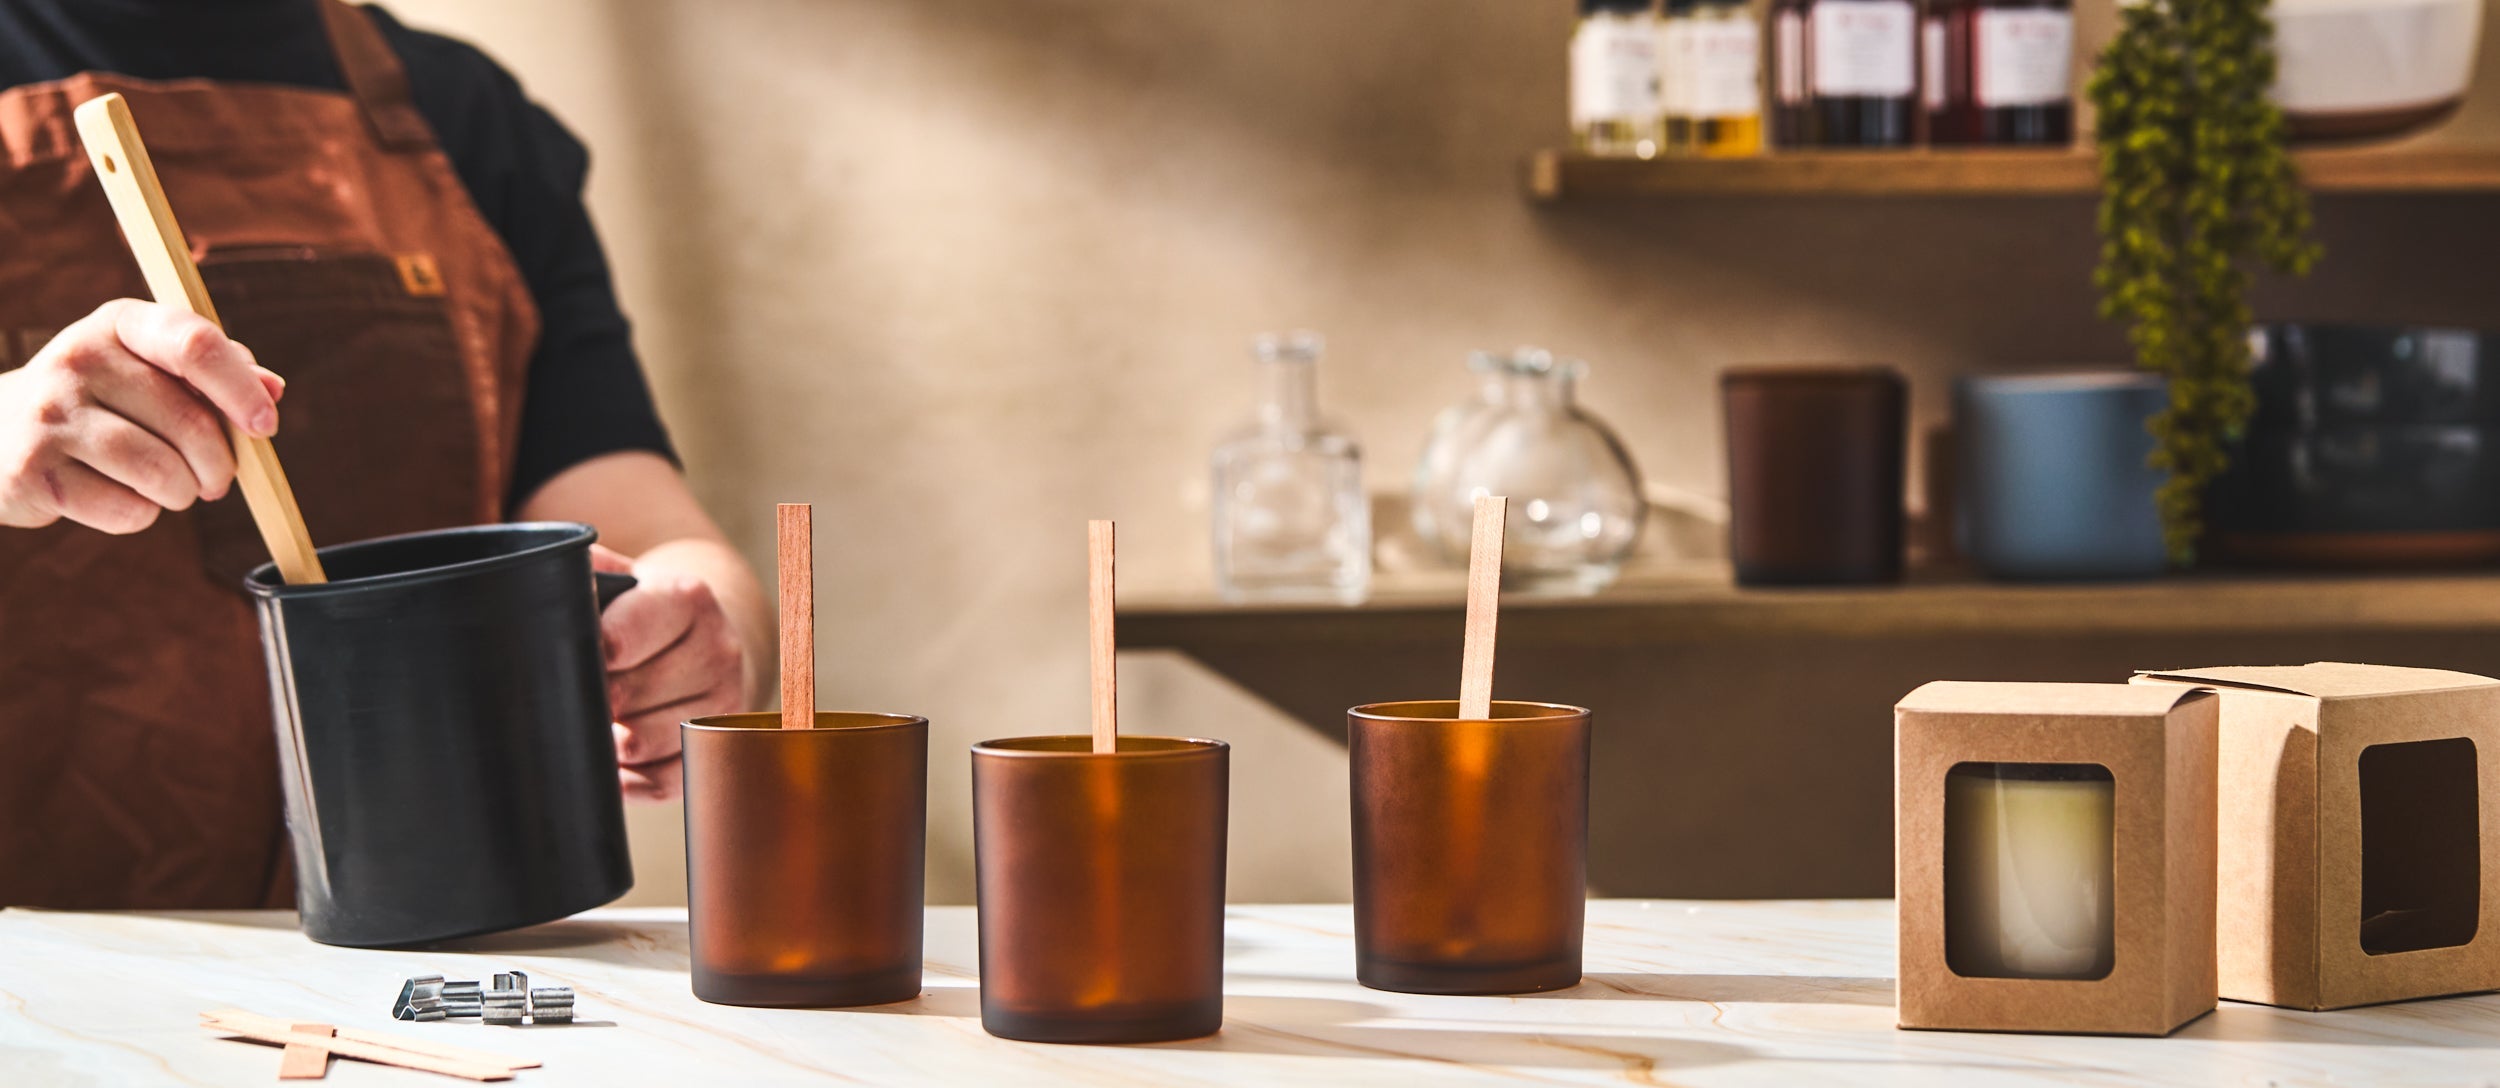
Before you melt anything, gather these seven basics. Most will outlast several batches, so this isn't a one-and-done purchase.
-
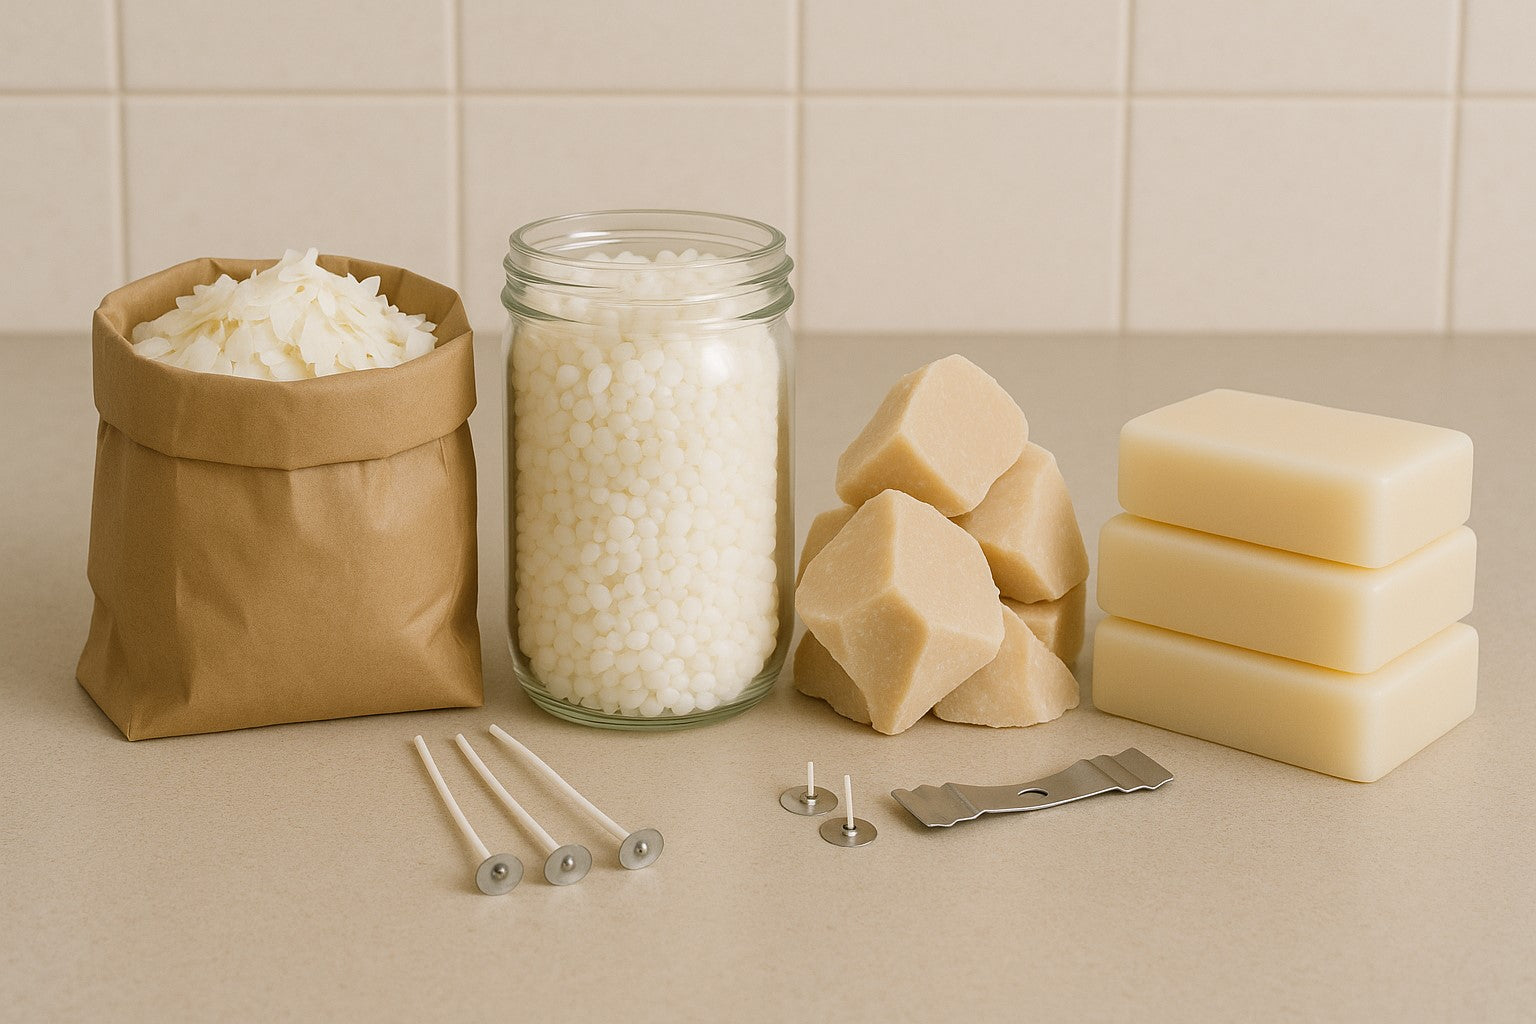
Wax. The base fuel of the candle. What type depends on your vessel and the burn you're chasing, more on that in a second.
-
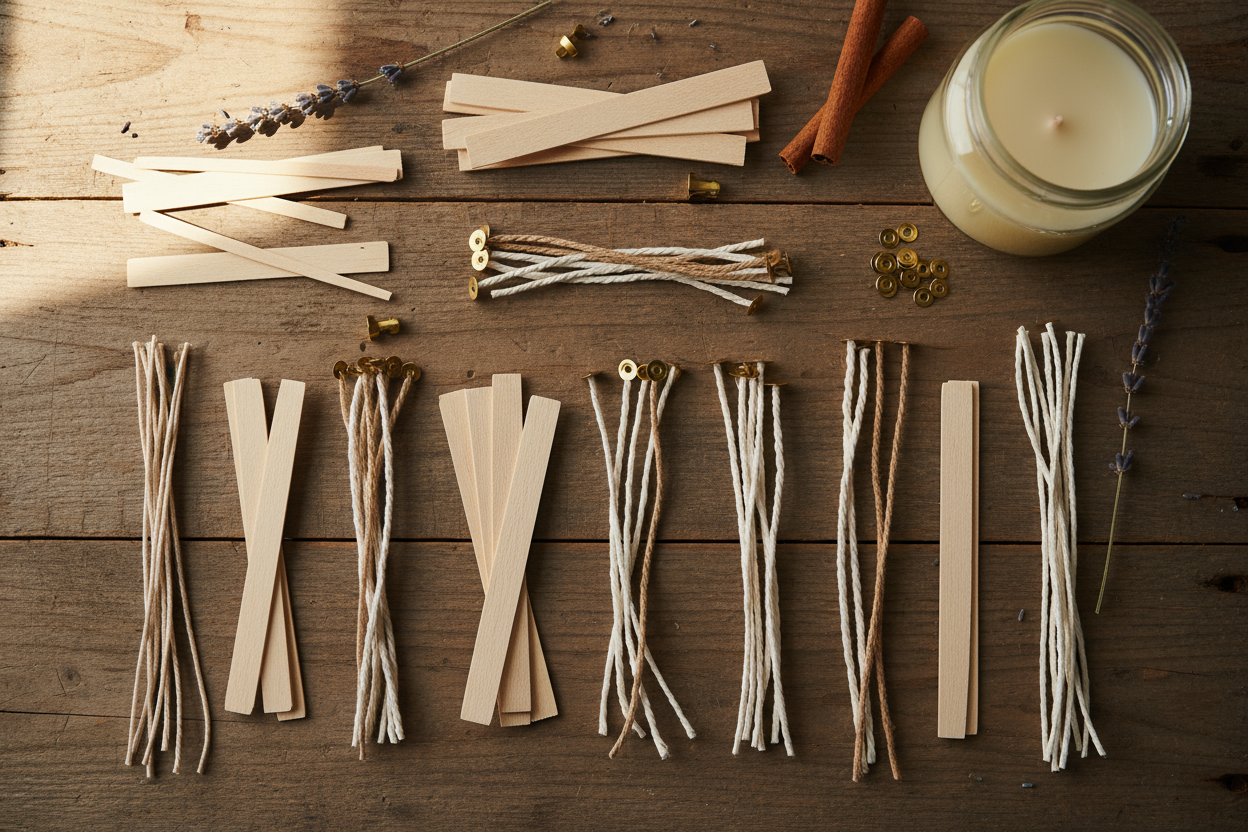
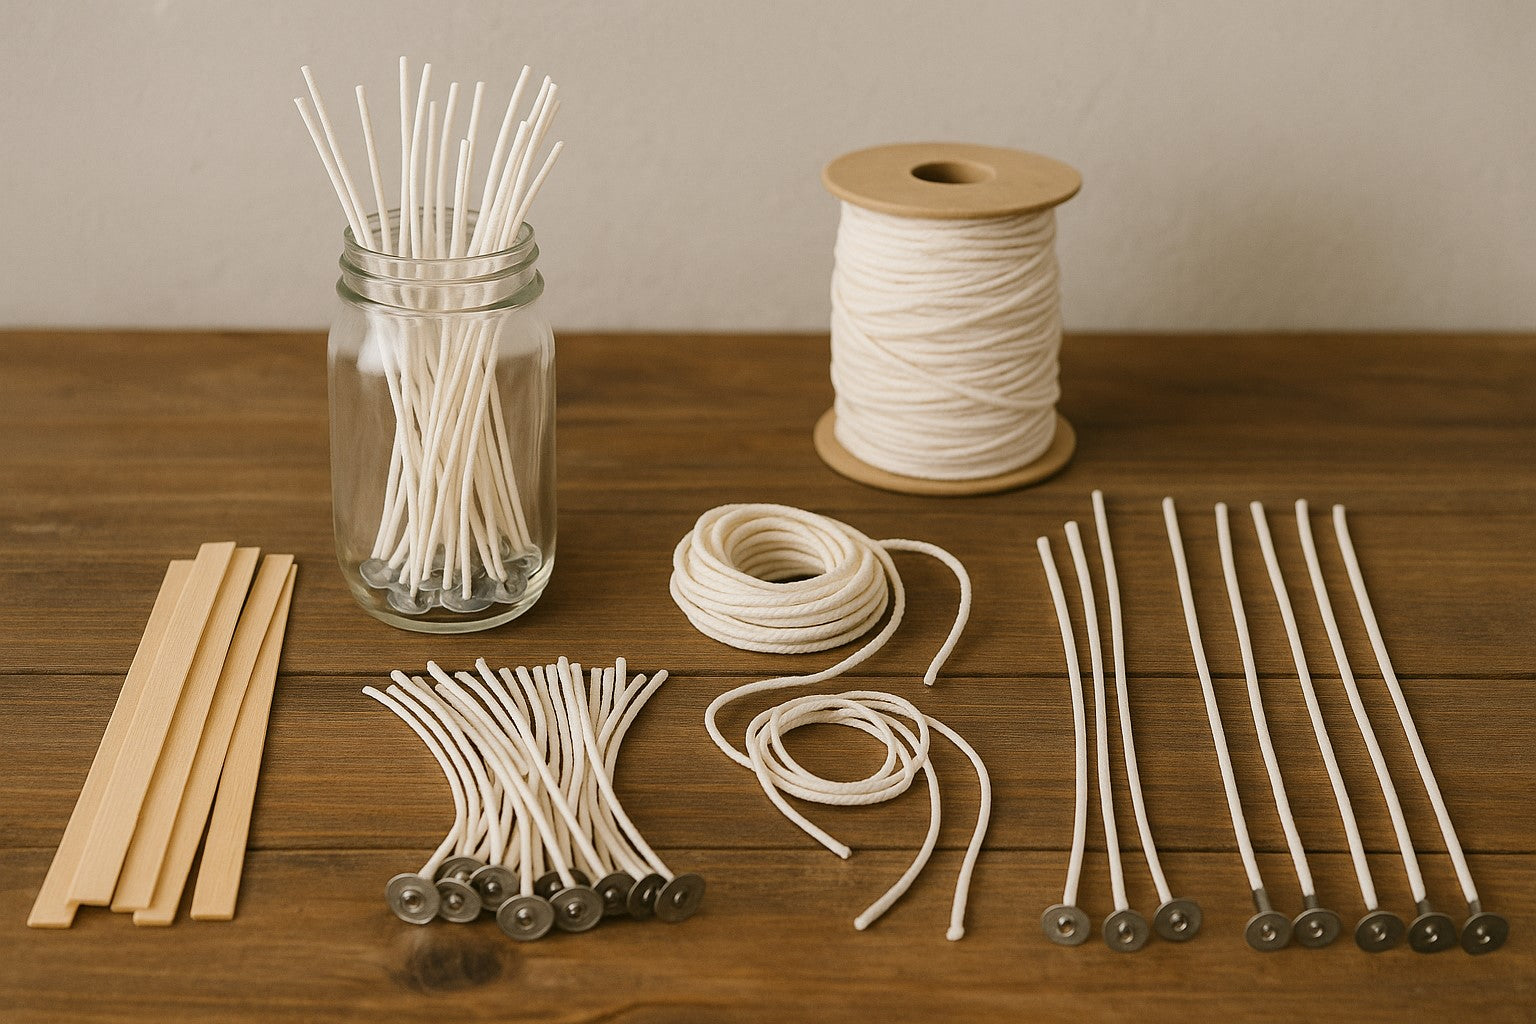
Wick. This is the whole difference between an even burn and a candle that tunnels straight down the middle. It's sized by vessel diameter and wax type, not vibes. Check the candle wick size chart before you buy.
-
Fragrance oil. For scent throw, and yes, we take scent throw personally. Add it at a specific temperature so it actually binds to the wax instead of burning right off.
-
Vessel. The jar, tin, or mold that holds the candle. Its diameter is the single biggest factor in your wick choice, so pick this first.
-
Thermometer. A candy or wax thermometer to track pour and fragrance temperatures. Guessing here is where most first candles quietly go wrong.
-
Pouring pot or double boiler. For melting wax safely and pouring clean, no wax running down the sides of your jar and hardening into a mess.
-
Scale. For measuring wax and fragrance oil by weight. Trust us, it's far more consistent than eyeballing volume.
Don't want to source these one at a time? TFC's candle making supplies category has everything above, and the candle making kits category bundles it all for you. More on that shortcut below.
Choosing Your Wax
Your wax choice shapes almost everything downstream. How the candle smells while burning, how long it lasts, how it looks once it's set, all of it traces back to this one decision. At a glance:
|
Wax type |
Best for |
Trade-off |
|
Soy |
Clean, long, even burns; container candles |
Softer scent throw than paraffin |
|
Paraffin |
Strong scent throw; pillars and votives |
Less "natural" positioning; can soot if wicked wrong |
|
Specialty (gel, palm, beeswax blends) |
Decorative or novelty projects |
Often needs different wicking and pour temps |
Soy burns clean and long. Paraffin throws scent hard. Pick based on the burn and throw you actually want, not on which one sounds trendier on a label. If you want the deep dive on each, we've written the full breakdowns: what is soy wax , what is paraffin wax , gel candles (guide coming soon), and wickless wax melts if you want scent filling a room without a flame at all.
Our honest take for a first candle? Soy wax in a glass jar. It tolerates small temperature mistakes better than paraffin, and it's the wax most beginner wick charts are built around, so you're not fighting your materials on top of learning the process.
Choosing Your Wick
Wick size comes down to two things: your vessel's diameter and the wax you're using. Not the size of the whole candle, and definitely not a guess. A wick that's too small won't melt a full pool of wax to the edges, that's tunneling, and it's a slow, wasteful way to burn a candle. A wick that's too big burns too hot, soots the glass, and mushrooms at the tip. Neither is a good look, and both are completely avoidable once you know what you're checking for.
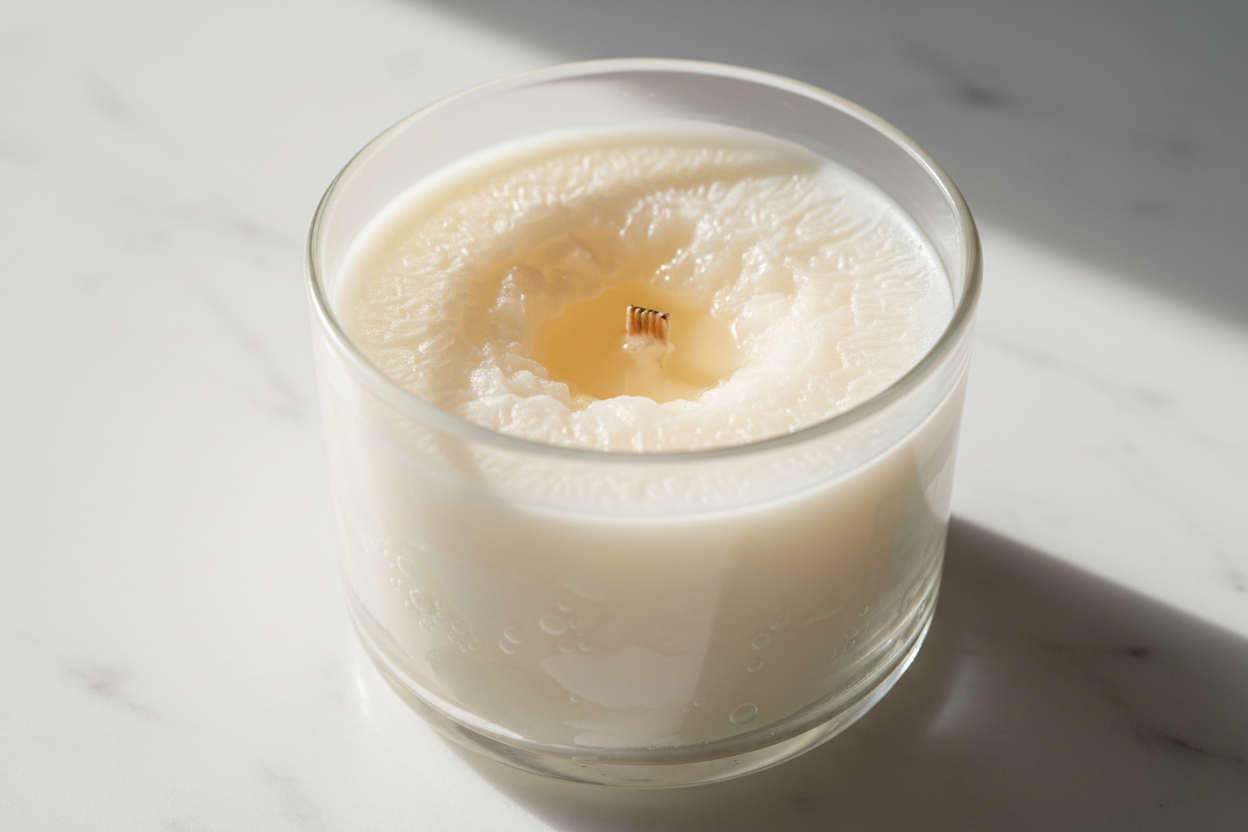
Here's the reliable way to pick one: start with a wick chart matched to your wax type and jar diameter, then test-burn a sample candle for a few hours before you commit to a full batch. You're looking for a full melt pool that reaches the edges of the jar, with a flame that stays steady and doesn't soot the glass. That melt pool is non-negotiable, full stop. If you don't get one, size up or down a step and test again. Feeling ambitious enough to cut and prime your own wicks instead of buying pre-tabbed ones? See how to make homemade candle wicks .
Choosing Your Fragrance
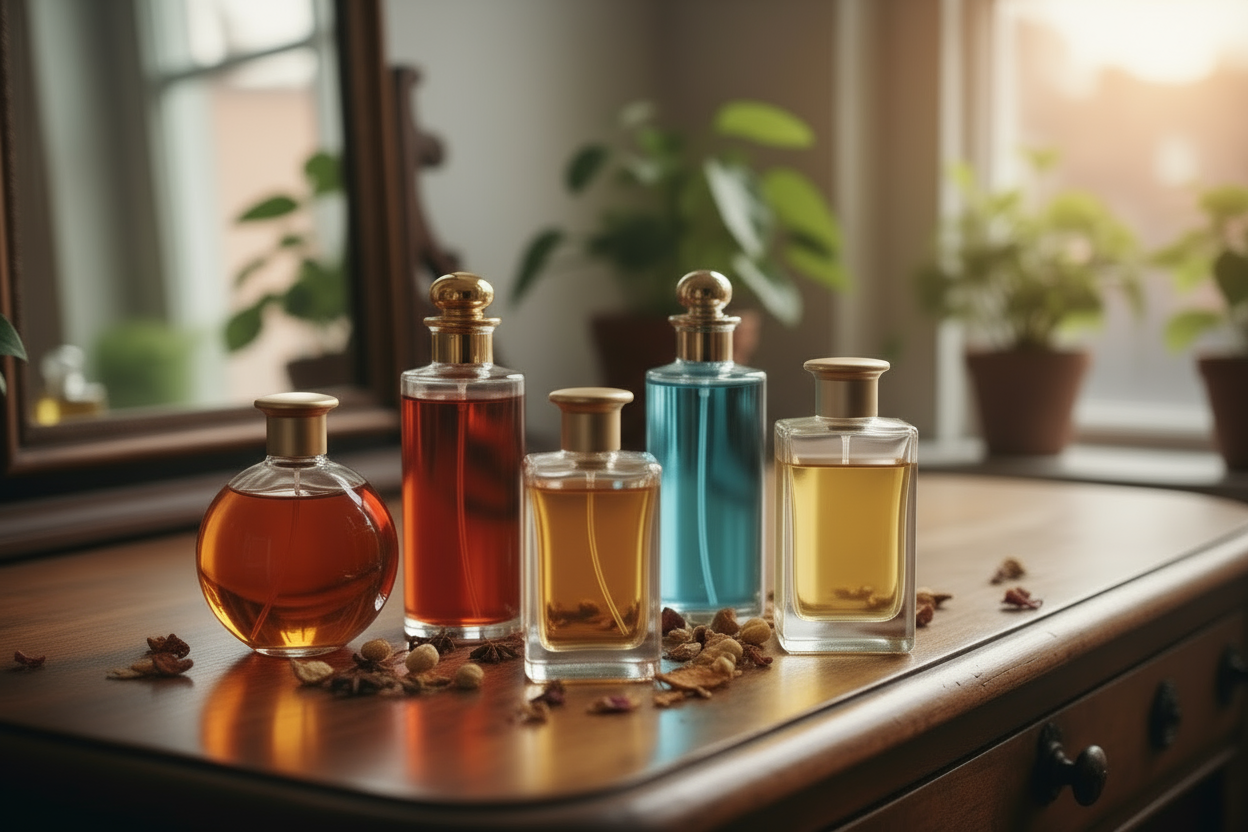
You've got two real options here. Fragrance oils are formulated specifically for candle-making, so they hold up through the heat of melting and burning without falling apart. Essential oils are more natural, sure, but they're often weaker and less stable at wax-melting temperatures, which means the scent you loved in the bottle can disappear once it's lit. For a full comparison of how each performs once a wick is lit, see fragrance oils vs. essential oils .
As a starting point, most fragrance oils are used at roughly 6 to 10% of the total wax weight, though the right load depends on the specific oil and wax you're pairing. Always check the fragrance oil's usage guidelines and your wax supplier's recommended maximum before you commit a whole batch. Adding it at the correct temperature (typically once the melted wax has cooled slightly from full melt, not while it's screaming hot) matters just as much as how much you use. Fragrance oil added too hot burns off before the candle ever sets, and that's scent you paid for going straight into the air instead of into your candle. If your finished candles smell great unlit but weak once burning, that's a scent-throw problem, and how to get a strong candle scent throw covers the fixes.
How to Make a Candle, Step by Step
Here's the condensed version of the whole process, maker to maker. Each step links out to a deeper guide if you want to troubleshoot further once you're actually standing over the pot.
-
Melt your wax in a pouring pot or double boiler, tracking temperature with a thermometer. Most soy blends reach full melt around 185°F, but check your specific wax's spec sheet since blends vary. Don't walk away from it.
-
Add fragrance oil at the right temperature. For most soy waxes, that's once the melt has cooled slightly to somewhere in the 165–185°F range, not straight off full melt. Stir for a full minute or two so it's evenly distributed, not pooled at the top waiting to ruin your burn.
-
Wick the vessel before pouring. Center a properly sized wick (see the wick chart ) and secure it so it stays put as the wax sets, not drifting to one side.
-
Pour the wax into the vessel once it's cooled to your wax's recommended pour temperature, typically around 130–145°F for soy. Pour too hot and you risk frosting or sinking as it sets; pour too cool and you get poor adhesion and a rough top. Pour slowly and steadily, keeping the wick centered, then set the container somewhere free of drafts to cool undisturbed.
-
Cure the finished candle. Most soy candles need about 1 to 2 weeks of curing before their first burn, so the fragrance fully binds to the wax and the scent throw hits its full strength. Yes, waiting two weeks is the hardest part.
That's the full pour, start to finish. The details that separate a good candle from one worth cart after cart of repeat orders live in the wax-and-wick pairing and those two temperature checkpoints. Get those right, and the rest really is just patience.
Common Beginner Problems
Almost every first-time candle maker runs into one of these, so if you do too, welcome to the club. None of them mean you've done something unfixable. They're usually a wick, temperature, or curing issue, and all of them respond to a small adjustment on your next batch.
-
Tunneling. The candle burns straight down the middle instead of melting to the edges, usually from an undersized wick or not letting the first burn run long enough. Full fix: how to fix candle tunneling .
-
Soot. Black residue on the jar or lid, typically from an oversized wick, a draft, or a wick left untrimmed too long. Full fix: how to remove and prevent candle soot .
-
Mushrooming. A bulbous buildup at the tip of the wick, usually tied to wick size or fragrance oil load. Full fix: why do candle wicks mushroom .
-
Weak scent throw. The candle smells faint or not at all while burning, even if it smells strong unlit. We take this one personally, so we've written the whole fix. Full fix: how to get a strong candle scent throw .
-
Flame too high or too small. A signal your wick doesn't match your wax or vessel. Full fix: candle flame too high or too small .
Hit one of these on your first pour? Don't scrap the hobby over it. Every maker on our team has a first candle they'd rather not talk about. It's almost always one variable (wick size, pour temp, or fragrance load), and an easy fix on the next batch.
Ready-Made Kits: The Shortcut
Rather skip sourcing wax, wicks, fragrance, and a vessel separately? Fair. A beginner kit bundles pre-measured, pre-matched supplies, so your first pour has one less variable to get wrong, and you get straight to the part you actually signed up for. See best candle making kits for beginners for a breakdown of what's included and which kit fits which project.
Ready to Pour Your First Candle?
You now have the full path: wax, wick, fragrance, vessel, pour, cure. From here, the fastest way to a great first candle is to shop candle making supplies directly, or grab a beginner candle making kit so everything is matched and ready to go. Drop everything and pour. Your first melt pool is waiting.
FAQ
Is candle making hard for beginners?
No. The core process (melt, add fragrance, wick, pour, cure) is straightforward and doesn't require special skills. Most early mistakes trace back to wick size or fragrance temperature, and both are easy to correct once you know what to look for.
What wax is best for beginners?
Soy wax is the most forgiving starting point. It burns clean and even, tolerates minor temperature slip-ups better than paraffin, and most beginner wick charts are built around it, which makes sizing more predictable.
How much fragrance oil do I add?
Most fragrance oils are used at roughly 6 to 10% of the total wax weight, but the right amount depends on the specific oil and wax combination. Always check the fragrance oil's usage guidelines and your wax's recommended maximum before pouring.
How long do candles need to cure?
Most soy candles need about 1 to 2 weeks of curing before their first burn. Curing lets the fragrance oil fully bind to the wax, which is what gives you the full scent throw once it's lit.
What supplies do I need to start?
Seven basics: wax, a wick sized to your vessel, fragrance oil, a vessel, a thermometer, a pouring pot or double boiler, and a scale. A beginner kit bundles all of these pre-matched if you'd rather not source them individually.