How to Fix Candle Tunneling
Candle tunneling is what happens when your candle burns straight down the center, leaving a hard wax wall on the sides instead of a clean, even melt pool. It's the most common complaint we hear from burners and makers alike, and the fix is more straightforward than you think. Sizing the wick correctly from the start, straight from the fundamentals we cover in our candle making guide, keeps you from tunneling again after you fix it once.
What Causes Tunneling
A tunnel starts with one of two mistakes, and most tunneling candles have both.
The first is a wick that's too small for the vessel. A wick's job is to pull up enough melted wax to hold a flame that can heat the entire surface, edge to edge. Undersize it, and the flame stays small, the heat stays centered, and the wax at the rim never fully liquefies. Every burn after that eats further down the same narrow column.
The second is a short first burn. Wax remembers. Whatever diameter melt pool you reach on that first burn becomes the ceiling for every burn after it, a phenomenon candle makers call wax memory. Blow the candle out at twenty minutes with only the center melted, and you've set a memory ring that caps every future burn at that same narrow width, no matter how long you let it run from here on.
Tunneling comes from an undersized wick or a too-short first burn that sets a memory ring. Get the wick size right and the first burn full, and tunneling mostly fixes itself.
Wick size isn't a guess. Check the wick size chart against your vessel diameter and wax type before you pour, and cross-reference the wick manufacturer's own spec sheet, since sizing shifts by wax blend and fragrance load.
How to Fix a Tunneling Candle
If you're staring down a tunnel right now, you don't need a new candle. You need foil.
-
Wrap a sheet of aluminum foil over the top of the candle, tenting it slightly, and poke a hole in the center about the width of the flame.
-
Light the candle and let it burn like this for one to two hours, checking every thirty minutes, until the melt pool reaches the glass on all sides. The foil traps heat and pushes it outward toward the hardened wax at the rim instead of straight up the wick.
-
Pull the foil, let the candle finish burning normally, and the tunnel is gone.
Wrap-and-re-melt fixes it once, maybe twice. If the tunnel keeps coming back burn after burn, the problem has stopped being the candle's and started being the wick's. That's your sign to re-wick. Pull the old wick, check it against the wick size chart for your actual vessel diameter and wax type, and go one size up if the current wick sits at or below the recommended minimum.
How to Prevent Tunneling
Prevention always beats the foil trick above.
Burn to a full melt pool on the first burn and use a wick sized to the vessel, and tunneling mostly stops before it starts. Rule of thumb: about one hour of burn time for every inch of container diameter, so a 3-inch vessel wants roughly three hours before that first extinguish. Treat that as a starting range and confirm it against the wax and wick manufacturer's own spec sheet, since blend and fragrance load shift the number. Stop only once the melt pool reaches glass on every side, not just the center. That first burn sets the ceiling for every burn after it, so it earns the wait.
Wick size does the rest of the work. Undersized wicks tunnel, and oversized wicks run the opposite problem. A flame too small and a flame running too tall can both be signs the sizing is off. Get the wick size chart, match it to your vessel and wax, and one decision fixes both directions at once.
A wick sized right for the vessel also throws scent the way it's supposed to. Scent throw depends on a full, hot melt pool doing its job, the same melt pool that keeps you tunnel-free. And if candle soot starts showing up on the glass, that's usually a wick riding too large, a separate fix worth chasing on its own.
Curing matters too. Give fragranced wax its full cure time on the label before that first burn. Wax that hasn't finished curing burns less predictably, melt pools included.
FAQ
Why is my candle tunneling?
Your candle is tunneling because the wick is too small for the vessel, the first burn was too short, or both. A weak flame can't push heat out to the glass, and a short first burn locks in a narrow memory ring. Both mistakes cap every burn after them at that same center column.
How do you fix a tunneling candle?
Wrap foil loosely over the top, poke a center hole about the width of the flame, and burn for one to two hours until the melt pool reaches the glass. This redirects heat outward and re-melts the hardened rim. If tunneling returns after repeated fixes, re-wick one size up from the wick chart.
What is a candle memory ring?
A memory ring is the wax edge left behind by a burn that never reached the glass. Candle wax holds that shape. Every burn after it can only melt back out to that same ring, never past it, which is why one short first burn causes tunneling for the rest of the candle's life.
How long should the first burn be?
Long enough for the melt pool to reach the glass on every side, roughly one hour per inch of container diameter as a starting range. Confirm against your specific wax and wick manufacturer's spec sheet, since fragrance load and wax blend shift the exact number burn to burn.
Wick It Right the First Time
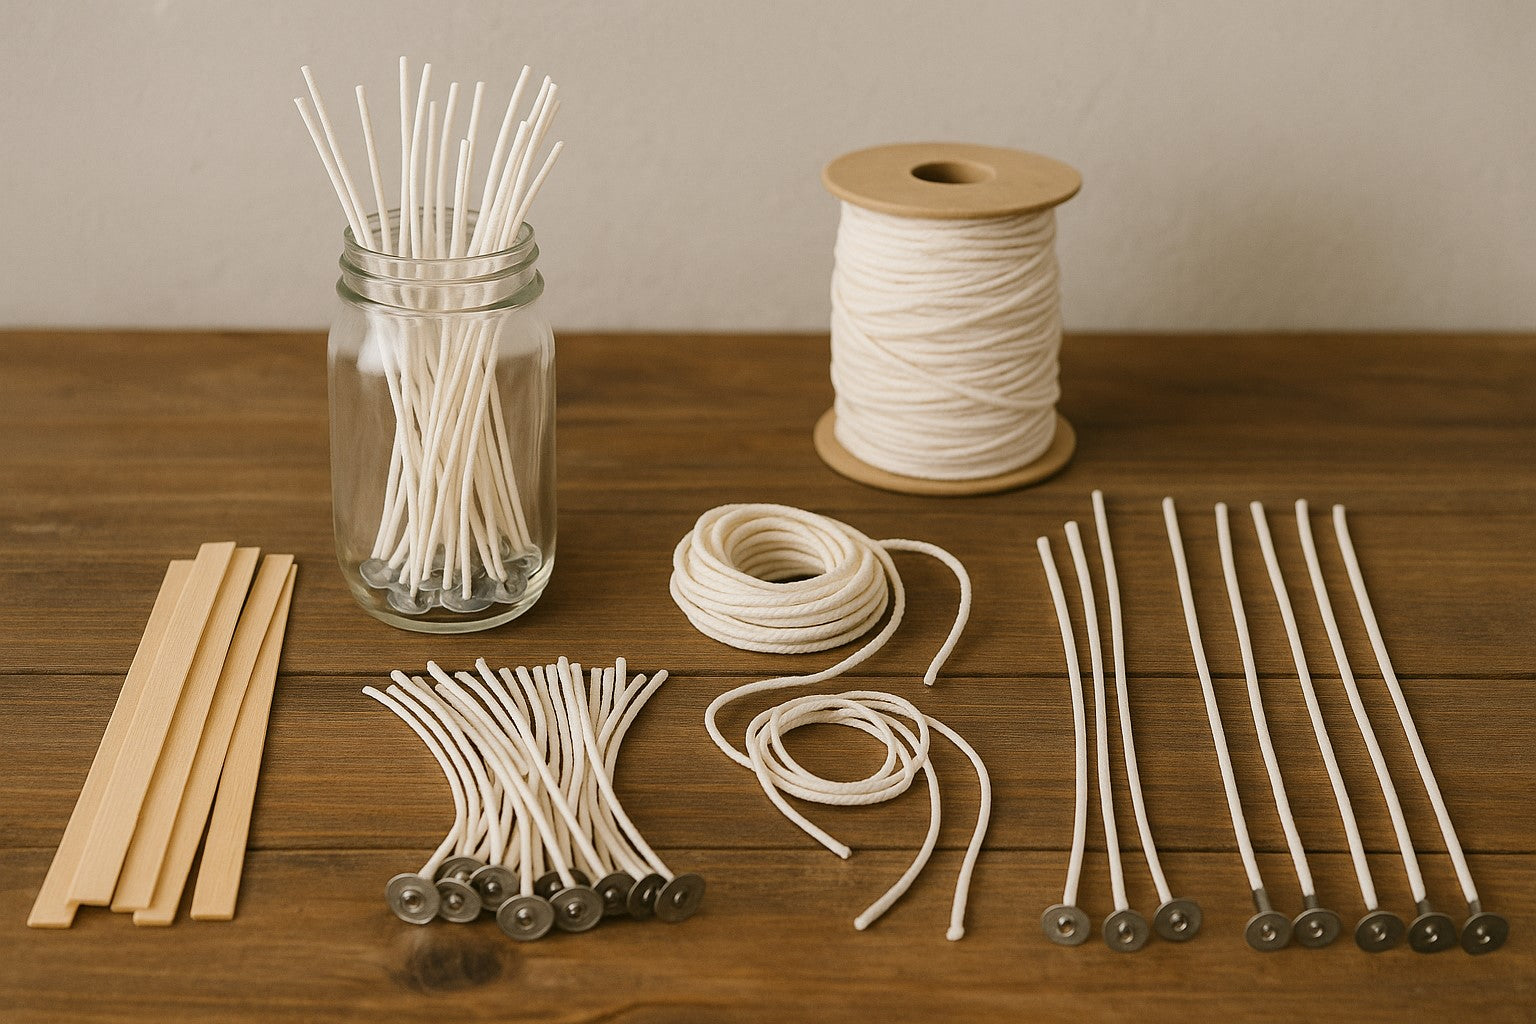
Pull the wick size chart , match it to your vessel and wax, and grab a wick sample pack to test sizes before you commit a full batch to one wick. Tunneling is a sizing problem, not a flaw in the wax. Solve the sizing once and you're done reaching for foil.
Shop wicks sized right for your next pour.