Articles

Article
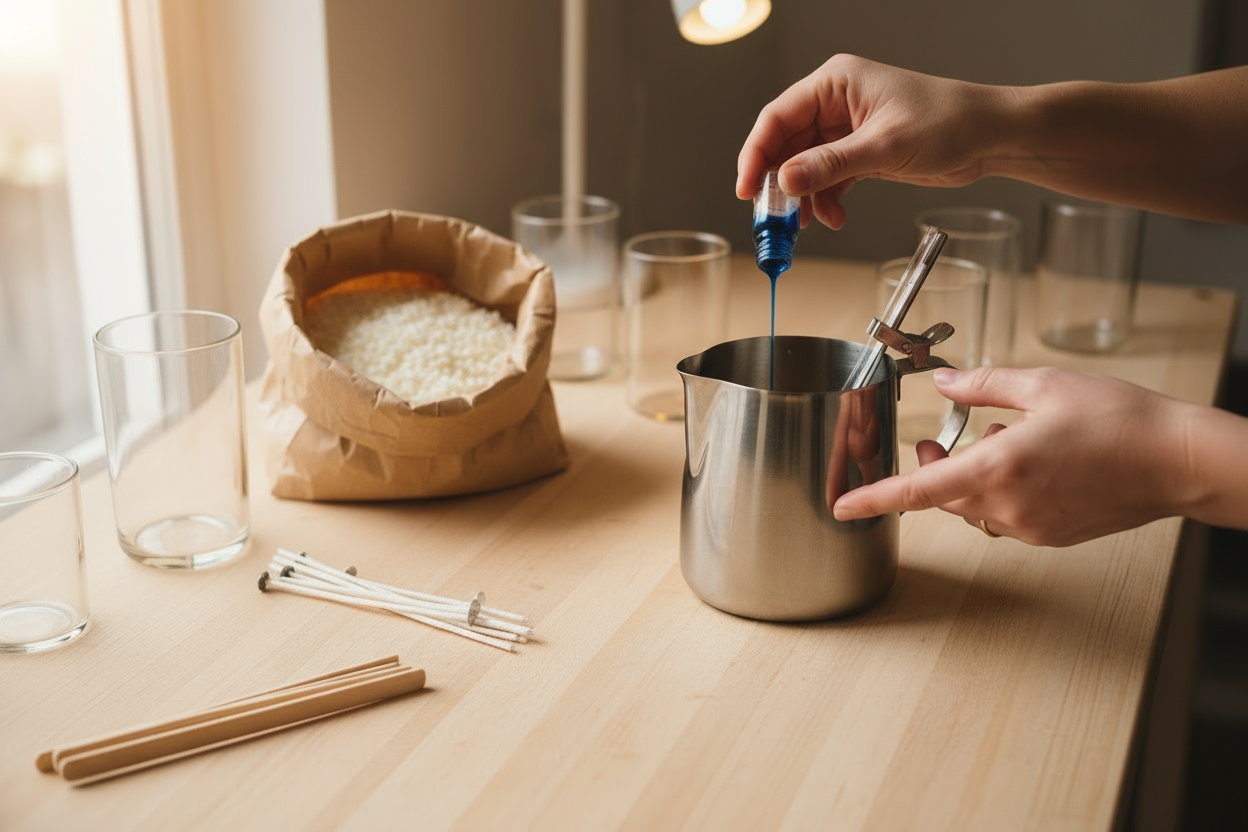
Why Your Candle Isn’t Throwing Scent & How to Fix It
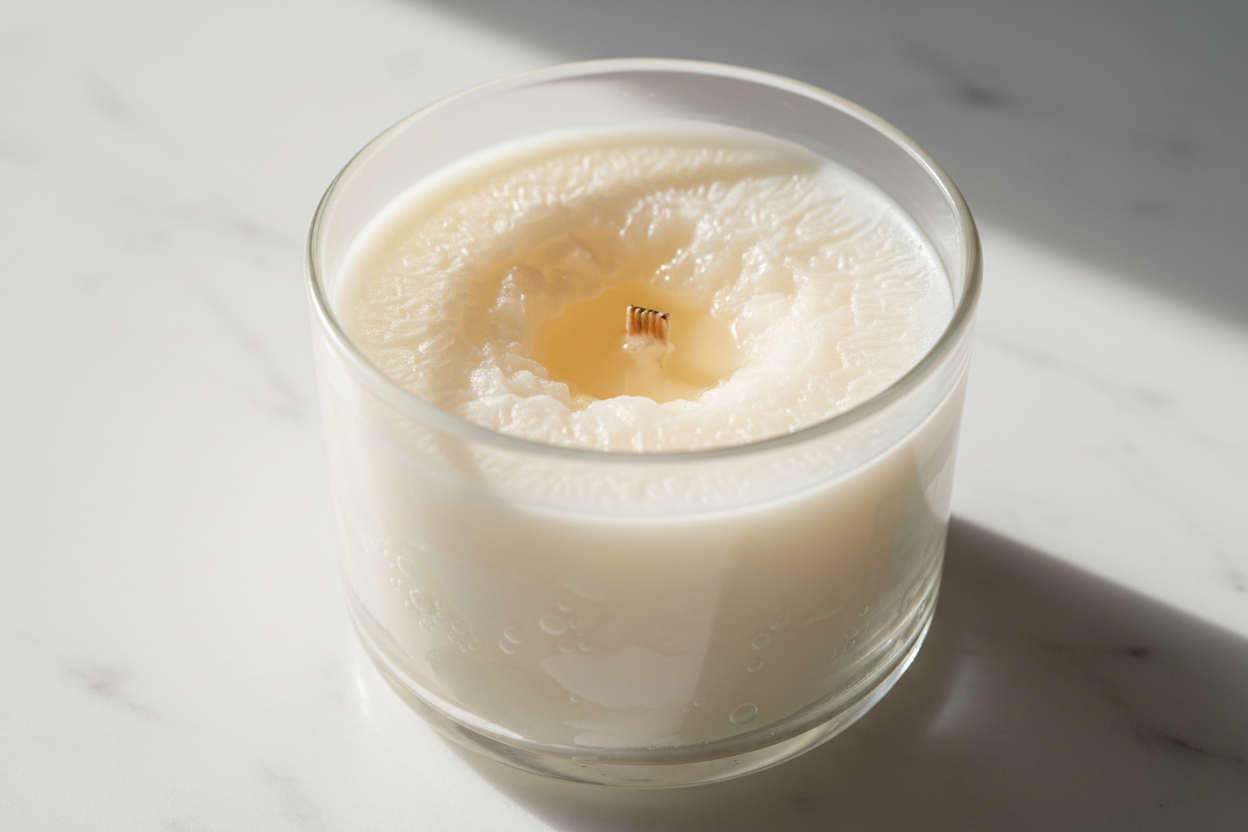
Nothing’s more frustrating than a candle that smells amazing in the jar but barely gives off any aroma when you light it. A strong cold throw doesn’t always mean a strong hot throw, and if your candles aren’t performing, a few key factors are likely to blame. From wax and wick issues to fragrance compatibility, getting a candle to smell great while burning is part art, part science—but it’s definitely fixable.
Why Your Candle Has a Weak Scent (Even If It Smells Strong in the Jar)
If your candle smells great in the jar but disappears once it’s lit, you’re not alone. This is one of the most common challenges in candle making. A strong cold throw doesn’t guarantee strong performance during a burn.
The issue often comes down to how well your fragrance oil bonds with the wax. If your wax can’t hold the oil—or if you added it at the wrong temperature—the scent won’t release properly. Wick size also plays a role. Too small, and the wax won’t melt evenly. Too large, and it could burn too hot and destroy the fragrance.
How to Make Candles Smell Stronger While Burning
To get a better hot throw, start with your wax. Use a wax that’s known for strong scent performance, like a soy-paraffin blend or a high-performance soy wax.
Fragrance load matters too. Every wax has a max it can handle—typically around 8–10%—and going over won’t help. In fact, it can make things worse. Always heat your wax to the recommended temperature for adding fragrance (check your supplier’s guidelines), and stir slowly but thoroughly to distribute the oil evenly.
Let your candles cure. Most soy or blended waxes need at least a week to fully develop their scent. Skipping cure time is one of the easiest ways to undercut your throw.
Common Candle-Making Mistakes That Kill Scent Throw
Even small errors can hurt your candle’s performance. Here are a few to watch for:
Adding fragrance at the wrong temperature
Not mixing long enough or evenly
Using expired or incompatible fragrance oils
Exceeding the wax’s fragrance load
Picking the wrong wick size
More isn’t always better. Too much fragrance oil can cause sweating or clog the wick, leading to uneven burns or weak scent. And always test your fragrance and wax combo before scaling up a batch.
Choosing the Right Wax and Fragrance Oils for a High-Quality Throw
Some oils perform best in paraffin. Others were designed for soy or coconut blends. Matching your fragrance oil with a wax that supports it is key. A wax with a high scent throw capacity paired with a fragrance tested for performance in that wax is the sweet spot.
Stick to tested, candle-safe fragrance oils—those with good reviews for both cold and hot throws. High-quality raw materials tend to yield stronger, more consistent results.
Scent Throw FAQs: Cold vs. Hot, Fixes, and Testing Tips
Why isn’t my scented candle throwing a scent when burning?
Poor hot throw is usually due to low-quality oil, incompatible wax, wrong wick sizing, or improper cure time.
What happens if I add too much fragrance oil?
You can overwhelm the wax, causing oil to seep out or interfere with the burn. It may also create a fire risk. Stick to the recommended load (usually 6–10%).
How can I make a candle smell stronger without switching fragrance oils?
Try upping the fragrance load within safe limits, improving your wick-to-jar match, or switching to a wax known for better throw.
How long should I cure my candles?
Most soy and blended waxes cure best in 7–14 days. Paraffin needs less time, but testing is always key.
Does wick size affect scent throw?
Definitely. The wick controls the melt pool. If it’s too small, the wax won't melt fully and the scent stays trapped. Too large, and the wax may burn too quickly or too hot.
Disclaimer: The Flaming Candle is not responsible for the performance of any recipes or advice provided. Always conduct your own testing and research for safety and performance. For candles intended for sale, follow all applicable labeling guidelines and IFRA standards for fragrance usage.
Article
Top 10 Common Candle Making Problems
Even seasoned candle makers run into frustrating issues now and then—uneven burns, poor scent throw, and wax that just won’t cooperate. If you’ve been troubleshooting your way through test batches, you’re not alone. These are 10 of the most common problems that come up during the candle making process, plus what to check, tweak, or fix to get better results.
Uneven Burns, Tunneling, and the Elusive Full Melt Pool
1. Tunneling that wastes waxIf your candle only burns down the center, leaving wax stuck to the sides, your wick may be too small or your burn sessions too short. A good melt pool should reach the edges within 2–3 hours.
2. Uneven surface after burningWicks that lean, burn too hot, or flicker excessively can cause lopsided melt pools. Check wick size, placement, and whether the container is on a level surface.
Quick fix: Use a properly sized wick for your container and wax type. Let the candle burn long enough the first time to set the memory burn.
Wick Woes: Crackling Sounds, Shifting Wicks, and Burn Troubles
3. Wick moving off-center or detachingIf your wick floats, leans, or shifts during pouring, it likely wasn’t secured well. Wick tabs or hot glue can help hold it in place.
4. Unstable or noisy flameA crackling or dancing flame may mean the wick is too large, or there’s too much fragrance oil. It can also point to air bubbles or poor wax adhesion.
Troubleshooting tip: Stick your wick down firmly and use a wick bar to keep it centered. Trim it to ¼ inch for a clean, steady burn.
Wax Issues: Wet Spots, Air Bubbles, and Frosting Frustrations
5. Wet spots on the containerThese small air gaps between wax and glass aren’t dangerous, but they can be unsightly. They often come from temperature fluctuations during cooling.
6. Frosting or bumpy topsEspecially common in soy wax, frosting appears as white, crystalline patches. It doesn’t affect performance but can be minimized with temperature control and additives.
What helps: Pour wax slowly at the right temperature, avoid cold containers, and let the candle cool gradually at room temperature.
Scent Throw Struggles and Curing Time Confusion
7. Weak hot or cold throwIf your candle smells great in the bottle but fades when burned, the issue may be poor fragrance binding, incorrect fragrance load, or inadequate cure time.
8. Fragrance oil added at the wrong tempAdding scent when wax is too hot can cause it to evaporate. Too cold, and it won’t bind properly with the wax.
Boost scent performance by:
Using the recommended fragrance load for your wax
Adding FO at the optimal temp (check the product page for guidance)
Curing for at least 3–7 days in a stable environment
Candle Shelf Life and Storage FAQs
9. Discoloration and scent fading over timeExposure to sunlight, heat, or moisture can affect both the appearance and scent of your finished candles. Natural waxes are especially sensitive to UV.
10. Wicks that don't light after long-term storageIf candles are stored improperly, wicks can absorb moisture or oils, making them hard to light or causing them to sputter.
Storage solutions:Keep finished candles in a cool, dry place away from direct sunlight. Use dust covers or lids to protect the surface and prevent scent loss.
A better burn starts with better habits. Whether you're troubleshooting your first candle or fine-tuning your holiday batch, knowing these common missteps helps you make more consistent, high-quality candles. And remember—always test, take notes, and give your creations time to cure.
Disclaimer: The Flaming Candle is not responsible for the performance of any recipes or techniques mentioned above. Always conduct your own testing and research to ensure safety and proper performance. Follow IFRA guidelines for fragrance usage and do not use additives or botanicals not approved for candle making.
Article
Scentscaping 101
Scent has a way of setting the scene before anyone even notices it’s there. That’s the magic of scentscaping. It’s not about one standout fragrance, but how multiple scents move through a space, layer together, and quietly shape the way a room or home feels. When done right, it turns everyday environments into experiences.
Getting Started
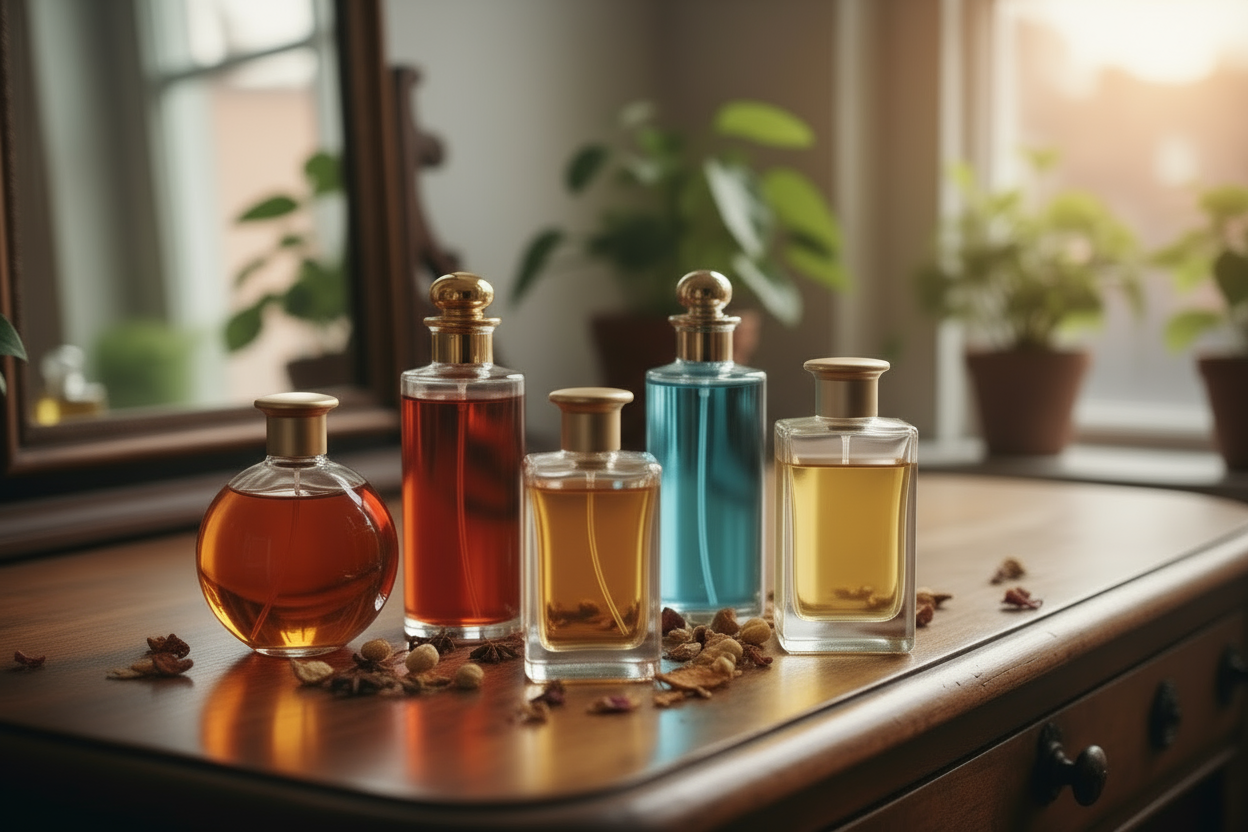
Build Your Base with Fragrance Oils. Fragrance oils are the foundation of every good scent story. Start by choosing a few complementary scents, like Meditative Mint & Aloe Fragrance Oil for the clarity and calm of a modern self-care retreat, or Sagewood & Suede Fragrance Oil for a grounding scent that feels safe, storied, and soulful. Once you have your core notes, you can carry them across formats for a cohesive feel.
Start Scent Layering
🕯 Anchor Each Room with a Candle. Place a candle in the heart of each room to anchor the experience. A Coastal Cypress & Bergamot candle in the kitchen or a soft Euphoric Raspberry & Rose blend in the bedroom can instantly shift the mood. Pair with your favorite candle jars and tins to match the aesthetic of each space.
🌫 Layer Softly with Wax Melts. Use wax melts to gently carry scent through your home. Try warming Saltwater & Pear in your entryway or hallway to create an inviting bridge between stronger room scents. Our wax warmers offer an easy flameless option for daily layering.
✨ Add a Finishing Mist with Room Sprays. Top off your scent zones with a room or linen spray that ties it all together. A quick mist of Jasmine Tea & Bamboo or Lemon Verbena can refresh your space in seconds—especially in bathrooms, closets, or guest rooms. Pair with our room spray base for easy customization.
💡 Pro Tip: When layering scents, aim for harmony—not competition. Start with one core scent family (fruity, aquatic, woodsy) and vary the strength across products. Use stronger formats (like candles) to anchor and lighter ones (like melts or sprays) to accent.
Article
What Is 'Manufacturer's Grade' Fragrance Oil?
Some fragrance oil suppliers promote their fragrance oils as being 'Manufacturer's Grade.' Choosing fragrance oil that is labeled as 'Manufacturer's Grade' sounds like an easy decision. But what does this actually mean? The honest answer is that this is nothing more than marketing hype. There is no formally accepted grading scale for synthetic fragrance oils. We could create a label for our fragrance oils such as 'AAA Rated for Strength' or 'Extreme Scent Throw Grade,' but this is something we feel is devious and choose not to do. Quite simply, we pay a premium to have our fragrance oils manufactured strong and highly concentrated. We are confident in the performance of our fragrance oils and do not feel the need to use marketing hype in promoting them.
You May Also Like
Top 10 Scents for Women
Article
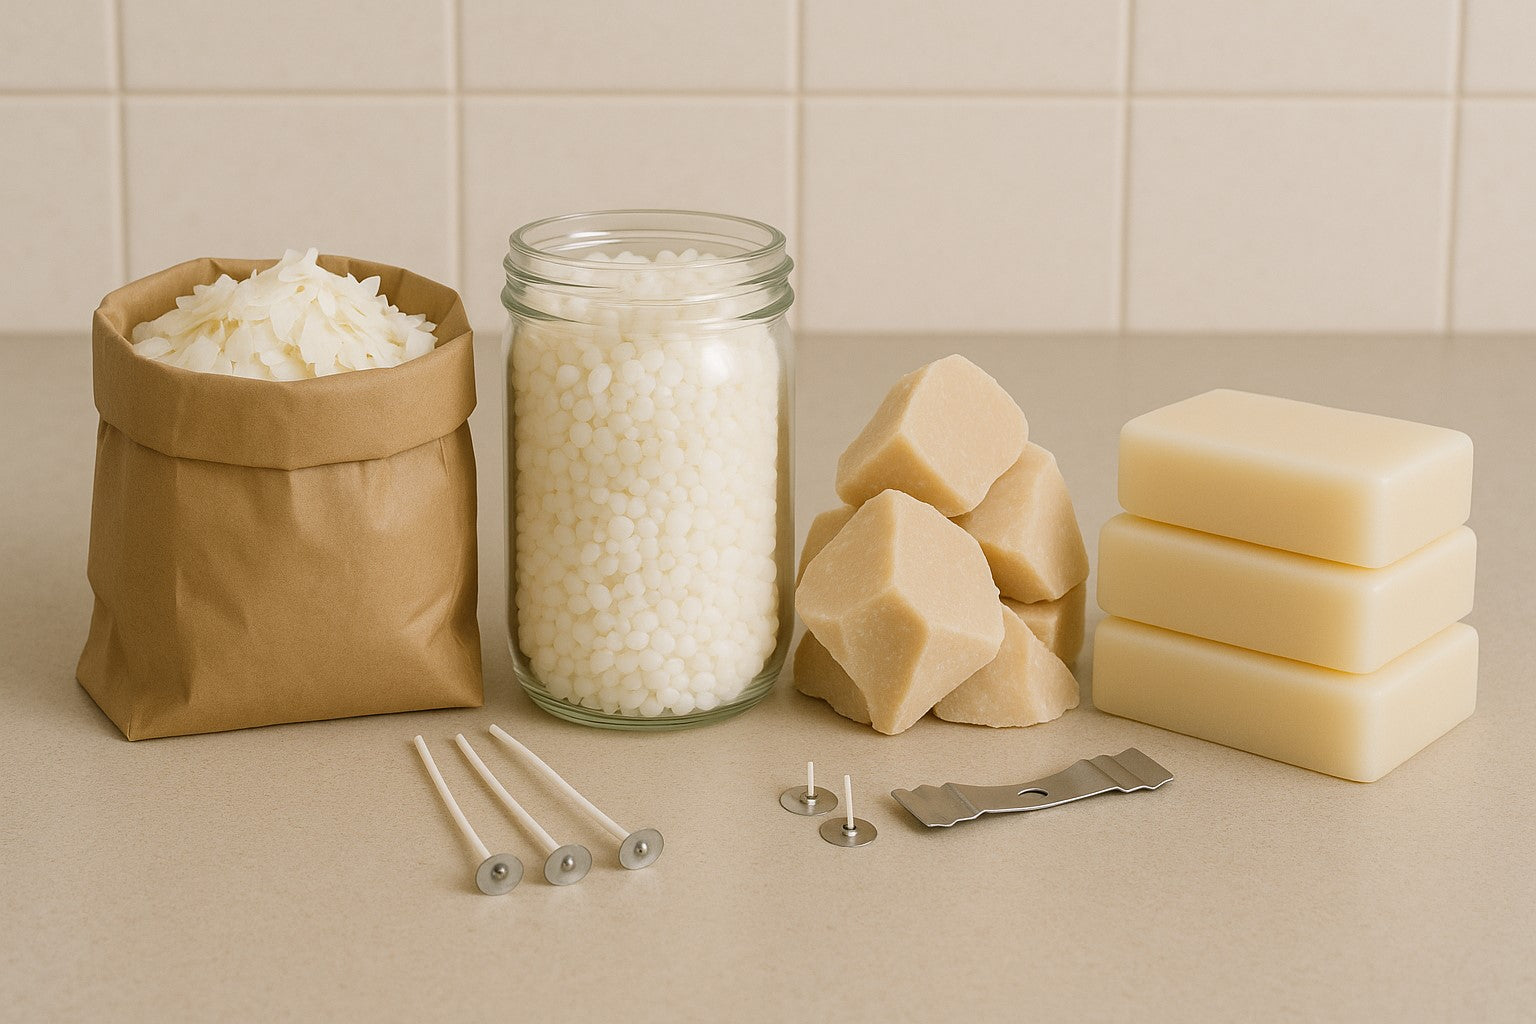
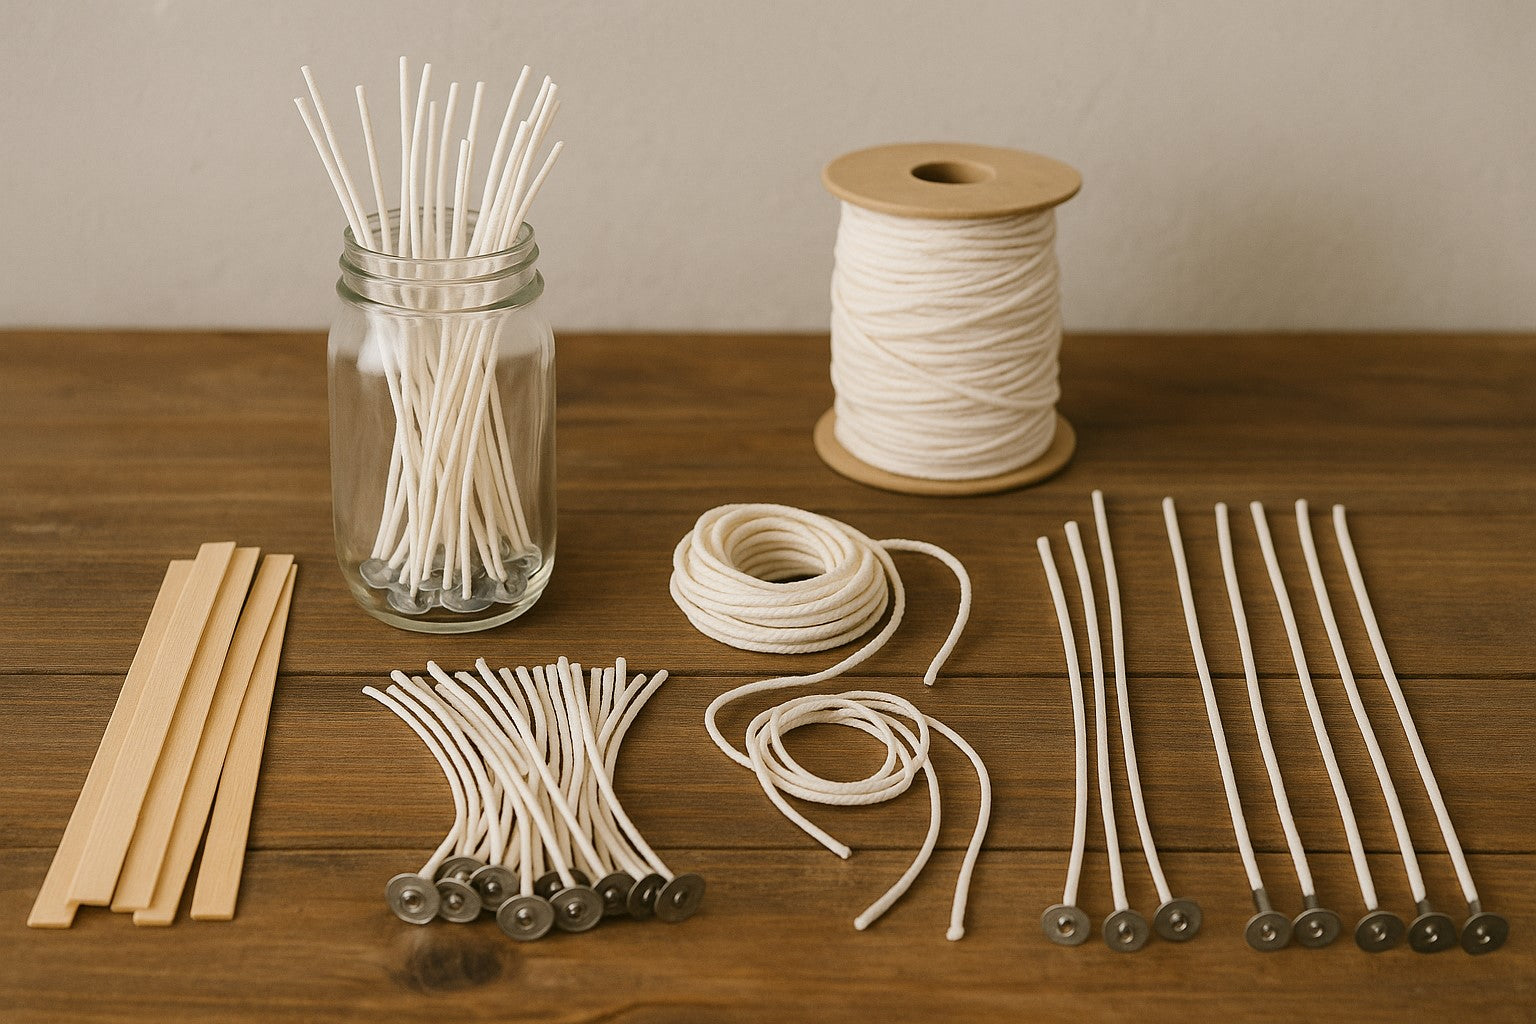
Wick Guide
The Flaming Candle Company wick chart is designed to assist in choosing the right wick in the candle making process. The recommendations below are only meant to serve as a guide in getting started.
Testing is the only way to determine the best wick to use for each candle project.
Higher viscous waxes such as single pour paraffin wax, soy (vegetable) wax, and beeswax, may require up to several sizes larger than the recommendations below.
When performing testing, always take detailed notes and remember there are a variety of factors that can determine the appropriate wick size to achieve optimal burning characteristics. Factors that can influence the proper wick include: wax type, type and amount of fragrance oil, amount of dye used, container size and shape, and additional additives (vybar, stearic acid, etc.) used in each particular candle making project. Changing any of these variables can affect the candle burning characteristics.
PREMIER 700 Series Wicks
The Premier 700 Series are flat braid cotton core wicks made from textile-grade cotton. They can be used for tealights, votives, pillars, and container candles. They work well in both paraffin and soy waxes. The Premier 700 series is available in many different sizes, allowing for better wick precision to achieve optimal burning candles.
Wick Size
Tealight
Votives
Small 1-2" Candles
Medium 2-3" Candles
Large 3-4" Candles
Pillars
Containers
Pillars
Containers
Pillars
Containers
W-725
✓
W-730
✓
W-745
✓
✓
W-750
✓
✓
W-760
✓
✓
✓
W-770
✓
✓
✓
✓
W-780
✓
✓
W-785
✓
✓
W-790
✓
W-793
✓
Zinc Core Wicks
Zinc core wicks are cotton braid with an inner zinc core. They can be used for tealights, votives, pillars, and container candles. They work well in both paraffin waxes, but can be used in soy waxes. They are designed to promote a consistent burning flame. Zinc core wicks are coreless and self-trimming, making them one of the most common types of wick used in candle making. Zinc core wicks can potentially mushroom more than other wicks, but can be minimized by using the proper wick size and keeping the wick trimmed.
Wick Size
Tealight
Votives
Small 1-2" Candles
Medium 2-3" Candles
Large 3-4" Candles
Pillars
Containers
Pillars
Containers
Pillars
Containers
24-24-18Z
✓
34-30Z
✓
✓
36-24-18Z
✓
✓
44-24-18Z
✓
✓
44-32-18Z
✓
✓
✓
51-32-18Z
✓
✓
60-44-18Z
✓
HTP Wicks
HTP wicks are a coreless, cotton flat braid wick with paper filament throughout, providing increased rigidity. They can be used for tealights, votives, pillars, and container candles. HTP wicks are versatile and can be used in both paraffin and soy waxes. They are designed to promote a consistent burning flame. HTP wicks are self-trimming and work well in viscous waxes, such as single pour paraffin and soy (vegetable) waxes.
Wick Size
Tealight
Votives
Small 1-2" Candles
Medium 2-3" Candles
Large 3-4" Candles
Pillars
Containers
Pillars
Containers
Pillars
Containers
HTP 31
✓
HTP 41
✓
HTP 52
✓
✓
HTP 62
✓
✓
✓
HTP 73
✓
✓
HTP 83
✓
✓
✓
HTP 93
✓
✓
HTP 104
✓
✓
HTP 105
✓
HTP 126
✓
HTP 1212
✓
HTP 1313
✓
ECO Wicks
ECO wicks are a coreless, cotton flat braid wick with paper filament throughout, providing increased rigidity. They can be used for tealights, votives, pillars, and container candles. ECO wicks typically work best in paraffin, but may be used in soy waxes with a lower melt point. They are designed to promote a consistent burning flame. ECO wicks are self-trimming and work well in viscous waxes.
Wick Size
Tealight
Votives
Small 1-2" Candles
Medium 2-3" Candles
Large 3-4" Candles
Pillars
Containers
Pillars
Containers
Pillars
Containers
Eco 1
✓
Eco 2
✓
✓
Eco 4
✓
✓
Eco 6
✓
✓
Eco 8
✓
✓
✓
Eco 10
✓
✓
Eco 12
✓
Eco 14
✓
✓
Eco 16
✓
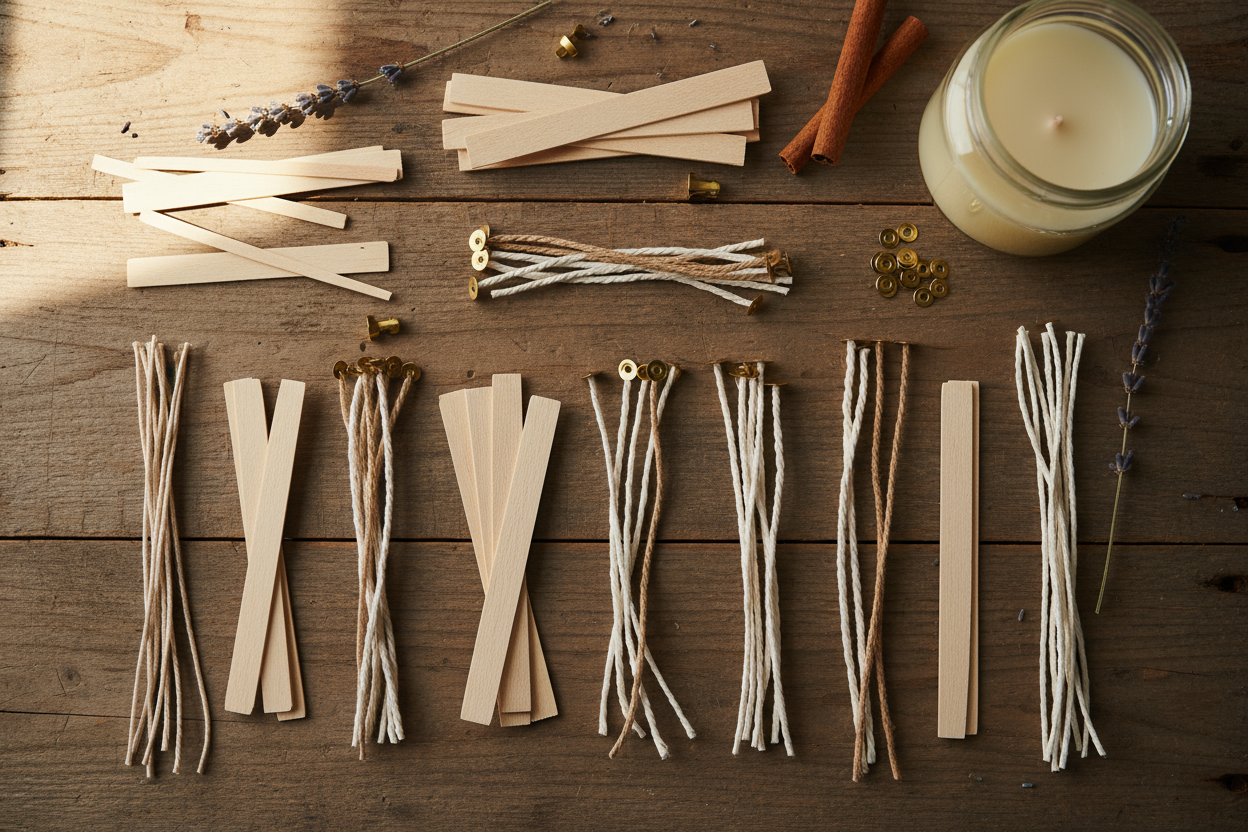
Wooden Wicks
Our wooden wicks perform well in paraffin, soy, and palm wax. They are known for their distinct 'crackle' sound when burning in finished candles.
Wick Size
Small Containers, Small Tins, Votives
2" to 3" Containers
3" to 3-3/4" Containers
4" and Larger Containers
X Small
✓
Small
✓
Medium
✓
Large
✓
X Large
✓
2X Large
✓
CD Wicks
CD wicks are a coreless, non-directional cotton flat braid wick with paper filament throughout, providing increased rigidity. They can be used for tealights, votives, pillars, and container candles. CD wicks are versatile and work well in more viscous waxes, such as single pour paraffin and soy (vegetable) waxes. They are self-trimming and designed to promote a consistent burning flame.
Wick Size
Tealight
Votives
Small 1-2" Candles
Medium 2-3" Candles
Large 3-4" Candles
Pillars
Containers
Pillars
Containers
Pillars
Containers
3
✓
5
✓
10
✓
12
✓
14
✓
✓
16
✓
✓
18
✓
✓
20
✓
22
✓
✓
Candle Making Tips
Testing Is Essential: Always perform burn tests when trying new wick and wax combinations and before committing to large batches.
Monitor Flame Stability: An appropriate wick will produce a stable flame without excessive flickering or mushrooming.
Proper Candle Burning: Trim the wick to 1/4 inch before each burn to maintain a clean flame and prevent soot.
Avoid Drafts: Place candles away from drafts to ensure even burning and prevent uneven wax pooling.
Wick Troubleshooting: If you notice tunneling, soot, or an uneven burn, consider adjusting the wick size or type.
Article
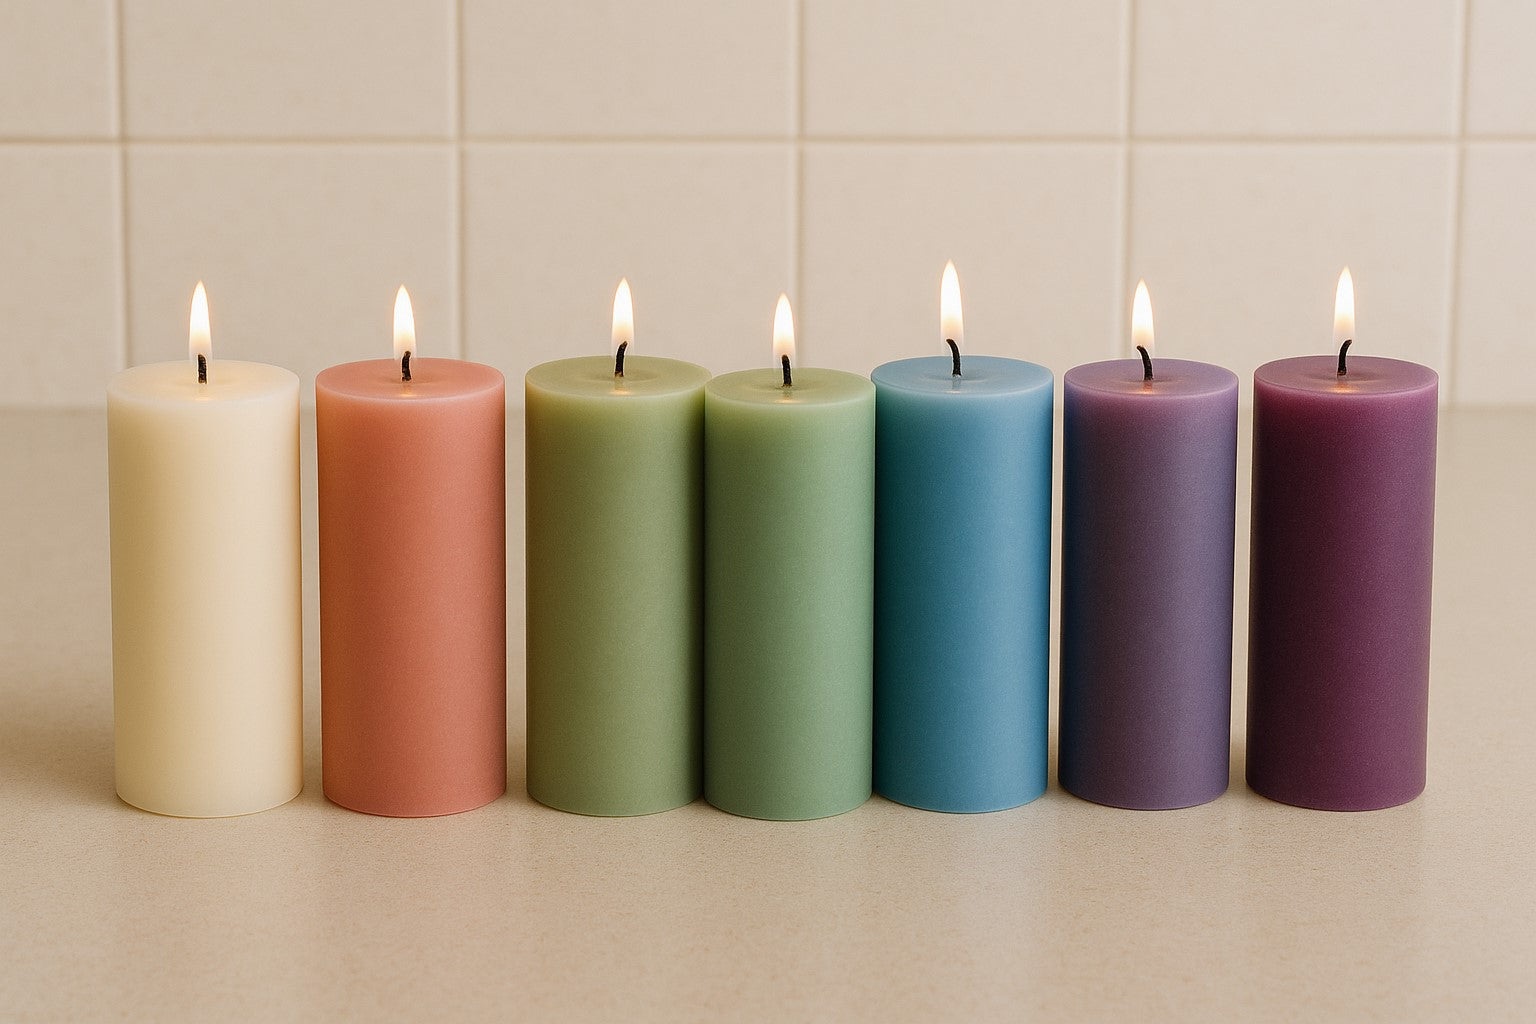
What's The Difference Between Paraffin & Soy Wax?
Soy vs Paraffin Wax Candles: Which Should You Choose?
Choosing between soy vs paraffin wax candles often comes down to your personal preferences and priorities. Each type of wax offers distinct advantages that cater to different needs, whether you value vibrant colors or eco-friendly materials.
Soy Wax vs Paraffin Wax: Key Considerations
Choose Paraffin Wax If:
Bright, Bold Colors Matter to You: Paraffin wax holds color exceptionally well, making it the best choice if you want candles with vivid, eye-catching colors.
You Dislike Frosting: Frosting, a natural occurrence where the wax appears cloudy, is much less noticeable in paraffin candles. If a smooth, polished look is important, paraffin wax is your go-to.
You Want Strongly Scented Candles Quickly: Paraffin wax allows for a strong scent throw with minimal curing time, perfect for those who want to enjoy their candles' fragrance immediately.
Choose Soy Wax If:
Supporting Local Farmers is Important: Soy wax is derived from soybeans, which are primarily grown in the United States. By choosing soy, you support American farmers and opt for a renewable, plant-based resource.
You Prefer Subtle, Pastel Colors: Soy wax tends to produce softer, pastel colors, especially when dyes are not used. Frosting is more common in soy candles, but it's less noticeable without added colorants.
You Want a Cleaner Burn: Soy wax burns cleaner than paraffin, producing minimal black soot. If you're concerned about air quality or want to avoid soot marks on your containers, soy wax is the better choice.
Making the Right Decision
When deciding between soy wax vs paraffin wax, consider what matters most to you: vibrant colors and immediate scent payoff, or a cleaner, more eco-friendly option that supports sustainable practices. Both waxes have their strengths, so your choice should align with your personal values and the aesthetic you want to achieve in your candles.
You May Also Like:
What Are the Types of Candle Wax?
What is Blended Wax?
What is Paraffin Wax?
What is Soy Wax?
Article
What Candle Wick Size Do I Need?
Choosing a Candle Wick Size
Determining the best wick size to use is topic that generates a lot of questions. There are a variety of factors that can impact the size of wick to use and change how a candle burns. Since there are many variables that can affect a candle’s burning characteristics, there is no single answer on which wick size will work properly without performing testing for each candle recipe. Changing just one of the items listed below may mean modifying the wick size as well.
Some of the main things that can determine the best wick size for your recipe are:
Wax used (paraffin, vegetable/soy, etc.)
Type and amount of dye used
Amount of fragrance oil used
Amount and types of additives added
Candle diameter
Because of the many factors that can impact the burning characteristics of a finished candle, the only way to determine the best wick size for each particular candle is through testing. Testing can be one of the challenging parts of candle making. However, if you keep detailed notes, it can become easier as you become more familiar with how well certain recipes work. We offer a wick guide to help with suggested starting points. However, there is no substitute for testing to determine the optimal wick size for each particular candle recipe.

Article
What Are Notes In Fragrance Oils?
A fragrance is divided into 3 distinct parts: top note, middle note, and base note. Each of these usually has an assortment of ingredients.
Top Note – This is the initial immediate smell you notice when you sniff a fragrance oil. This is known as the initial fragrance 'burst.'
Middle Note – This is considered to be the heart of the fragrance and becomes more prevalent once the top note dissipates.
Bottom Note – The base notes are long lasting and provide depth to the fragrance. Also referred to as the 'dry down.'
You May Also Like
Top 10 Scents for Women
Article
What Color Will My Candle Be?
Candles will have a different color once they have cooled versus the color of the wax when it is melted. Sometimes there can be dramatic differences.
To test and see how your candle is going to turn out once it has cooled, you can simply take a small sample of the melted wax (using a wooden spoon or other utensil) and place it on a paper towel or white sheet of paper. It should cool quickly and give you a good idea of what the candle will be in its final form. If you are not happy with the color in the sample, simply add more dye and repeat the process until you achieve your desired shade of color.

Article
Why Do I Have Specs Of Dye In The Bottom Of My Candle?
Specks of dye in the bottom of a candle is usually the result of dye chips or dye blocks that did not get fully melted and dispersed in the wax. When using dye chips or dye blocks and this is an issue, try adding them to the wax at a temperature around 175° - 185° and stir thoroughly for several minutes allowing the dye time to get fully dispersed in the wax.
Article
When & How To Double Wick A Candle
There is no set rule for when a double wick should be used. However, a general guideline is that candles with a diameter of 4" or larger may need a double wick (or triple if preferred). The reason for using a double wick in larger diameter candles is to achieve a full burn pool, which can be challenging with only a single wick. There are large wicks designed for wider diameter candles. However, we have found that larger wicks are more prone to mushrooming, soot, and smoke. For this reason, a double wick may be a better alternative.
The decision on when to use a double wick is more of a personal choice. We have known candle makers to use double wicks in smaller diameter candles and others that prefer a single wick in a larger diameter candle. Testing is the only way to determine which wick choice (single or double wicking) is best for a particular application and will achieve optimal burning characteristics.
Double wicking a candle is really not difficult. The challenging part is finding the right wick size to use for a double wick. As a general rule of thumb on how to select the right wick size when using double wicks, find a wick that is designed for half of the candle diameter and start testing with two of that size. For example, if making a 5" diameter candle that will have double wicks, you may begin testing with a wick size that is designed for a 2.5" diameter candle. Be sure they are centered, spaced out about 1" apart from each other, and not too close to the side of the glass if using containers. Placing the wicks close to the sides can cause the glass to get too hot. Please remember that testing is the only way to determine the best wick size for a particular candle recipe.
Article
What Temperature Should I Add Dye To Wax?
What Temperature Should I Add Dye Oil to Melted Wax?
Add dye to melted wax when it reaches around 170-180°F (76-82°C) to ensure even color distribution without burning the dye.