Create Your Own DIY Candle Kit with Custom Recipes
Building a DIY candle kit puts you in full control of your process, materials, and final product. Instead of relying on pre-packed sets, you can tailor every part of the experience, wax type, wick size, fragrance blends, and containers, based on what works best for your space or your customers. It’s more than just crafting; it’s learning how to make candles perform the way they’re supposed to.
Why Build Your Own Candle Kit?
Store-bought kits usually include general-purpose components designed for basic use. That can be helpful in early experiments, but once you’ve poured a few candles, it becomes clear that results improve when the kit matches your preferences and conditions. Your space, fragrance choices, and container styles all affect burn quality. A homemade kit lets you address those variables right away.
Custom kits are also easier to replenish. You’re not locked into a fixed inventory. You can scale up or swap things out based on the seasons, your testing notes, or your scent goals.
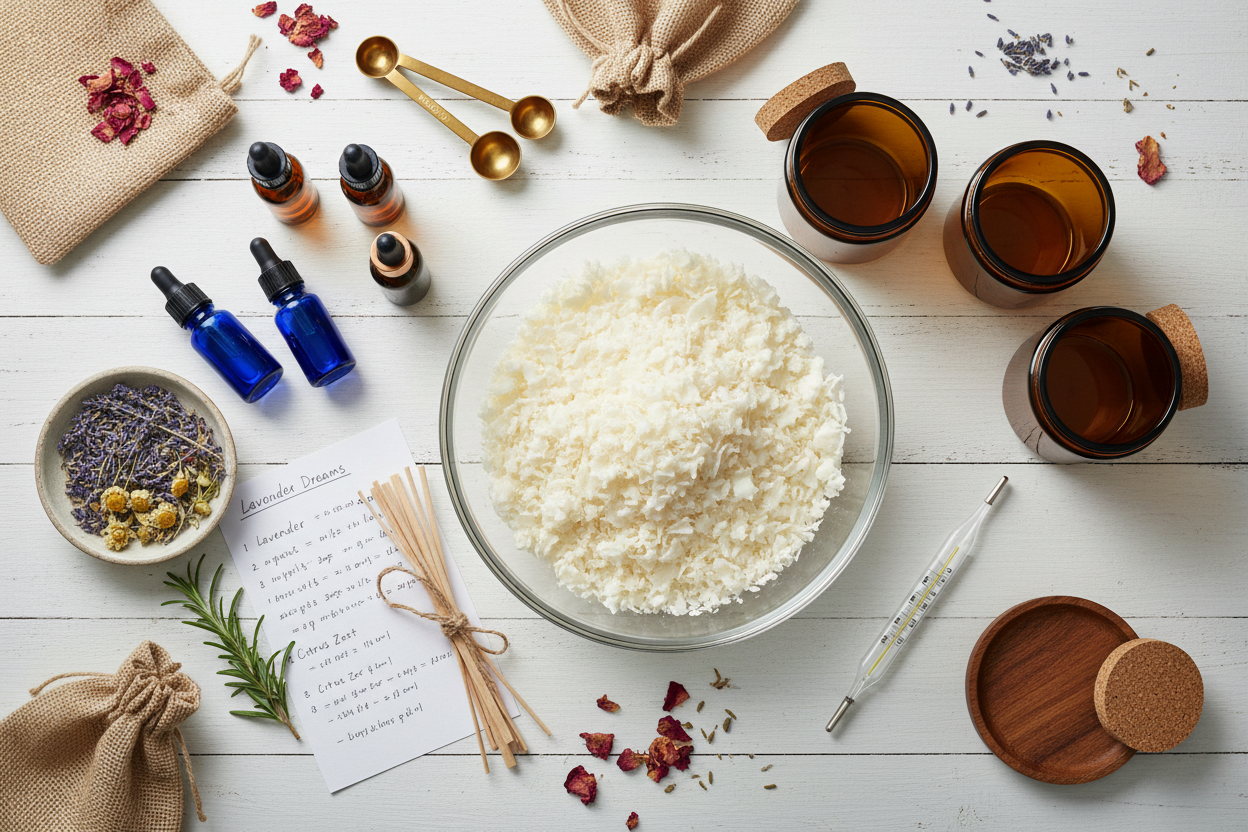
What to Include in a Candle Making DIY Kit
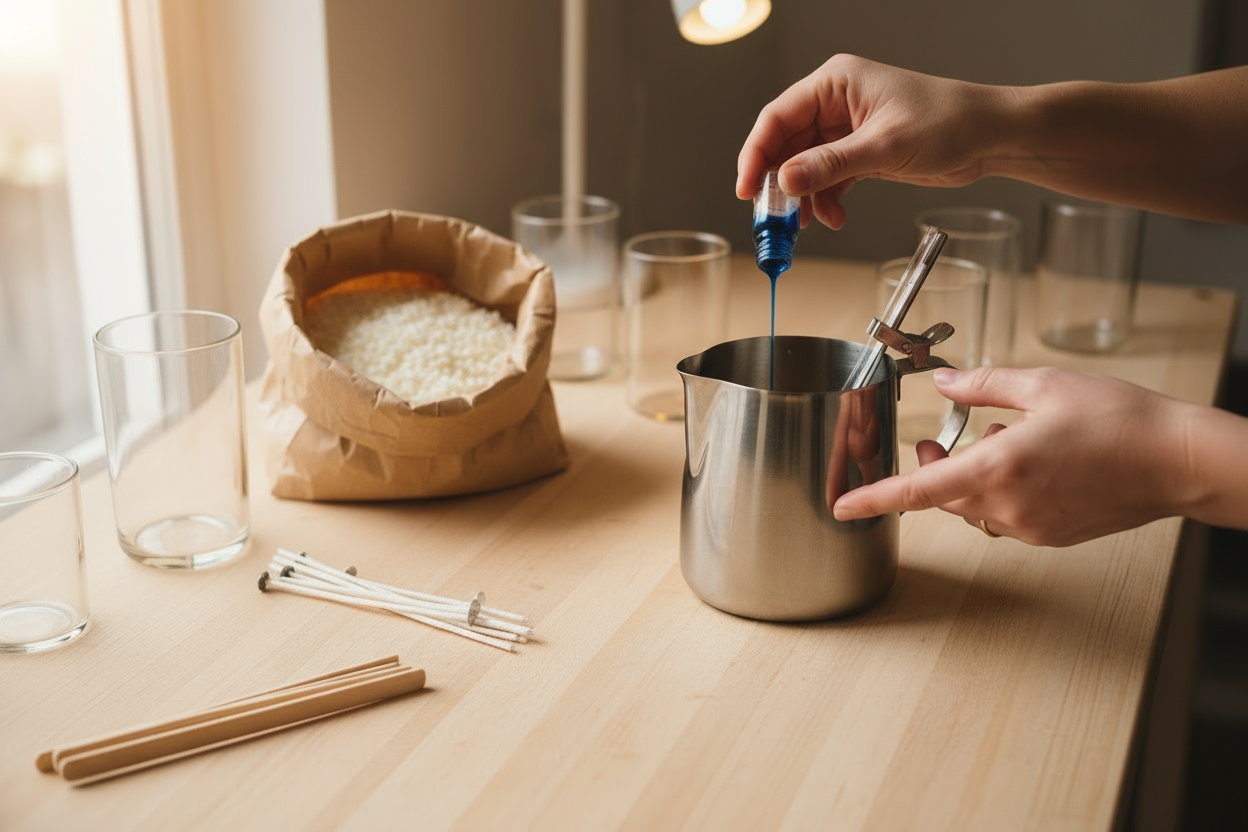
The best kits are built around reliable, container-safe supplies. Start by focusing on the four core components: wax, wick, fragrance, and tools. Each of these plays a role in how the candle burns and smells over time.
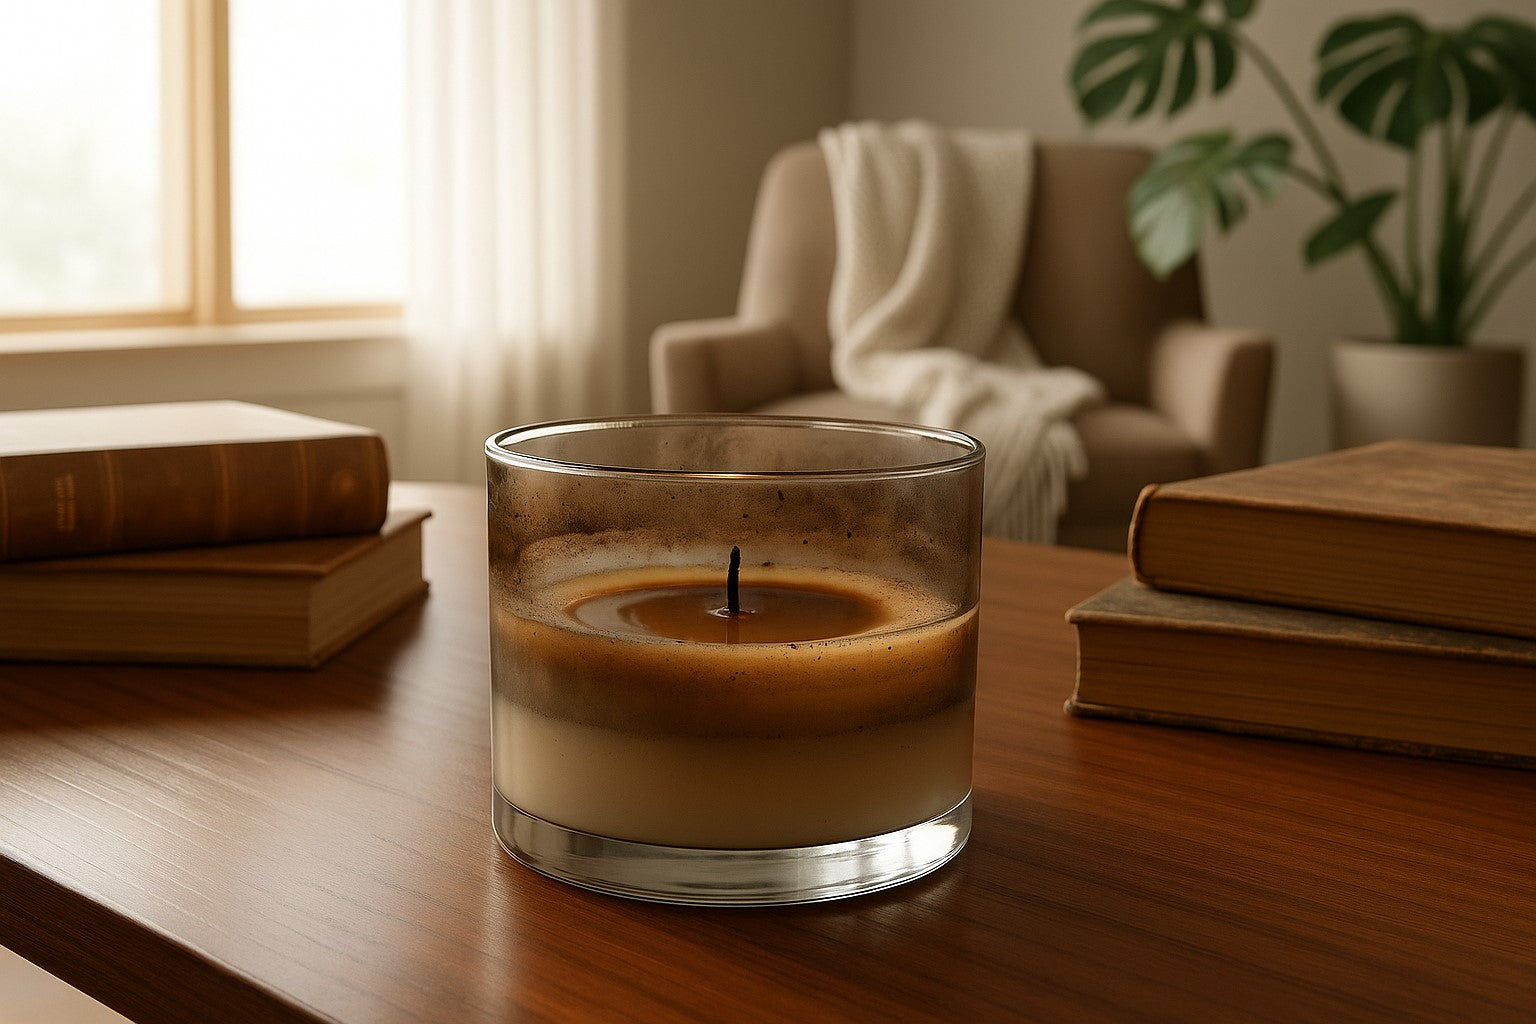
Choosing the Right Wax
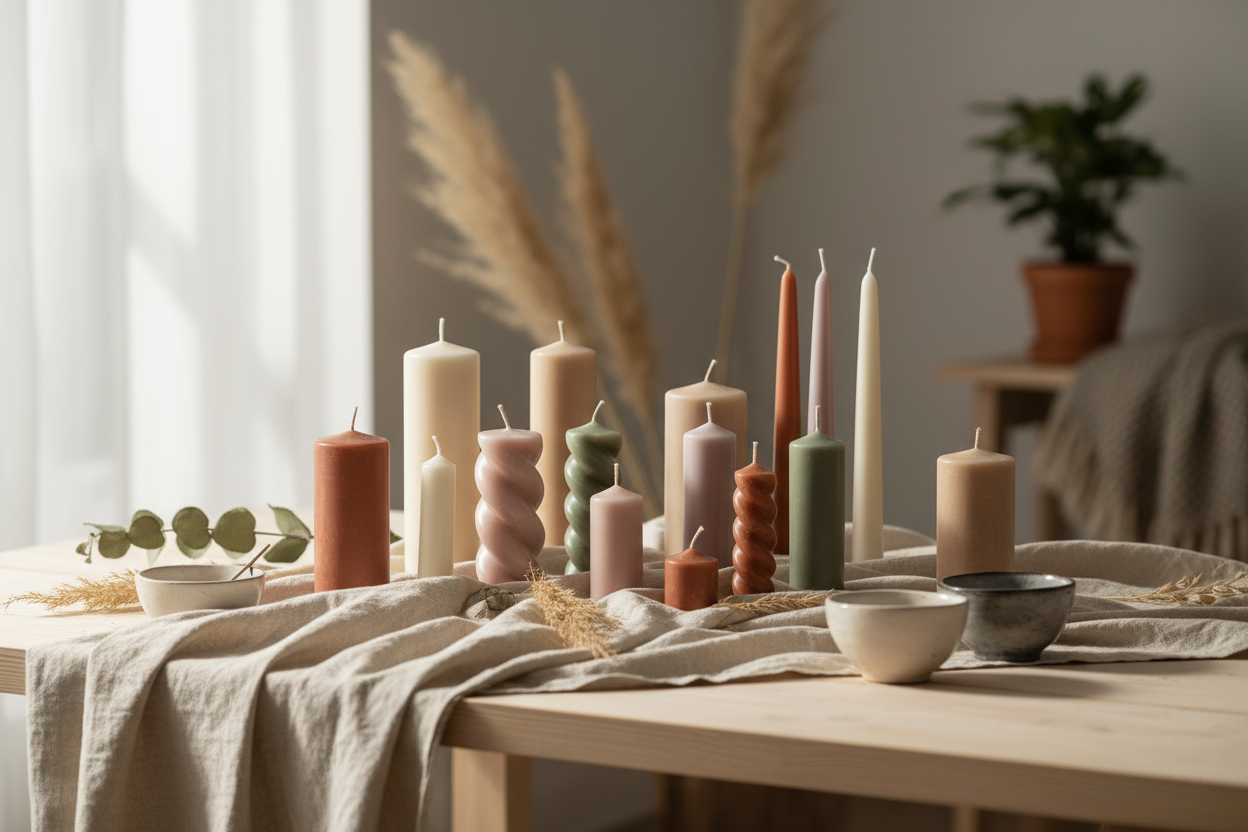
For most beginners, soy wax offers the smoothest learning curve. It holds fragrance well, cools with a creamy finish, and works in a variety of containers. Paraffin wax remains a top performer in scent throw and glass adhesion, though it may require more attention to wick sizing.
Beeswax burns longer and has natural color and scent. It’s less forgiving in terms of container adhesion and fragrance load, so it suits a more advanced setup. Every wax has a different melt point, fragrance load capacity, and cooling behavior, understanding those details makes recipe development more consistent.
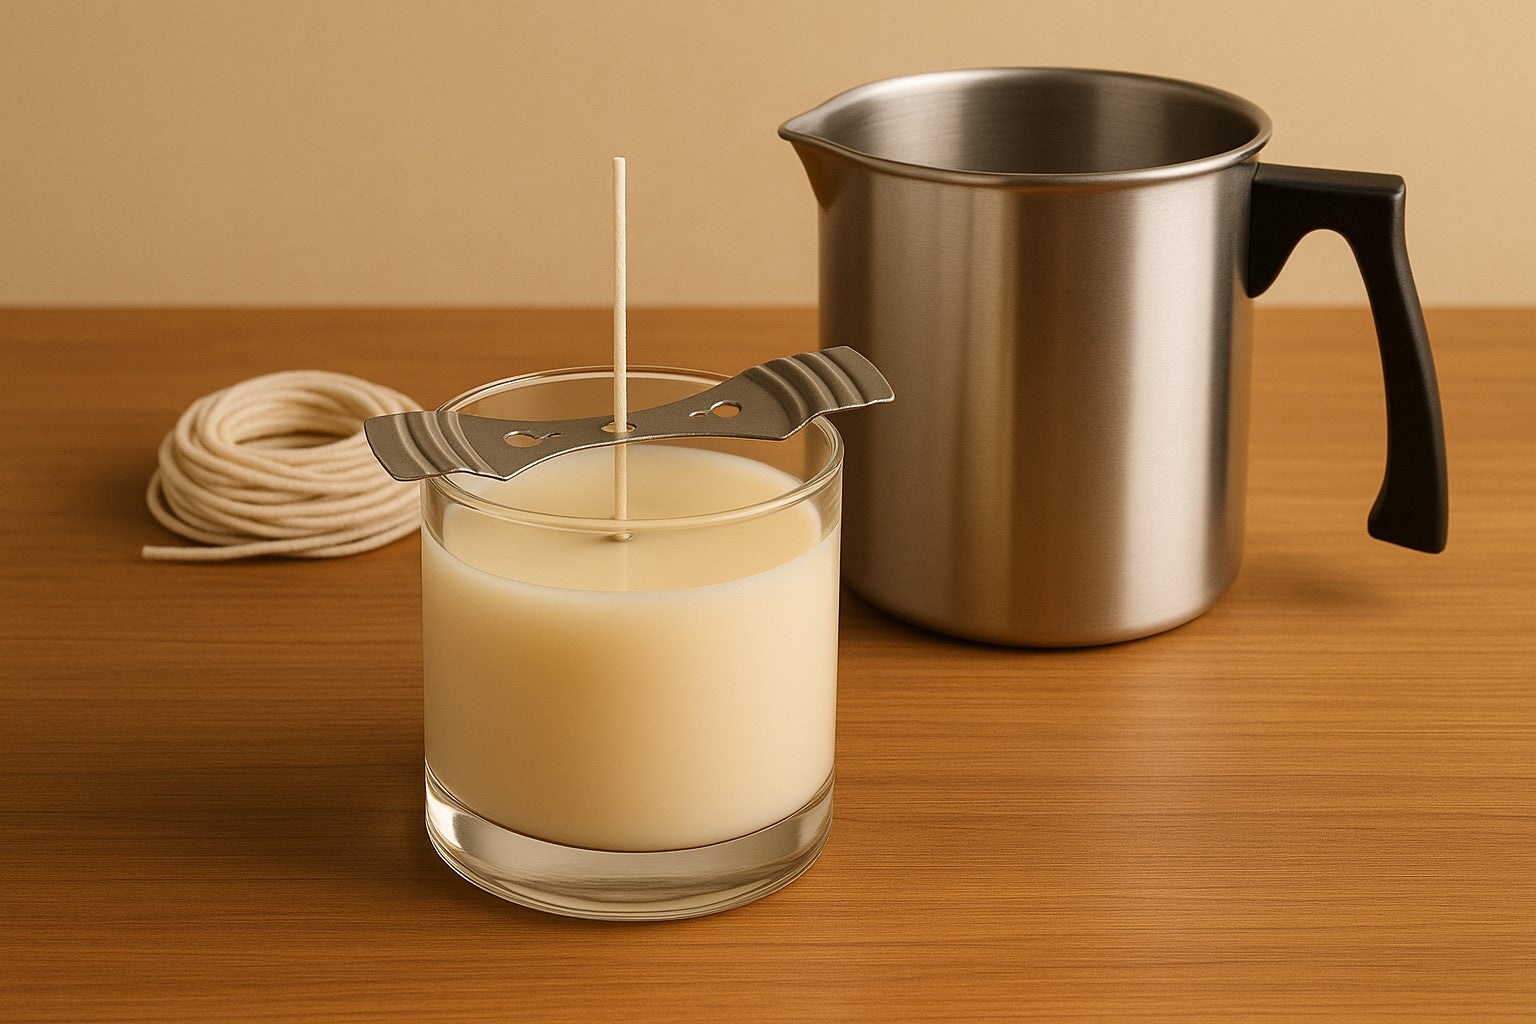
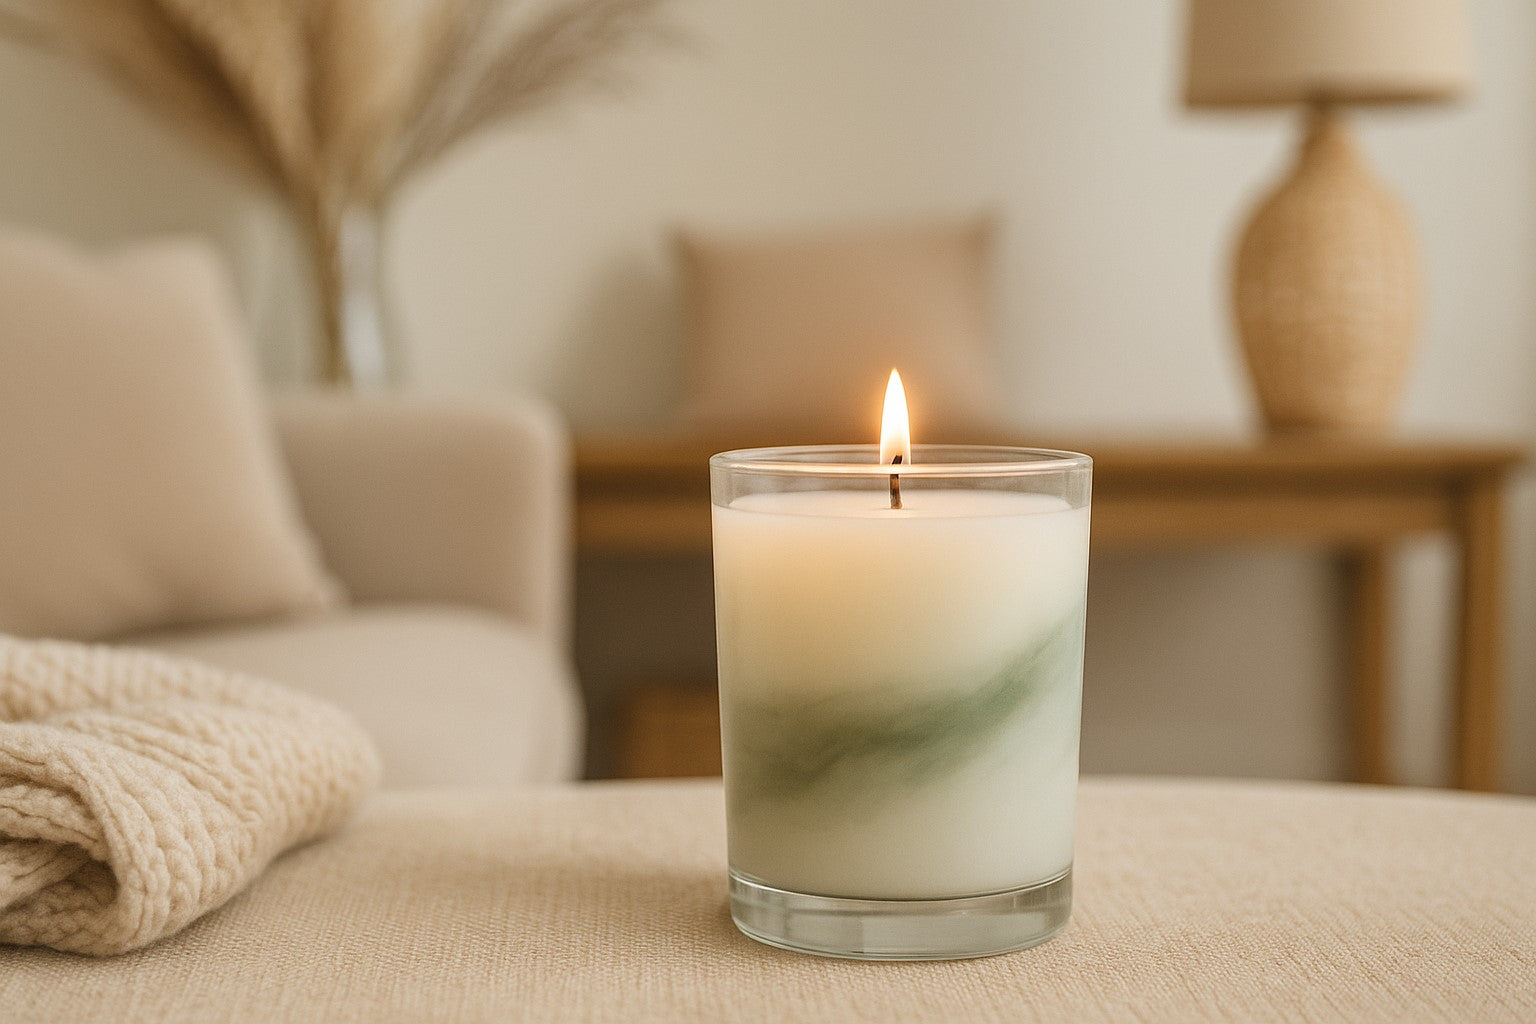
Picking the Best Wick
Wick selection affects flame height, fragrance diffusion, and container safety. Cotton wicks offer a steady flame and predictable performance across soy and paraffin systems. Wooden wicks provide a wide melt pool and a gentle crackle, but they need more testing to match vessel size and wax blend.
When sizing a wick, start with your container’s inside diameter and wax type. Use wick guides as a starting point, but burn tests are the only way to confirm results. You’ll want to evaluate how the candle behaves across several burns, especially after a full cure.
Building Custom Fragrance Blends
Creating your own fragrance blend starts with understanding each oil’s strength and character. Some oils, like vanilla or sandalwood, act as base notes and linger longest. Citrus and herbal notes sit at the top and fade more quickly. Balancing these elements gives the candle dimension without overwhelming the space.
Keep IFRA maximum usage levels in mind while building your blend. Each oil comes with a certificate that lists how much can be used in a given application. Container candles typically fall under IFRA Category 12. Staying within safe limits ensures your candles remain skin-safe and compliant for sale or gifting.
Use a scale for accuracy, and test fragrance load levels at 6%, 8%, and 10% to compare throw performance. Blends often behave differently depending on the wax, cure time, and environment.
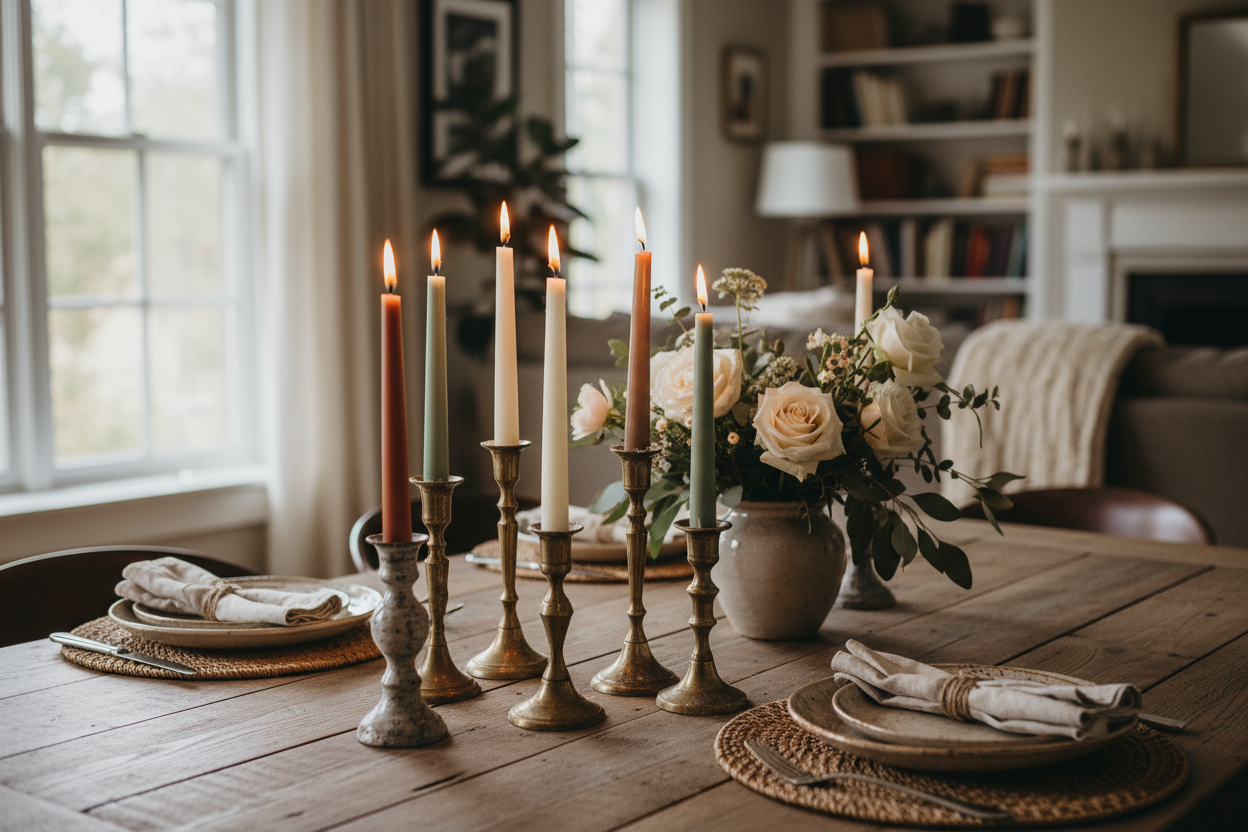
Candle-Safe Containers & Tools
Not all containers work for candles. Use jars made of thick, heat-resistant glass or metal tins designed for high temperatures. Stay away from ceramics, upcycled glassware, or plastic. A container should have smooth walls, no cracks, and be able to handle long-term heat without shifting or shattering.
For tools, keep it simple. A good thermometer, digital scale, pouring pitcher, and stirring utensil cover most setups. Wick holders or centering tools help keep everything aligned during cooling. No need to overcomplicate your workspace, just choose items that hold up to repeated use.
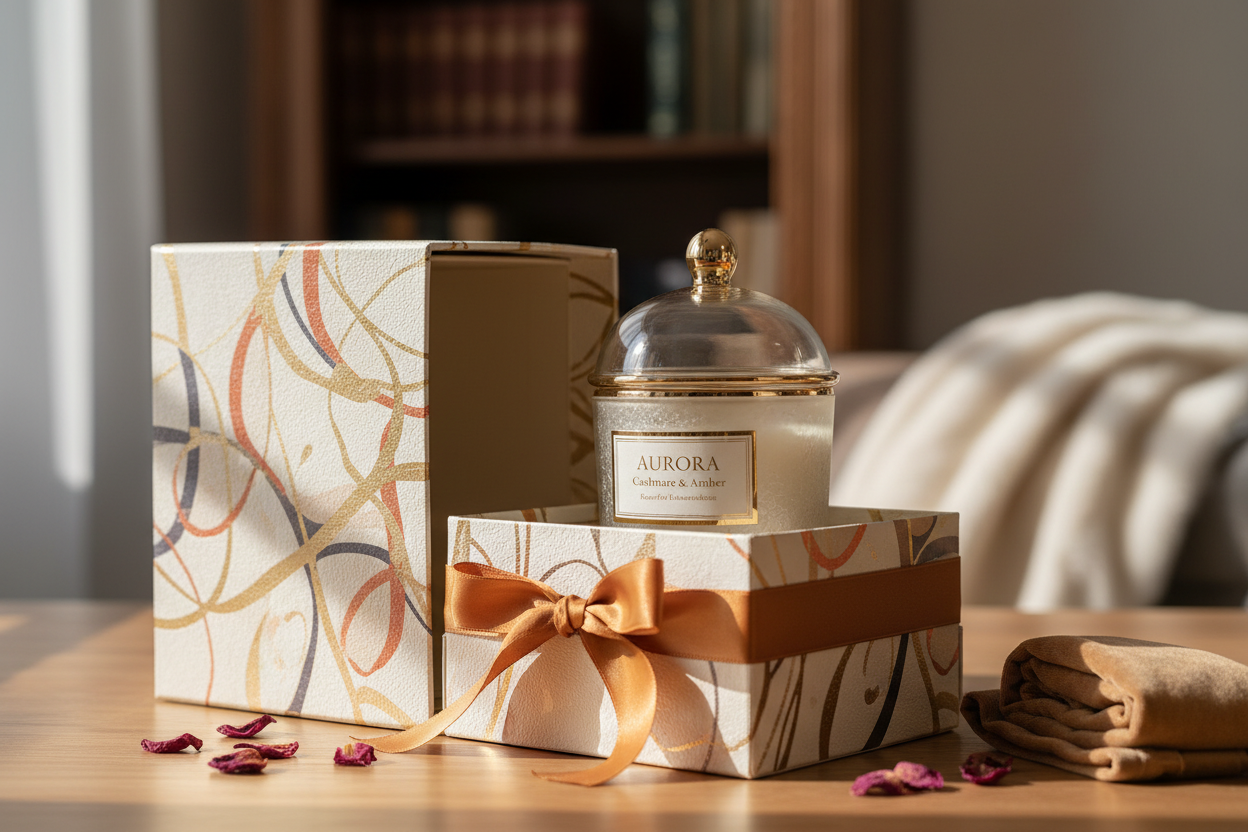
How to Personalize Your Kit
Think of your kit as a working setup, not a one-time purchase. You can organize it by wax type, season, or project size. Some candle makers prep scent blends ahead of time in labeled bottles, while others rotate oils based on what’s trending or what customers respond to.
Once you’ve tested a few combinations, keep notes on burn results, scent strength, and user feedback. That helps refine future batches and gives your DIY kit a personalized edge you won’t find in off-the-shelf options.
FAQs About DIY Candle Kits
What is the best wax for beginners?
Soy wax tends to offer the most forgiving pour and consistent results. It cools cleanly and pairs well with standard containers and cotton wicks.
How do I create and perfect my own scent recipe?
Start with a balance of top, middle, and base notes. Use small test batches to explore how each blend performs during curing and burning. Track fragrance load, wax type, and throw performance in each trial. Over time, you’ll notice which oils complement each other and which ones need support.
How do I choose the right wick for my kit?
Base your wick choice on the container’s inside diameter and the wax you’re using. Start with a wick size recommended for your wax blend, then test it across at least three full burns. Adjust if you see tunneling, excess soot, or mushrooming.
Safety Tips & Final Thoughts
Each kit should be built with safe burning and consistent results in mind. Use only tested, candle-safe containers. Stay within recommended fragrance load limits, and never skip a wick test. The more intentional your setup, the better your candles will perform.
Disclaimer: Always follow proper candle-making safety practices. Fragrance usage rates should comply with IFRA guidelines. Test each recipe for burn performance before distributing or gifting.