Articles
Article
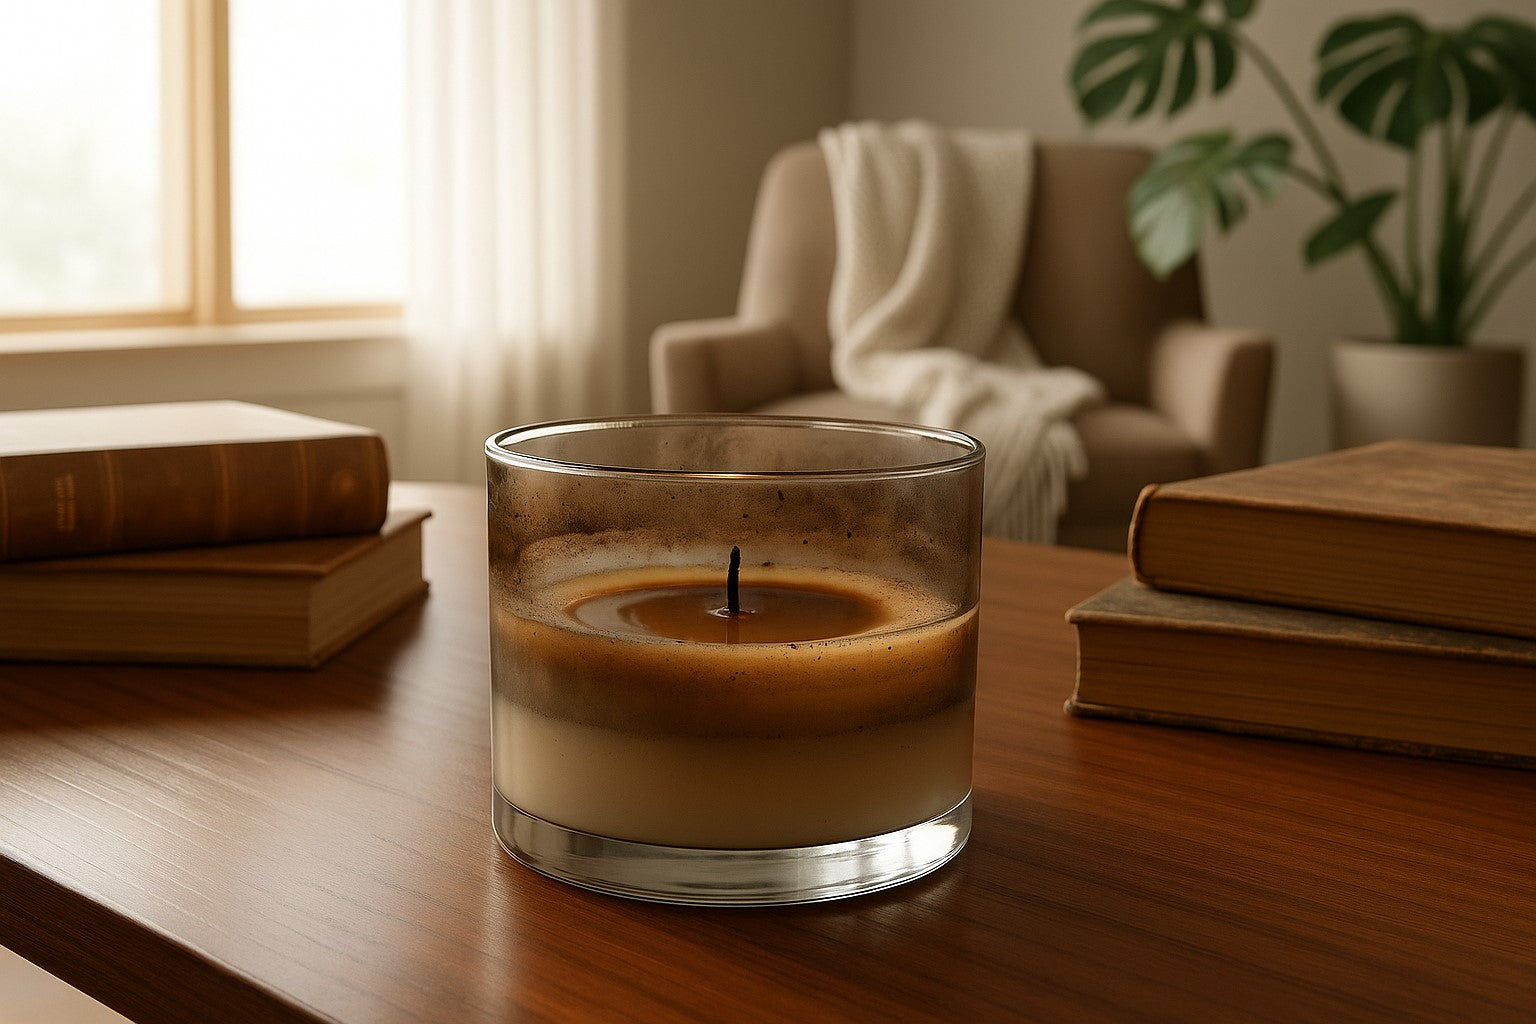
What is Soy Wax? A Guide to This Natural Candle-Making Material
If you’ve explored the world of candles, you’ve likely come across soy wax as a popular alternative to traditional paraffin wax. But what is soy wax, and why has it become a favorite among candle makers and eco-conscious consumers? In this guide, we’ll explore the properties, uses, and benefits of natural soy wax, along with tips for using it in candle making.
Understanding Soy Wax
Soy wax is a plant-based wax made from soybean oil. It was developed as a sustainable and eco-friendly alternative to petroleum-based paraffin wax and has since become a popular choice for crafting candles.
What is soy candle wax? It’s created by processing soybean oil into a solid form. The resulting wax is natural, renewable, and biodegradable, making it an excellent choice for environmentally conscious consumers.
Is soy wax toxic? No, soy wax is non-toxic, making it safe for use in homes and around children and pets when used properly.
Key Properties of Soy Wax
Soy wax offers unique properties that make it ideal for a range of applications, particularly in candle making:
Natural Composition: Made from soybeans, soy wax is free of synthetic additives and harsh chemicals.
Soy Wax Melting Point: Typically ranges between 120°F and 180°F (49°C to 82°C), depending on the blend. This moderate melting point makes it easy to work with and suitable for crafting container candles.
Clean Burning: Produces minimal soot when burned, reducing air pollution and leaving less residue on surfaces.
Fragrance Retention: Soy wax holds fragrance well, releasing scents gradually and consistently.
Common Uses of Soy Wax
Natural soy wax is incredibly versatile and used in a variety of products, including:
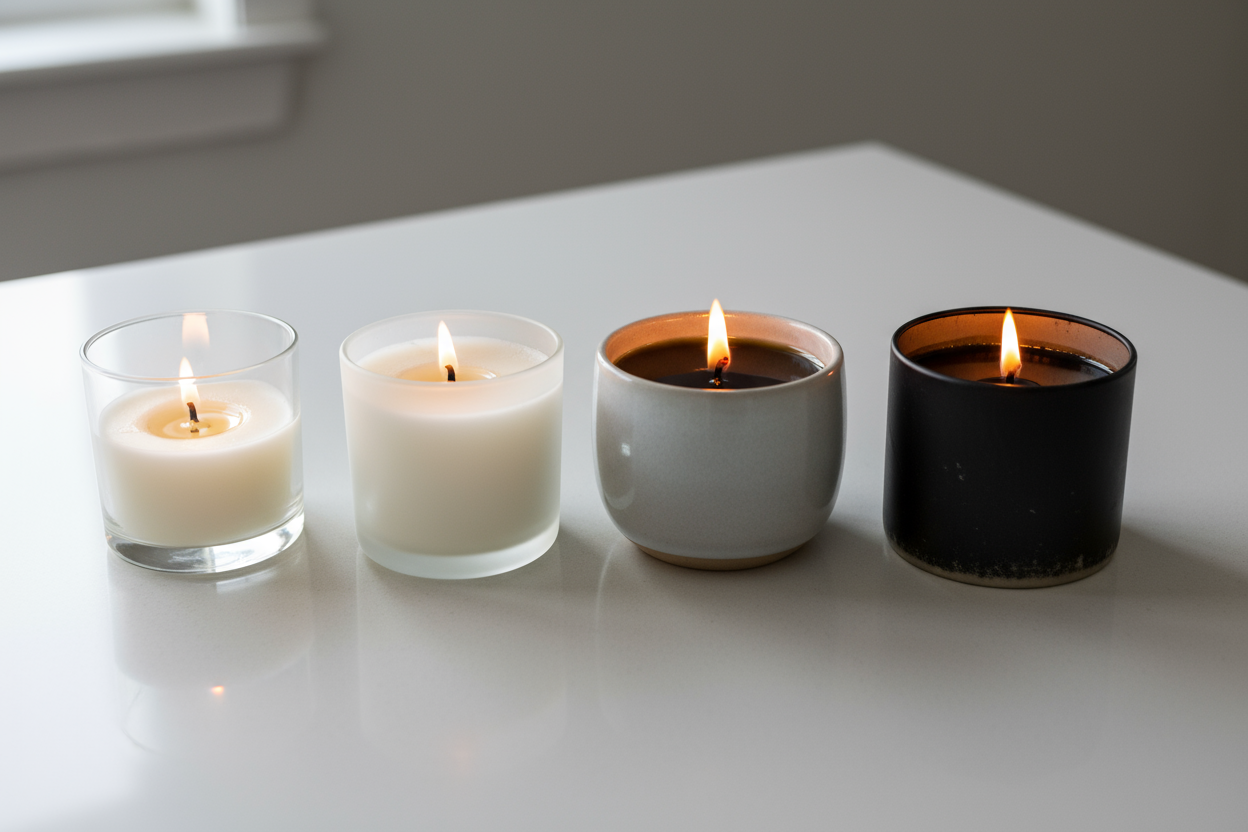
Soy Wax Candles: Its clean-burning and eco-friendly properties make it the top choice for crafting candles.
Wax Melts and Tarts: Soy wax is often used to create melts and tarts that release fragrance without the need for a flame.
Skincare Products: Due to its gentle, natural composition, soy wax is sometimes used in lip balms and lotions for added smoothness.
Benefits of Using Soy Wax
Switching to soy wax offers numerous advantages for both candle makers and users:
Eco-Friendly: Made from renewable soybeans, soy wax is biodegradable and more sustainable than petroleum-based alternatives.
Non-Toxic: Unlike some waxes, soy wax doesn’t release harmful chemicals when burned, making it safer for indoor use.
Longer Burn Time: Candles made from soy wax burn slower and last longer, providing better value for your money.
Enhanced Fragrance Throw: Soy wax absorbs and releases fragrances evenly, offering a consistent scent throughout the life of the candle.
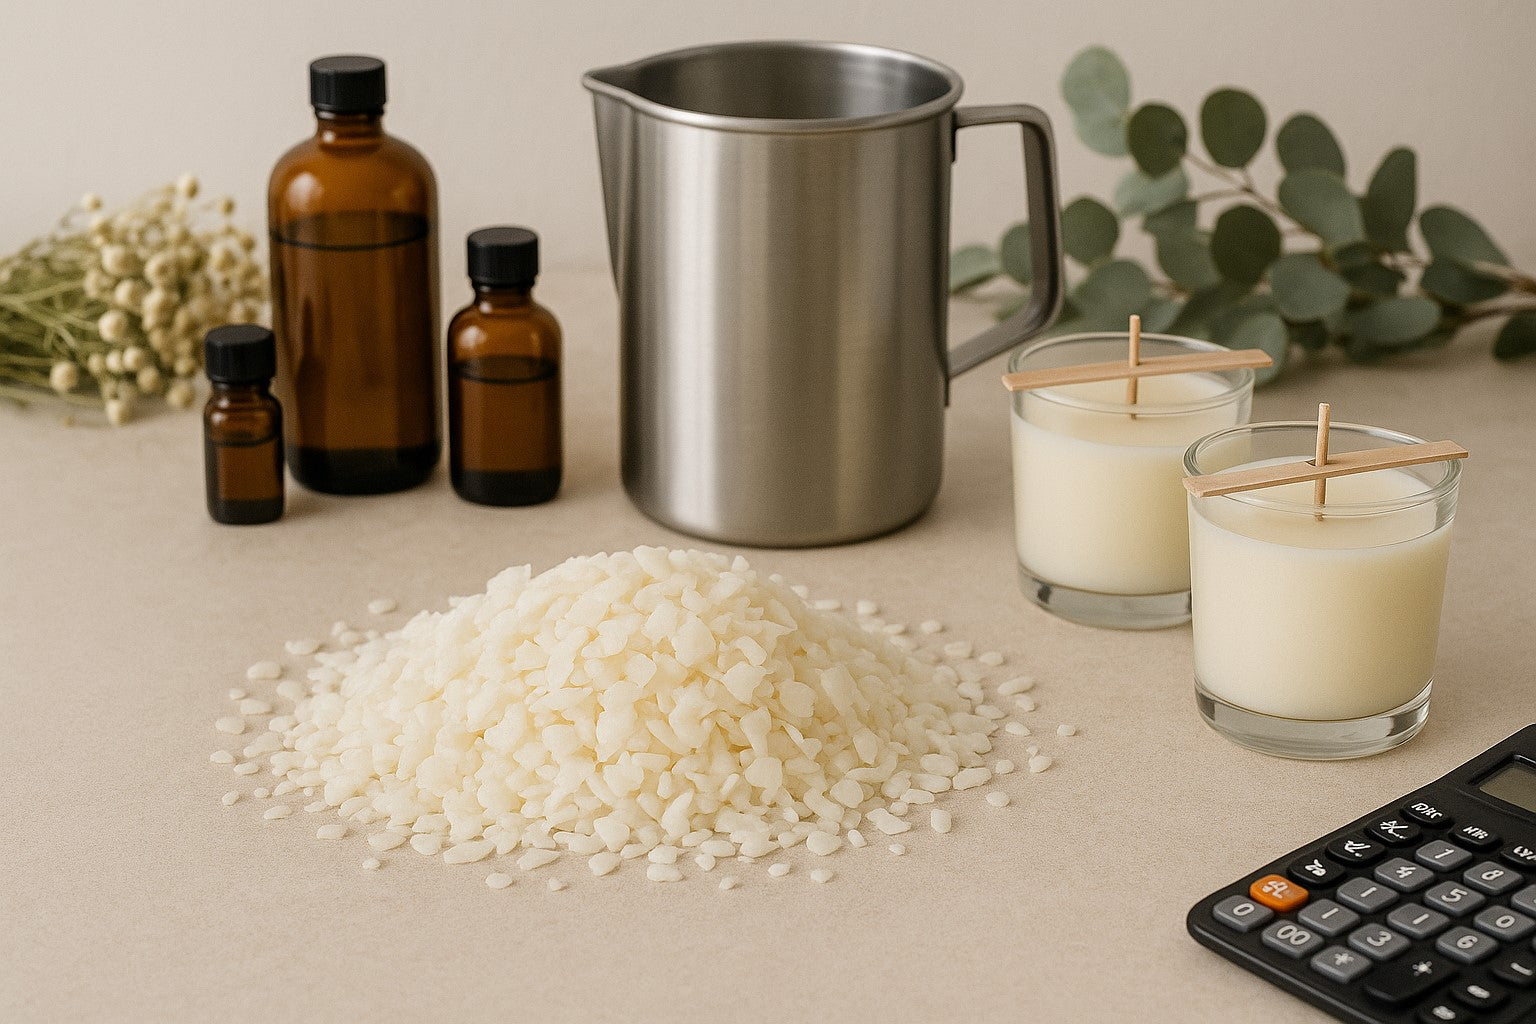
Easy to Work With: Soy candle wax flakes melt quickly and blend easily with dyes and fragrances, making them perfect for DIY projects.
How Soy Wax is Used in Candle Making
Soy wax is a favorite material for crafting candles due to its ease of use and superior performance. Here’s how it’s commonly used:
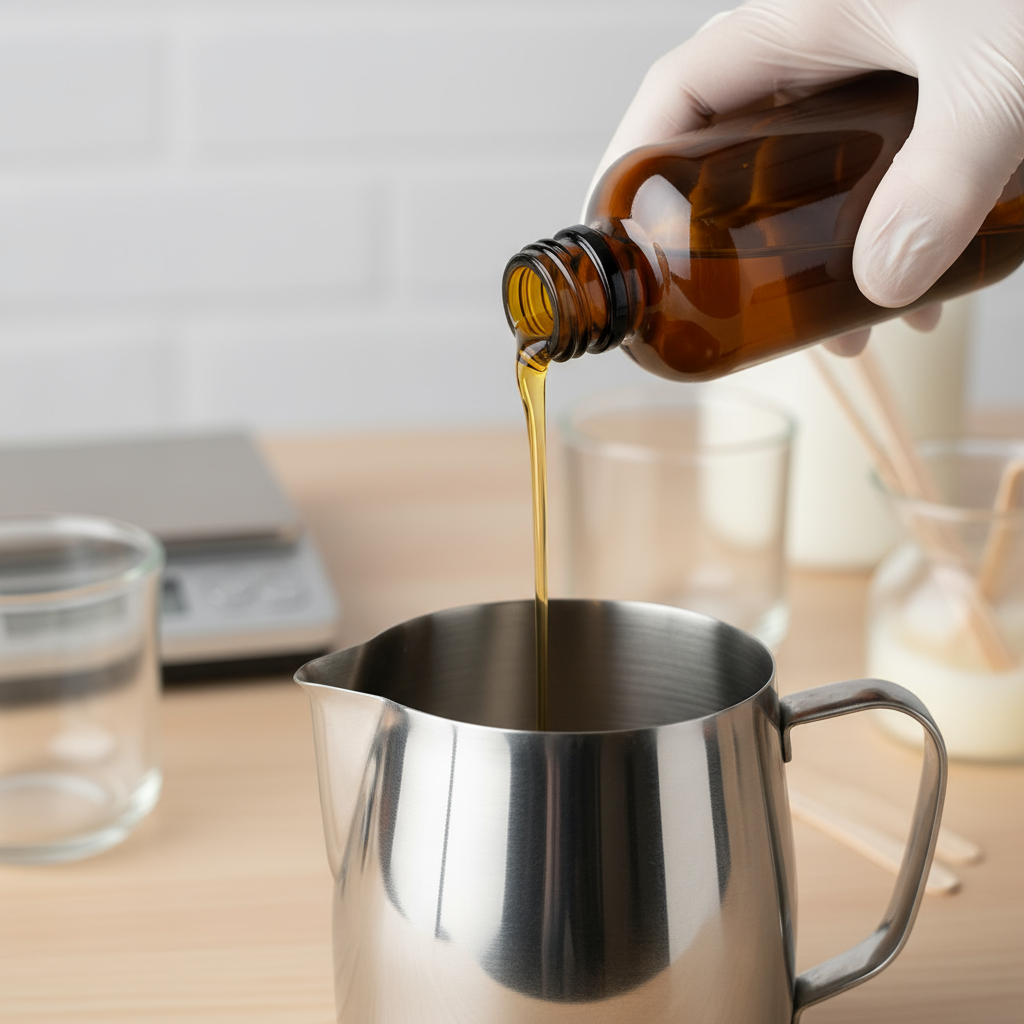
Melting the Wax: Heat the wax in a double boiler until it reaches its melting point. The soy wax melting point is typically between 120°F and 180°F, depending on the type.
Adding Fragrance and Dye: Once the wax is fully melted, add your desired fragrance and dye. Soy wax blends well with essential oils and synthetic fragrances.
Pouring into Containers: Pour the melted wax into jars or tins, ensuring the wick stays centered. Soy wax is ideal for container candles due to its lower melting point.
Cooling and Setting: Allow the candles to cool at room temperature to ensure a smooth finish. Soy wax often solidifies without cracking or frosting.
Frequently Asked Questions About Soy Wax
Q: What is soy wax, and why is it popular?
A: Soy wax is a natural, plant-based wax made from soybean oil. It’s popular for its eco-friendly properties, clean burn, and excellent scent retention.
Q: Is soy wax toxic?
A: No, soy wax is non-toxic and safe to use. It doesn’t emit harmful chemicals, making it a healthier choice for homes.
Q: What is soy wax used for besides candles?
A: In addition to candles, soy wax is used to make wax melts, skincare products like lip balms, and other personal care items.
Q: What are the benefits of using soy candle wax flakes?
A: Soy candle wax flakes are convenient, easy to measure, and melt quickly. They’re perfect for DIY projects and professional candle making.
Q: How does the soy wax melting point affect candle making?
A: The moderate melting point of soy wax makes it easy to work with and suitable for container candles. It allows for even fragrance distribution and smooth finishes.
Soy wax is an excellent choice for anyone looking to create natural, high-quality candles. With its eco-friendly benefits, clean-burning properties, and versatility, it’s no wonder soy wax has become a favorite among candle makers and enthusiasts alike. Whether you’re crafting your own candles or choosing them for your home, natural soy wax offers a sustainable and beautiful solution.

Article
Top 10 Scents for Women: Find the Best Fragrance for You
When it comes to selecting the best scents for women, personal preference plays a huge role. Whether you love something light and floral or prefer deeper, sultry notes, a well-chosen fragrance can leave a lasting impression. To help you find the perfect match, here’s our guide to the top 10 fragrances for women that are both popular and timeless.
1. Sweet Pea: Light and Floral
Sweet Pea is often at the top of lists for the best perfume scents for women, thanks to its light, floral aroma. This fragrance is perfect for those who enjoy a fresh and feminine scent, making it a favorite among many.
2. Bergamot: Fresh and Citrusy
Bergamot, with its citrusy and refreshing scent, is one of the most popular fragrances for women. Known for its uplifting and invigorating qualities, it’s perfect for daytime wear, especially during spring and summer.
3. Toffee: Rich and Sweet
Toffee is a popular scent amongst women because it evokes feelings of nostalgia, comfort, and indulgence, fitting perfectly with their love for sweet, playful fragrances. Its connection to food culture and uniqueness also appeals to their desire for personal expression and standout scents.
4. Amber: Deep and Warm
Amber remains a top contender among the best perfume scents for women because of its rich and warm qualities. Its comforting depth makes it ideal for evening wear, adding a sense of mystery to any look.
5. Lavender: Fresh and Relaxing
Known for its calming properties, lavender is also one of the top 10 fragrances for women. Its fresh, herbal notes make it perfect for those who love a clean and natural scent, great for everyday use.
6. Vanilla: Cozy and Sweet
Vanilla continues to be a favorite in the fragrance world, standing strong as one of the best scents for women. Its cozy, sweet scent is ideal for those who prefer something comforting and classic.
7. Cherry: Youthful and Tart
Cherry is a popular scent for women because it’s the perfect mix of sweet and a little tart, giving it a fun yet sophisticated vibe. It’s fruity and bold, which feels youthful and feminine, but also has a touch of indulgence and luxury, making it a go-to for everything from everyday wear to something a bit more special.
8. Patchouli: Earthy and Sultry
Patchouli brings an earthy, sultry vibe to any fragrance. Often featured in perfumes with deeper, woodier notes, it’s one of the popular scents for women who want a more complex, bold fragrance.
9. Jasmine: Sweet and Sensual
Jasmine is always considered one of the best fragrances for women, admired for its sweet, romantic scent. It’s frequently used in high-end perfumes and can add a touch of sensuality to any fragrance blend.
10. Musk: Soft and Clean
Musk offers a clean and subtle scent that many women adore. It’s among the most popular fragrances for women because of its understated yet sophisticated presence, making it perfect for those who want something timeless and versatile.
With so many options available, finding the right scent can be a fun and personal journey. These top 10 fragrances for women offer a variety of notes, ensuring there’s something for everyone. To explore these scents and create your own custom blends, visit The Flaming Candle for an array of high-quality fragrance oils and supplies.
Article
How to Trim a Candle Wick for a Better Burn
Properly trimming your candle wick is essential for a clean, even burn. Learning how to trim a candle wick correctly can extend the life of your candle, improve scent throw, and prevent excess soot and smoke. Follow this guide to master the art of wick trimming and enjoy a better candle experience.
Why Trim a Candle Wick? The Benefits of Proper Wick Maintenance
Why trim a candle wick? Proper wick maintenance offers several benefits:
Cleaner Burn – A properly trimmed wick prevents excessive soot and smoke.
Longer-Lasting Candle – A wick that’s too long burns too hot and shortens the lifespan of your candle.
Even Wax Pool – Trimming ensures an even burn, preventing tunneling and wasted wax.
Stronger Fragrance Throw – A well-maintained wick allows the wax to melt at the right rate, improving scent diffusion.
How to Trim a Candle Wick: Step-by-Step Instructions
Wait for the Wax to Harden – Never trim a wick when the wax is still soft or liquid.
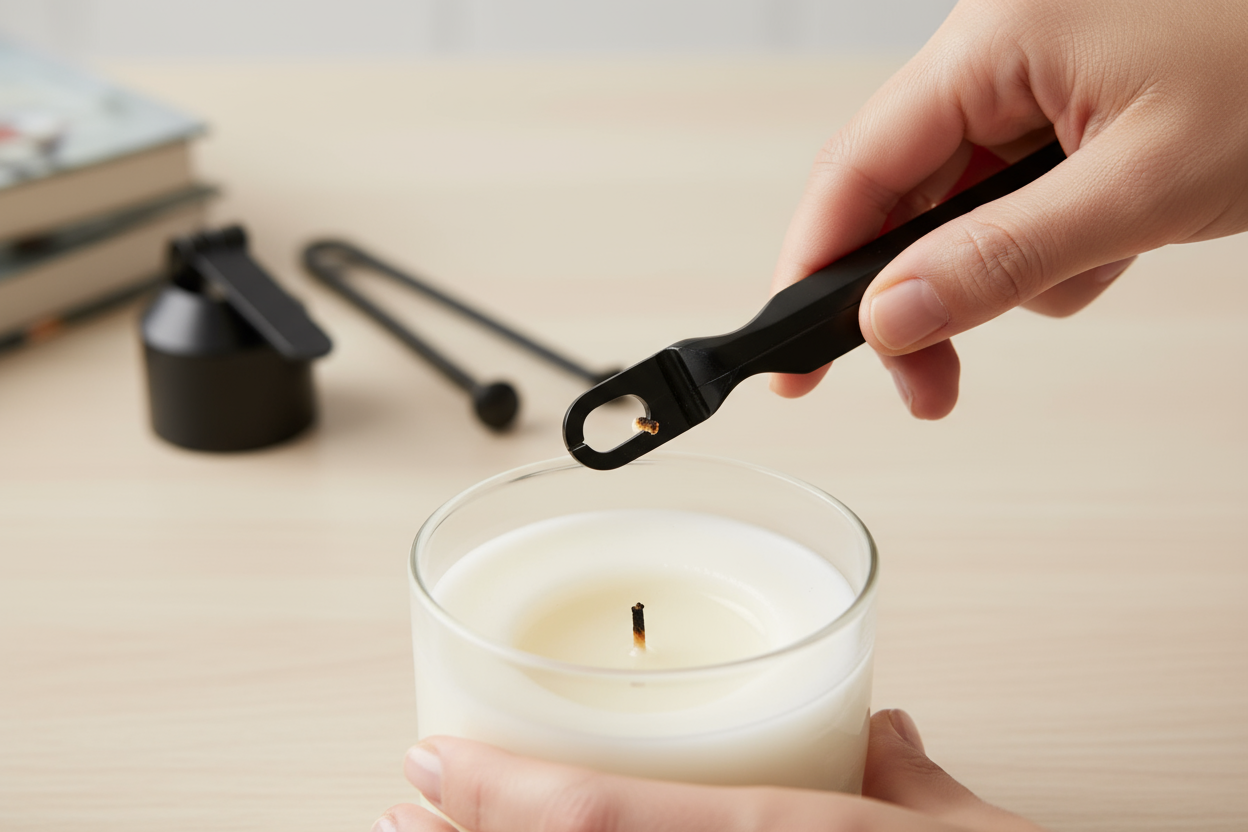
Use the Right Tool – Choose a wick trimmer, scissors, or nail clippers for precise cutting.
Trim to the Right Length – Cut the wick to approximately 1/4 inch before lighting.
Remove Trimmings – Ensure no wick debris falls into the wax, as this can affect the burn quality.
Check the Wick Before Each Burn – Regularly inspect and trim the wick as needed.
How Do You Trim a Candle Wick to the Right Length?
A common question is, "How do you trim a candle wick to the correct length?" The ideal length is about 1/4 inch. This length allows for a steady, controlled flame that melts the wax evenly without producing excess smoke or soot.
If the wick is too long, the flame may flicker and burn too hot, leading to uneven wax pooling. If it's too short, the flame might struggle to stay lit, affecting the candle’s performance.
Tools You Can Use to Trim a Wick Safely
When learning how to cut a candle wick, using the right tools makes the process easier and safer:
Wick Trimmers – Specially designed for precision and angled cutting.
Scissors – A simple household option, though not ideal for deep candles.
Nail Clippers – Great for trimming wicks in jar candles with limited space.
Pocket Knife – Useful for a quick fix but requires steady hands.
Browse our collection of candle-making tools and accessories.
How Often Should You Cut a Candle Wick?
To maintain the best burn quality, trim the wick before every use. Check the wick length before relighting if the candle has been burning for several hours. A well-maintained wick ensures an even burn and prevents the formation of mushrooming, which can cause excess soot.
Common Mistakes to Avoid When You Trim a Candle Wick
Avoid these common mistakes when you trim a candle wick:
Trimming Too Short – A wick shorter than 1/4 inch may struggle to stay lit.
Not Trimming at All – A long wick causes large, unstable flames and excess soot.
Leaving Wick Debris in Wax – This can affect the candle’s performance and lead to smoky burns.
Using the Wrong Tools – Dull scissors or improper tools can result in uneven cuts and poor burning performance.
Keeping your candle wick adequately trimmed is a simple yet essential step for better candle care. Following these guidelines ensures a cleaner, longer-lasting, and more fragrant candle experience every time you light your favorite candle.
Article
How Can I Get A Strong Scent Throw?
How to Enhance the Smell of a Candle: Key Factors for Better Scent Throw
Many factors can affect the scent throw in finished candles. Here are some variables that can impact scent throw:
Type of Wax Used
Impact on Scent Throw: Fragrance oils can perform very differently based on the type of wax used. Some fragrance oils, no matter how much trial and error, just will not blend with certain types of waxes. Soy waxes are known to be more ‘picky’ about the fragrance oils that work well in them. Generally, paraffin waxes still provide better scent throw than soy waxes.
Fragrance Oil Brand
Quality and Ingredients: Some fragrance oils are manufactured stronger than others using more natural ingredients and lower amounts of solvent, which tones down the fragrance strength. Choosing high-quality fragrance oils is crucial for making strong scented candles.
Fragrance Notes
Strength and Intensity: Not all fragrance oils are meant to have overpowering strength. Some are designed to provide a soft, subtle scent. Understanding the fragrance notes can help in selecting the right oils for your desired scent throw.
Amount of Fragrance Oil Used
Optimal Usage: Using too little fragrance oil will lead to a candle with very little scent throw. We recommend using our fragrance oils at 1 oz. per pound for optimal scent throw. Some fragrance oils on the market are manufactured at lower strength levels and may require up to 1.5 to 2 oz. of fragrance per pound. However, using too much fragrance oil can impair burning characteristics and does not necessarily enhance the smell of a candle.
Temperature at Which the Fragrance Was Added
Temperature Control: Adding fragrance oil at too high of a temperature may cause it to dissipate or burn off in the melted wax. Adding fragrance oil at too low of a temperature may prevent it from dispersing and binding uniformly in the melted wax. We recommend adding fragrance oil around 180° - 185°, which we have found to be a good temperature that is not too hot or too cool for making strong scented candles.
Additives Used
Enhancing Fragrance Retention: The use of additives, such as vybar, can enable wax to retain higher fragrance loads. However, many waxes on the market today come pre-blended and already contain additives. They can retain fragrance loads of 8% - 12%, and additional additives are generally not needed. For certain waxes, such as straight paraffin wax, additives can aid the wax in holding higher amounts of fragrance oil.
Proper Wick Selection/Size
Achieving the Right Burn Pool: Having the right wick size to achieve the proper burn pool can help with the scent throw. Too small of a wick will create a small burn pool, leading to poor scent throw. Too large of a wick may burn too hot and burn off the fragrance, also leading to poor scent throw. Finding a wick that has a steady flame and creates a full burn pool of approximately 1/4" to 1/2" deep can help with achieving good scent throw.
Time Allowed for Curing
Curing Recommendations: Allowing sufficient time for curing is essential for enhancing the scent throw. Here are our recommendations:
Paraffin Wax: Allow curing for at least 24 - 48 hours.
Soy Wax: Allow curing for at least 1 - 2 weeks.
Additional Tips for Making Strong Scented Candles
Experimentation:
Test Small Batches: Always test small batches when experimenting with new fragrance oils or waxes.
Record Results: Keep detailed records of your processes and results to replicate successful batches.
Understanding Hot Throw in Candle Making
Hot Throw: Refers to the scent throw when the candle is burning. Ensuring good hot throw involves selecting the right wax, wick, and fragrance oil, as well as allowing proper curing time.
Achieving the Best Scent Throw
Understanding and controlling the various factors that affect scent throw can significantly enhance the smell of a candle. By carefully selecting your wax, fragrance oil, and wick, and by following the recommended steps for adding fragrance and curing, you can make strong scented candles that fill a room with delightful aromas. Keep experimenting and refining your techniques to achieve the best results.
You May Also Like
Top 10 Scents for Women
Article
How Do I Calculate Burn Rate?
How to Determine a Candle's Burn Time: Accurate Methods and Tips
There are a couple of different ways to determine a candle's burn time (or burn rate). While either method can be used, we recommend using the first method for more accuracy in approximating a candle's burn rate.
Please Note: For both methods mentioned below on estimating a candle's burn time, we recommend slightly lowering the estimate to account for any remaining wax after the candle has extinguished itself.
Method 1: Full Burn Test
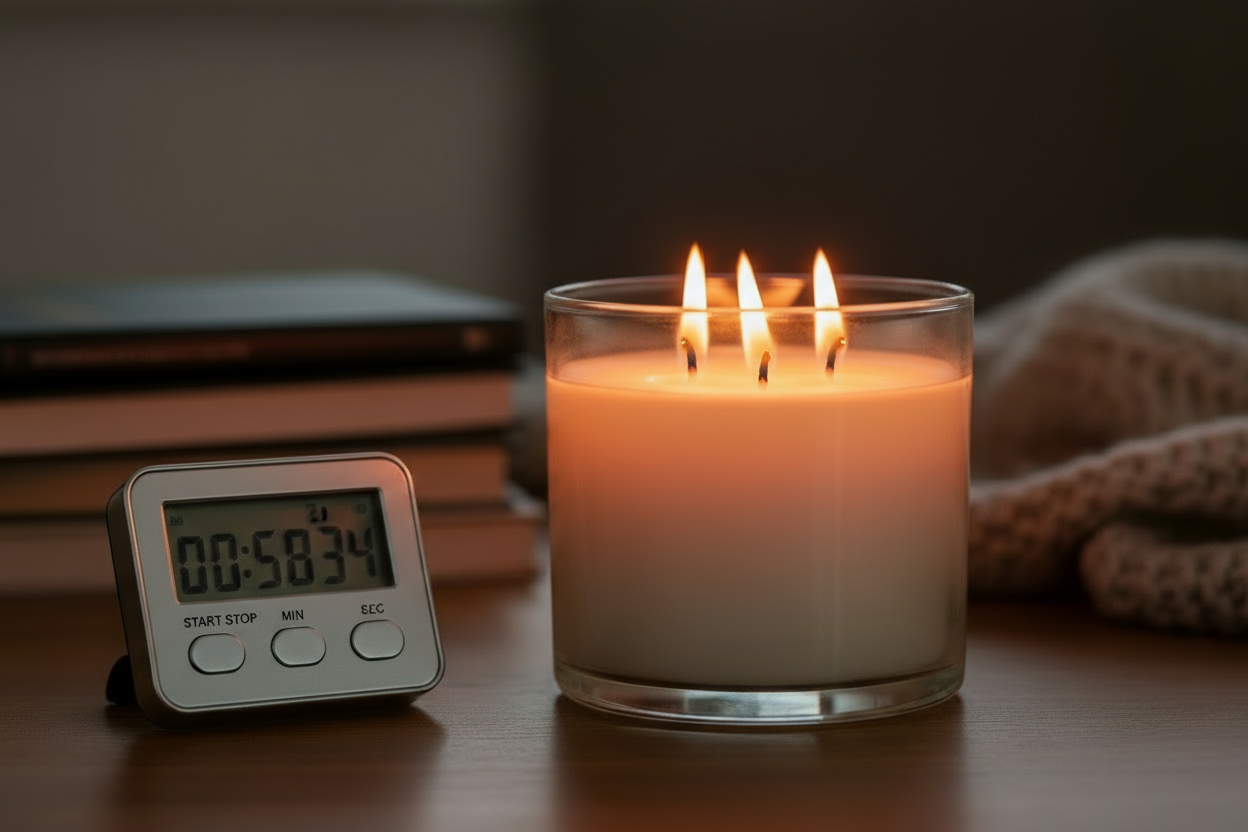
Overview: The Full Burn Test involves burning the candle in 2 - 3 hour intervals and keeping track of how many burns it takes for the candle to completely burn down until it extinguishes itself.
Steps:
Burn the candle in 2-hour intervals.
Track the number of burns until the candle fully extinguishes.
Multiply the number of burns by the burn duration to get the approximate burn time.
Example: If you burned a candle in 2-hour intervals and it took 25 burns to fully burn down, the candle would have an approximate burn time of 50 hours (25 burns * 2 hours each).
Tips for Accuracy:
Perform this test on at least two candles simultaneously to ensure consistent results.
Document the burn rate meticulously.
This method can be a more lengthy process, but it will provide a better estimate of a candle's burn rate, which is particularly useful for those selling candles.
Method 2: Partial Burn Test (Weight Method)
Overview: Another method for estimating a candle's burn time is by doing a partial burn test. This involves measuring the weight of the candle before and after a controlled burn period to calculate the burn time estimate.
Steps:
Weigh the candle before burning.
Burn the candle for approximately 2 - 3 hours (depending on the candle diameter).
Once the candle cools, weigh the candle again.
Determine the amount of wax used by subtracting the weight after burning from the beginning candle weight.
Estimate the total number of burns by dividing the total wax weight used in the candle by the amount of wax used from burning the candle.
Multiply the estimated total burns by the burn time hours to get the total burn time.
Example:
Total wax weight = 12 oz.
Beginning candle weight = 28 oz. (1 lb. and 12 oz.)
Burn candle for 2.5 hours.
Candle weight after burning = 27 oz. (1 lb. and 11 oz.)
Total wax used = 28 oz. - 27 oz. = 1 oz.
Estimated burns = 12 oz. / 1 oz. = 12 burns.
Estimated candle burn time = 12 burns * 2.5 hours = 30 hours.
Considerations:
This example assumes a test burn time for a container candle. For free-standing candles, the same steps apply, only you will not need to account for the container weight.
While the partial burn test is a quick way to estimate a candle's burn time, its accuracy can be affected by various factors, such as changes in burning characteristics as the candle burns down and the shape of the container.
Additional Tips for Accurate Candle Burn Time Estimation
Understanding Candle Burn Time Factors:
Wick Size: The size and type of wick can significantly affect burn time. Ensure you test different wicks to find the optimal one for your candle.
Wax Type: Different waxes burn at different rates. Soy, paraffin, and beeswax all have unique burning characteristics.
Fragrance Load: High fragrance loads can affect the burning behavior of the candle. Test various fragrance loads to find a balance that works.
Using a Candle Calculator: For those who want a quick estimate without performing tests, a candle calculator can be a useful tool. Input the wax weight, burn time per interval, and other relevant details to get an approximate burn time.
Key Takeaways for Candle Burn Time Estimation
Determining how long you can burn a candle accurately involves either a Full Burn Test or a Partial Burn Test (Weight Method). While the Full Burn Test is more accurate, the Partial Burn Test provides quicker results. Both methods help ensure you provide reliable burn time estimates for your candles, enhancing customer satisfaction and trust.
By following these guidelines and considering all factors, you can achieve more accurate burn time estimates and improve the overall quality of your candle products.
You May Also Like:
What Are the Types of Candle Wax?
What is Blended Wax?
What is Paraffin Wax?
What is Soy Wax?
Article
How Much Fragrance Oil Do I Use?
We recommend using our fragrance oils at 1 oz. per pound, or about a 6% fragrance load. While some waxes can hold up to 2 oz. of fragrance per pound, we would not recommend using that much due to the high concentration of our fragrance oils. There are weaker fragrance oils on the market that are diluted with solvent and may take up to 2 oz. per pound to achieve a desired scent throw preference. However, the more additives, dye, and fragrance added to wax, the greater the chance of having issues with soot, smoke, and/or poor burning characteristics. Also, adding more fragrance oil does not necessarily mean it will improve the scent throw in candles. There is a point where adding more fragrance oil will add little or no additional scent throw.
For skin care product usage amounts, please see the IFRA information for each particular fragrance. Each fragrance has this information posted below the fragrance description on the fragrance product page.
You May Also Like
Top 10 Scents for Women
Article
How To Perform Candle Wick Testing
Candle Wick Testing Method
While each candle maker may have their own preferred way of testing, one method we recommend is by pouring 3 to 5 candles that are all the same except for wick size. You can do this by choosing the wick size you think you may need and then also choosing the next size(s) up and down, which should give you an idea of what wick size works best after testing. For example, if you think you may need an ECO-8 for a particular candle recipe, you may also want to test an ECO-6 and an ECO-10. Once they have cured, you can then burn them next to each other to see which wick size burns the best compared to the others.
You can also use this method on multiple types of wicks to determine what wick type works best for a particular candle recipe. For example, you may pour 3 to 5 candles each for ECO, HTP, and Premier wicks and then test burn them next to each other to see which wick type and size works best. You can also place the different wick types in different rooms of comparable size and ventilation and test to see if one particular wick type provides a better scent throw than the others.
When testing, we recommend doing at least 3 test burns before making a final decision on which wick size or type to use. Each test burn should be around 2 to 3 hours (possibly shorter or longer depending on the candle diameter) to allow time for a full melt pool to form. For container candles, it is not uncommon to have ‘hang-up,’ or wax remaining on the side of the container, after the first or second burn, which ‘catches up’ on the third burn and beyond. This is why it is important to do at least 3 test burns before making a final decision on which wick size to go with.
If you sell or will be selling container candles to others, we strongly recommend test burning candles all the way down before deciding on a wick size. A candle’s burning characteristics can change as the candle burns further down into the container (especially for odd shaped containers).
Tips for choosing the right wick size:
The candle should achieve a full melt pool that is ¼” to ½” deep within 1 hour for each inch of diameter. For example, a 2” diameter candle should achieve a full melt pool within 2 hours.
The flame should be approximately ½” to 2” in height, with smaller candles being closer to ½” and larger candles going to as high as 2”.
The flame should not be producing excess smoke, soot, or mushrooming. The flame should also not flicker or dance around, but should be a still, steady flame.
Lower melt point paraffin waxes (such as single-pour waxes), vegetable/soy waxes, and beeswax are more viscous in nature and generally require a larger wick size than standard paraffin wax.
Article
How To Use Reed Diffusers & How They Work
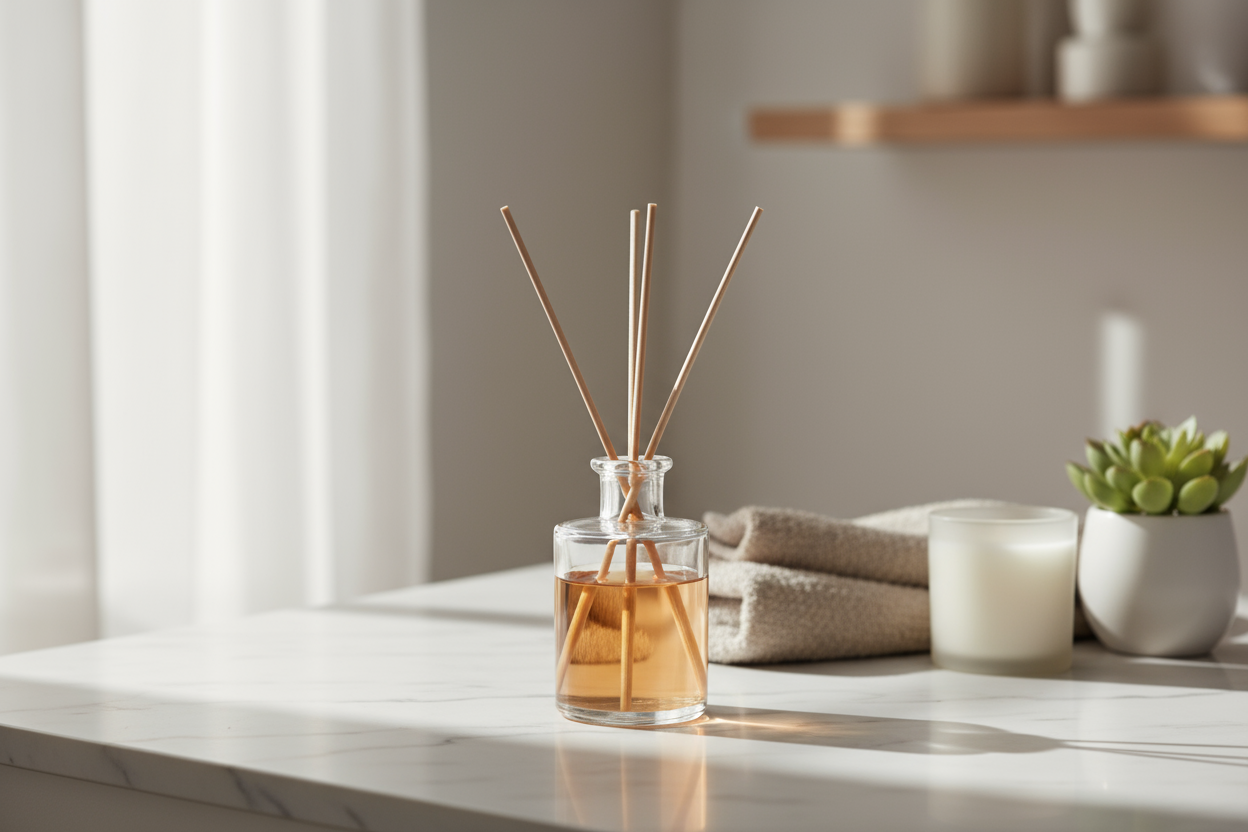
Reed diffusers are a popular choice for adding a continuous, subtle fragrance to any room without the need for heat or flame. If you’re wondering “How do reed diffusers work?” or the best way to use them then we’ve got you covered. Here’s a complete guide to help you get started!
How Do Reed Diffusers Work?
A reed diffuser is made up of a glass or ceramic vessel filled with a fragrant oil mixture—often an essential oil reed diffuser blend—and a set of rattan reeds. These natural reeds draw the oil up, allowing the fragrance to evaporate, creating a consistently gentle scent. Unlike candles, reed diffusers work without requiring a flame or electricity.
How To Use Reed Diffusers
Using a reed diffuser is simple and mess-free. Here’s a quick rundown of the steps:
Set It Up: Remove the cap or stopper from the diffuser bottle. If you’re using a natural reed diffuser with a sealed closure, carefully pop the top off to reveal the fragrance oil.
Insert The Reeds: Place some of the reeds that come with the diffuser into the bottle. This ensures a consistent and pleasurable release of fragrances. For stronger scent throw, use all the reeds provided.
Flip The Reeds: After a few hours—or whenever the scent starts to fade—flip the reeds upside down. This refreshes the diffusion process by exposing the saturated ends to the air.
Placement: Set the diffuser on a stable, flat surface away from direct sunlight or heat sources to prevent the oil from evaporating too quickly.
Reed Diffuser Instructions
Use in a well-ventilated space.
Keep away from direct sunlight and drafts.
Flip reeds regularly (every week or so) to maintain a consistent scent.
FAQs
Do You Put All the Reeds in a Reed Diffuser?
Yes, it’s recommended to use all the reeds that come with your diffuser. This helps distribute the fragrance more evenly and ensures the scent is strong enough to fill the room.
What Are the Disadvantages of Reed Diffusers?
While reed diffusers offer a convenient and flame-free way to scent your space, they do have a few drawbacks:
The scent throw is typically lighter than candles or electric diffusers.
The fragrance may fade over time as the oil evaporates, requiring periodic flipping of the reeds.
They’re best suited for small to medium-sized rooms and might not be effective in very large spaces.
How Long Do Reeds Last in a Diffuser?
Reeds usually last between one and three months, depending on the oil quality, room conditions, and frequency of flipping. Over time, they can become saturated and clogged, which can reduce scent throw. Replace them as needed to keep the fragrance fresh.
Essential Oil Reed Diffuser Tips
For a natural, consistent scent experience, consider using specially formulated essential oil reed diffuser blends. High-quality oils not only smell amazing but also reduce the risk of reeds becoming clogged too quickly.
Wrap Up
A natural reed diffuser is a simple, flame-free way to enjoy fragrance in your home. Just remember to set it up properly, flip the reeds regularly, and replace them when needed to keep the scent fresh. With the right essential oil reed diffuser, you’ll be able to fill your space with a continuous, inviting aroma that elevates your environment.
Legal Disclaimer: Always follow safety guidelines when using reed diffusers. Keep away from children and pets, and ensure that all materials comply with IFRA standards and are intended for safe home use.
Article
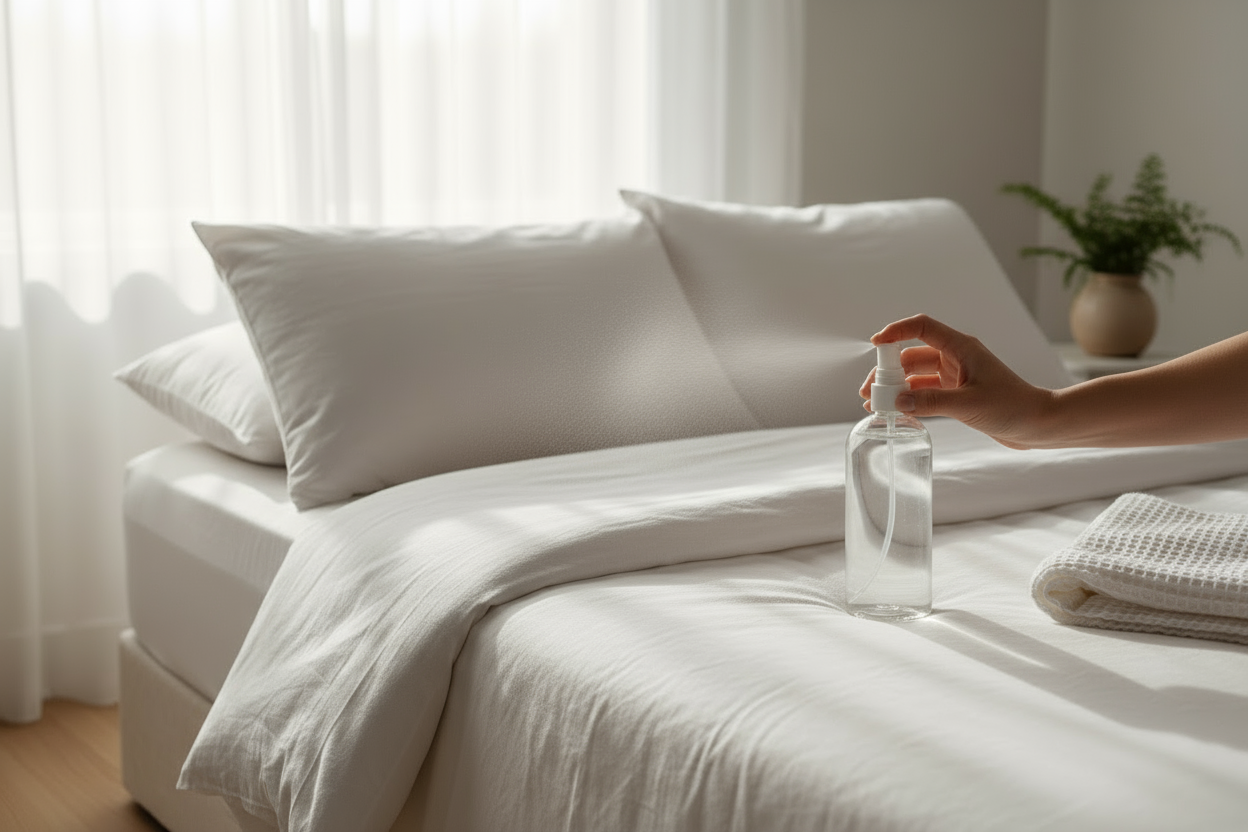
How to Make a Room/Linen Spray
A homemade air freshener is one of the best ways to transform your space with a fresh, clean scent. Consider this guide your walk-through on how to make a natural room spray that’s perfect for refreshing linens, spritzing in the air, or just giving your home a pleasing and signature scent.
Why Make Your Own?
Crafting a homemade air freshener means you control the ingredients—no mystery chemicals, just essential oil room spray goodness. This DIY home fragrance uses safe, simple ingredients that come together in minutes. Plus, it doubles as a homemade odor eliminator, making your house smell good without any fuss.
Ingredients You’ll Need
Distilled water: Helps keep your spray clear and free from impurities.
Witch hazel or rubbing alcohol: This acts as a dispersant, helping the oils blend better with the water.
Essential oils: Your favorite essential oil or a calming scent blend.
Glass spray bottle: A reusable, eco-friendly choice that helps preserve the integrity of your oil room spray.
How to Make Room Spray
Fill your bottle halfway with distilled water.
Add 1–2 tablespoons of witch hazel or rubbing alcohol.
Drop in 20–30 drops of essential oils. Choose a scent that lifts your mood or creates the perfect ambiance—lavender for a calming linen spray, citrus for a bright homemade air freshener, or eucalyptus for a natural room spray that feels refreshing.
Shake well before each use.
That’s it! You now have a DIY room freshener that’s perfect for spritzing around the house or on linens. Check out our high-quality oils to find the perfect one for you.
What Base Do You Use for Room Spray?
Most DIY room sprays use a combination of distilled water and a carrier like witch hazel or rubbing alcohol. This base helps disperse the essential oils and ensures the spray evaporates quickly, leaving behind only the lovely scent.
Linen Spray Recipe Ideas
A simple linen spray recipe can use the same formula: distilled water, witch hazel, and essential oils. Try a blend of lavender and chamomile for bedtime linens or citrus and mint for towels.
Tips for Best Results
Use a glass spray bottle to protect the essential oils from degrading in sunlight.
Shake your spray well before each use to re-blend the ingredients.
Store in a cool, dark place to keep your homemade room spray fresh.
Final Thoughts
Making your own room and linen mist is a fun and easy way to elevate your home’s atmosphere. This DIY air freshener lets you experiment with different oils until you find the perfect homemade room spray that makes your house smell good every time you walk in.
Legal Disclaimer: Always use essential oils safely and within recommended dilution rates. Follow IFRA standards when making scented products. Test any product on a small area before spraying widely, and discontinue use if irritation occurs.
Article
How to Remove & Prevent Soot in Candles
Candle soot happens when your candle doesn’t burn as cleanly as it should. It’s the black residue you might notice on glass jars, nearby walls, or even ceiling corners after repeated burning. While some soot is normal over time, it shouldn’t be excessive or constant.
Want to create cleaner-burning candles from the start? Explore our full Candle Wicks Collection and check out our “What Candle Wick Size Do I Need?” Guide to improve burn performance from the very first test.
If your candles are turning surfaces black or leaving a smoky smell behind, there are a few burn habits and formulation adjustments you can make to fix it. Wonder why do candles produce soot? Here’s the know and how to stop candle soot.
What Causes Candle Soot?
Soot forms when the wax fuel is not fully burned during combustion. This can happen for a few reasons, most of them related to how the candle is built or how it’s being used.
Poor Combustion and Airflow Issues
When a candle flame doesn’t get enough oxygen or burns too hot, it releases tiny black carbon particles. These are what you see as soot. Poor airflow in a room, drafty locations, or even improper trimming can lead to an unstable flame that produces more soot than necessary.
Consistently high flames are a red flag. These flames tend to pull up more wax than the flame can consume cleanly, which leads to incomplete combustion and residue buildup.
Effects of Wick Type and Fragrance Load
Wicks that are too large, too long, or poorly matched to the wax can increase the likelihood of soot. A high-fragrance candle, especially one with a heavy oil load or ingredients like vanillin, can also contribute. Always ensure your fragrance usage follows IFRA safety standards.
How to Prevent Candle Soot
The best way to deal with soot is to reduce the conditions that cause it. A few small steps during production and use can make a big difference in burn quality.
Clean Burning Candle Techniques
Trim the wick to ¼ inch before each burn
Burn your candle long enough to allow a full melt pool, but no more than 4 hours at a time
Avoid burning candles near windows, fans, or HVAC vents
Candles with stable flames and full melt pools typically burn cleaner and leave less residue behind.
Ideal Wick Sizing and Container Choices
Always test your wick size with the specific wax and fragrance oil you are using. If the wick is too large, it will burn hotter than necessary and produce more soot. The same goes for the container. Glass designed for candles should tolerate heat evenly and be the right shape for the melt pool to develop properly.
If you're working with jars around 2.5 to 3 inches wide using soy or soy-paraffin blends, the CD 10 Wick – 6" Pre-Tabbed (100 count) offers clean and steady burn performance with reduced soot.
You can also explore more size options in our full Candle Wicks Collection to match your specific vessel and wax type.
Cleaning Candle Soot Residue
If your walls or candle jars already show soot, here’s how to clean them without damaging paint or surfaces.
How to Remove Black Marks from Walls
Use a soft cloth with mild soap and water or a diluted vinegar solution to gently wipe soot-stained walls. Avoid harsh scrubbers, which can smear the residue or strip paint. For heavier buildup, a dry chemical sponge or “soot sponge” may be helpful.
If you’re dealing with soot on glass containers, rubbing alcohol or a gentle all-purpose cleaner usually removes residue easily.
Tips for Long-Term Burn Safety
Keep a 1-foot clearance around burning candles
Never leave a candle burning unattended
Use containers made for candle use, and avoid repurposing jars not rated for heat
Frequently Asked Questions
Q: How do I get candle soot off my walls?A: Use a damp cloth with mild dish soap or vinegar. Gently wipe the affected area and avoid over-saturating the wall.
Q: Is black soot from candles dangerous?A: While occasional soot is not usually harmful in small amounts, excess indoor soot over time can affect air quality. Clean-burning habits reduce exposure.
Q: Why do my candles turn black?A: Blackened glass or smoke trails are usually caused by an oversized wick, burning for too long, or poor airflow. Trim the wick and limit burn sessions to 3 to 4 hours.
Article
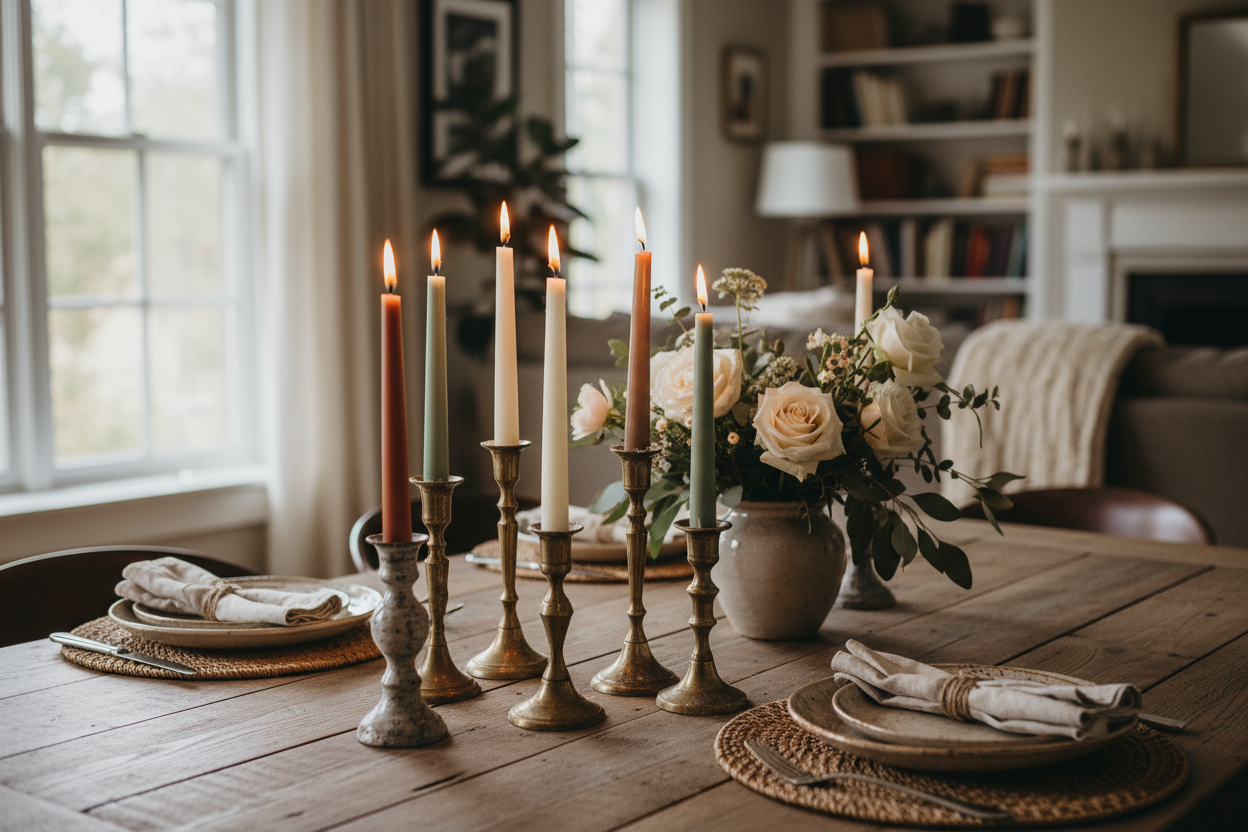
How to Make Taper Candles
Taper candles are elegant, timeless, and versatile additions to any setting. Whether you want to create a cozy ambiance, decorate for an event, or simply try your hand at a new craft, learning how to make taper candles is both rewarding and fun. This guide will walk you through how to make a taper candle, from choosing your materials to achieving the perfect finish.
Why Make Your Own Taper Candles?
Homemade taper candles are not only customizable but also a cost-effective way to add a personal touch to your space. They make thoughtful gifts and can be tailored to your preferences, whether you’re using soy wax for a clean burn or experimenting with vibrant colors.
Materials Needed
Before diving into how to make taper candles, gather the following supplies:
Wax: Soy wax or paraffin wax, depending on your preference.
Wicks: Pre-tabbed or raw cotton wicks designed for taper candles.
Double Boiler or Wax Melter: To melt the wax evenly.
Thermometer: To monitor wax temperature.
Tall Dipping Container: A tall, heat-safe container (e.g., metal or glass) for dipping the candles.
Wick Holder: A small weight or metal tab to keep the wick straight.
Wax Dye (Optional): For coloring your candles.
Fragrance Oil (Optional): If you’d like scented taper candles.
How to Make Dipped Taper Candles
Step 1: Prepare Your Workspace
Set up your materials in a well-ventilated area and cover your workspace to protect against spills. Attach weights to the bottom of your wicks to keep them straight during dipping.
Step 2: Melt the Wax
Place your wax in a double boiler or wax melter. For soy wax, heat to around 120-140°F. For paraffin wax, aim for 160-180°F. Monitor the temperature carefully to avoid overheating.
Step 3: Add Color and Fragrance (Optional)
If you want to create colored or scented candles, add wax dye or fragrance oil to the melted wax and stir until fully incorporated.
Step 4: Dip the Wick
Hold the wick by its top and dip it into the melted wax, ensuring the entire wick is submerged. Pull the wick out slowly, allowing the wax to cool for a few seconds before dipping again. Repeat this process until the candle reaches your desired thickness.
Step 5: Smooth and Finish
Once the candle has cooled, use a sharp knife to trim the bottom for a smooth, flat surface. Trim the wick to about ¼ inch at the top.
How to Make Soy Taper Candles
Soy wax is an eco-friendly and clean-burning option for taper candles. Follow the same steps as above, but keep in mind that soy wax is softer than paraffin, so you may need to allow extra cooling time between dips.
Tips for Making Perfect Taper Candles
Choose the Right Wick: Use a wick designed for taper candles to ensure an even burn.
Use Steady Motions: Dip the candles smoothly and consistently to prevent uneven layers.
Test Your Wax: Adjust the wax temperature if it’s too thin or too thick during dipping.
Experiment with Colors: Try layering different colored waxes for a unique look.
FAQs
How long does it take to make a taper candle?
Each candle typically takes 20-30 minutes to dip, depending on the desired thickness.
What is the best wax for taper candles?
Soy wax is great for clean-burning candles, while paraffin wax is ideal for achieving vivid colors and strong scent throw.
How can I avoid cracking in my taper candles?
Allow the wax to cool between dips and avoid rapid temperature changes in the wax or the environment.
Make the Perfect Taper Candle with Us
Learning how to make taper candles is a creative and enjoyable craft. Whether you’re exploring how to make soy taper candles for a sustainable touch or experimenting with paraffin wax for bold colors and fragrances, the process allows for endless customization. At The Flaming Candle, we provide all the materials and guidance you need to create beautiful taper candles that suit your style and purpose. Start crafting today!

Article
Textured Candles Guide: How to Add Unique Designs to Your Candles
Textured candles are a creative way to elevate your candle-making projects. These candles add depth, dimension, and personality to any space, making them perfect for home decor or gifts. Whether you’re crafting textured pillar candles or experimenting with intricate designs, this guide will walk you through how to make textured candles and explore popular candle texture techniques.
What Are Textured Candles?
Textured candles are candles with unique, tactile surfaces created through special techniques during the candle-making process. Unlike traditional smooth candles, textured candles feature patterns, ridges, or layers that add visual and sensory appeal. These designs can range from rustic, handmade finishes to refined, intricate patterns, making them versatile for various occasions and styles.
Textured pillar candles, for instance, are popular for their classic shape combined with artistic detailing, making them a standout centerpiece for any room.
Candle Texture Techniques
Creating candle texture involves several methods, each offering a unique look and feel. Here are some of the most popular techniques:
Embossing: Use molds with pre-designed patterns or press stamps into soft wax to create raised designs on the candle’s surface.
Carving: Once the candle hardens slightly, carve patterns, lines, or shapes into the wax using carving tools or knives for a rustic, hand-crafted appearance.
Layering: Pour wax in layers of different colors or textures, letting each layer cool slightly before adding the next, to create striped or gradient effects.
Rustic Texture: Tap the soft wax with a sponge or cloth for a rough, handmade finish. This technique works well for adding a natural, organic feel to textured pillar candles.
Imprinting: Press materials like lace, leaves, or textured fabric onto soft wax to transfer their design, resulting in intricate patterns.
Additives: Mix items like dried flowers, glitter, or sand into the wax to create texture within the candle itself.
How to Make Textured Candles: Step-by-Step
Follow these steps to create your own textured candles:
Prepare Your Workspace: Cover your work area with protective sheets and gather your tools, including molds, carving tools, and any materials for texture.
Melt the Wax: Use a double boiler to melt your wax. For textured pillar candles, paraffin or soy wax works well.
Add Color and Fragrance: Stir in candle dye and fragrance oil to customize your candle’s scent and appearance.
Pour the Wax: Pour the melted wax into your mold and let it cool until it reaches a soft, pliable state. This stage is ideal for applying texture.
Apply Texture:
For embossing or imprinting, press your chosen material into the soft wax.
For carving, use tools to etch designs into the semi-hardened surface.
For layering, pour a second layer of wax once the first layer is partially set.
Let the Candle Harden: Allow the candle to cool completely. Remove it from the mold and make final adjustments to the texture if needed.
Trim the Wick: Cut the wick to about ¼ inch for a clean burn.
Customizing Textured Candles for Any Occasion
Textured candles can be customized to suit any event or theme. For holidays, use seasonal molds or colors, such as orange and black for Halloween or red and green for Christmas. Adding glitter or dried flowers to the wax can give your candles a whimsical or romantic touch, perfect for weddings or gifts.
For rustic or farmhouse decor, opt for natural colors like beige, brown, or forest green, and use the rustic texture technique for a handmade look. The possibilities are endless when it comes to crafting unique textured pillar candles that reflect your personal style.
Frequently Asked Questions About Textured Candles
Q: Can I make textured candles without special tools?
A: Yes! Everyday items like sponges, cloths, or stamps can be used to create unique candle texture effects.
Q: What’s the best wax for textured candles?
A: Paraffin wax is ideal for detailed designs, while soy wax is great for rustic textures. Beeswax also works well for carving.
Q: How long do textured candles take to set?
A: Depending on the wax type and size, candles typically take 4–6 hours to cool and harden fully.
Q: Can I add texture to pre-made candles?
A: Yes, by softening the surface with a hairdryer, you can carve or imprint designs onto existing candles.
Textured candles are a fantastic way to express creativity and add a touch of artistry to your candle-making projects. By experimenting with different techniques and materials, you can craft one-of-a-kind designs for yourself or as gifts. Start your journey today and discover the joy of making beautifully textured candles that light up any space.