


Articles

Article
The Best Candle Making Kits for Beginners
The best candle making kits for beginners: what a good starter kit includes, how to choose one, and TFC's kits to pour your first candle with confidence.
Article
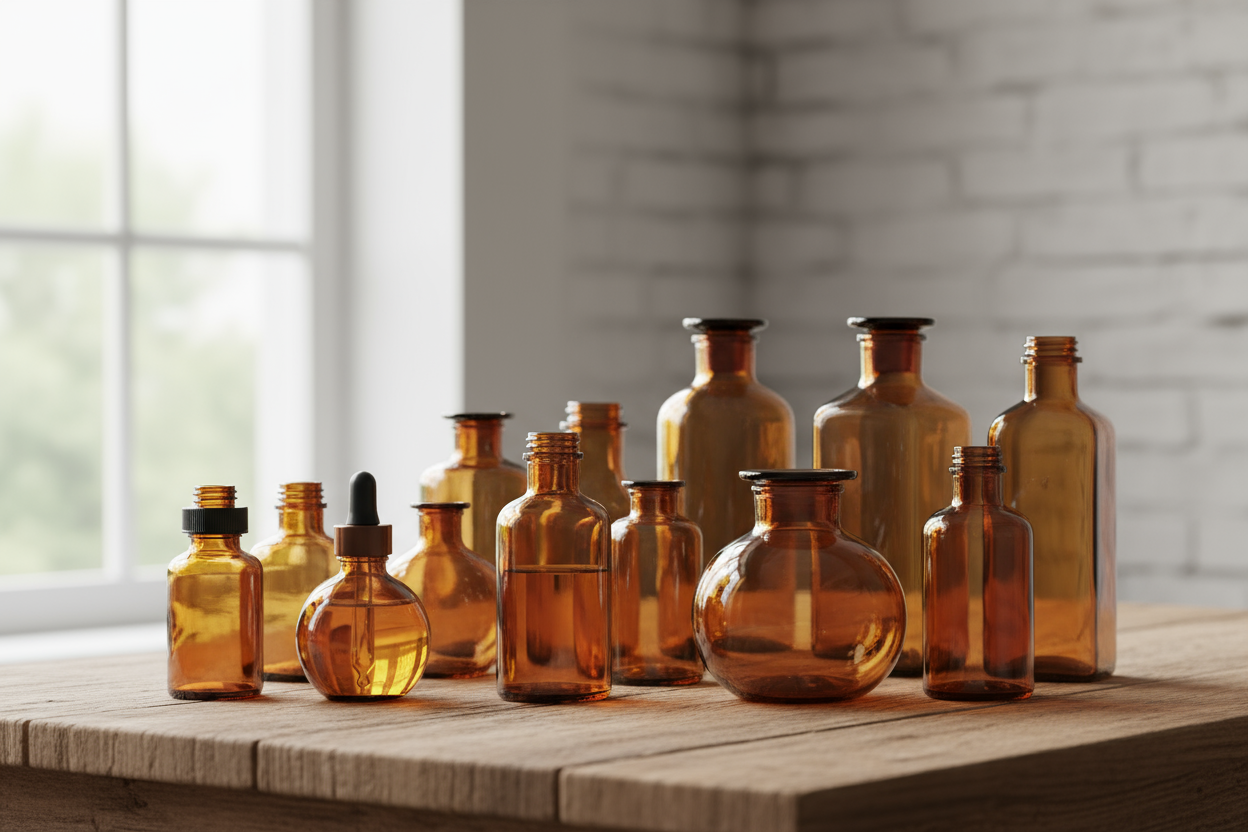
Do Fragrance Oils Smell Difference in Wax vs. In The Bottle?
Yes, fragrance oils can smell very different in a finished candle than they do out of the bottle. Fragrance oils are more concentrated when they are in the bottle and become less concentrated as they are diluted in wax, thus altering the original concentrated smell. Some fragrance oils may lose their strength altogether when placed in wax and become diluted. However, our quality concentrated fragrance oils retain their strength in finished candles due to the low amount of solvent used.
You May Also Like
Top 10 Scents for Women

Article
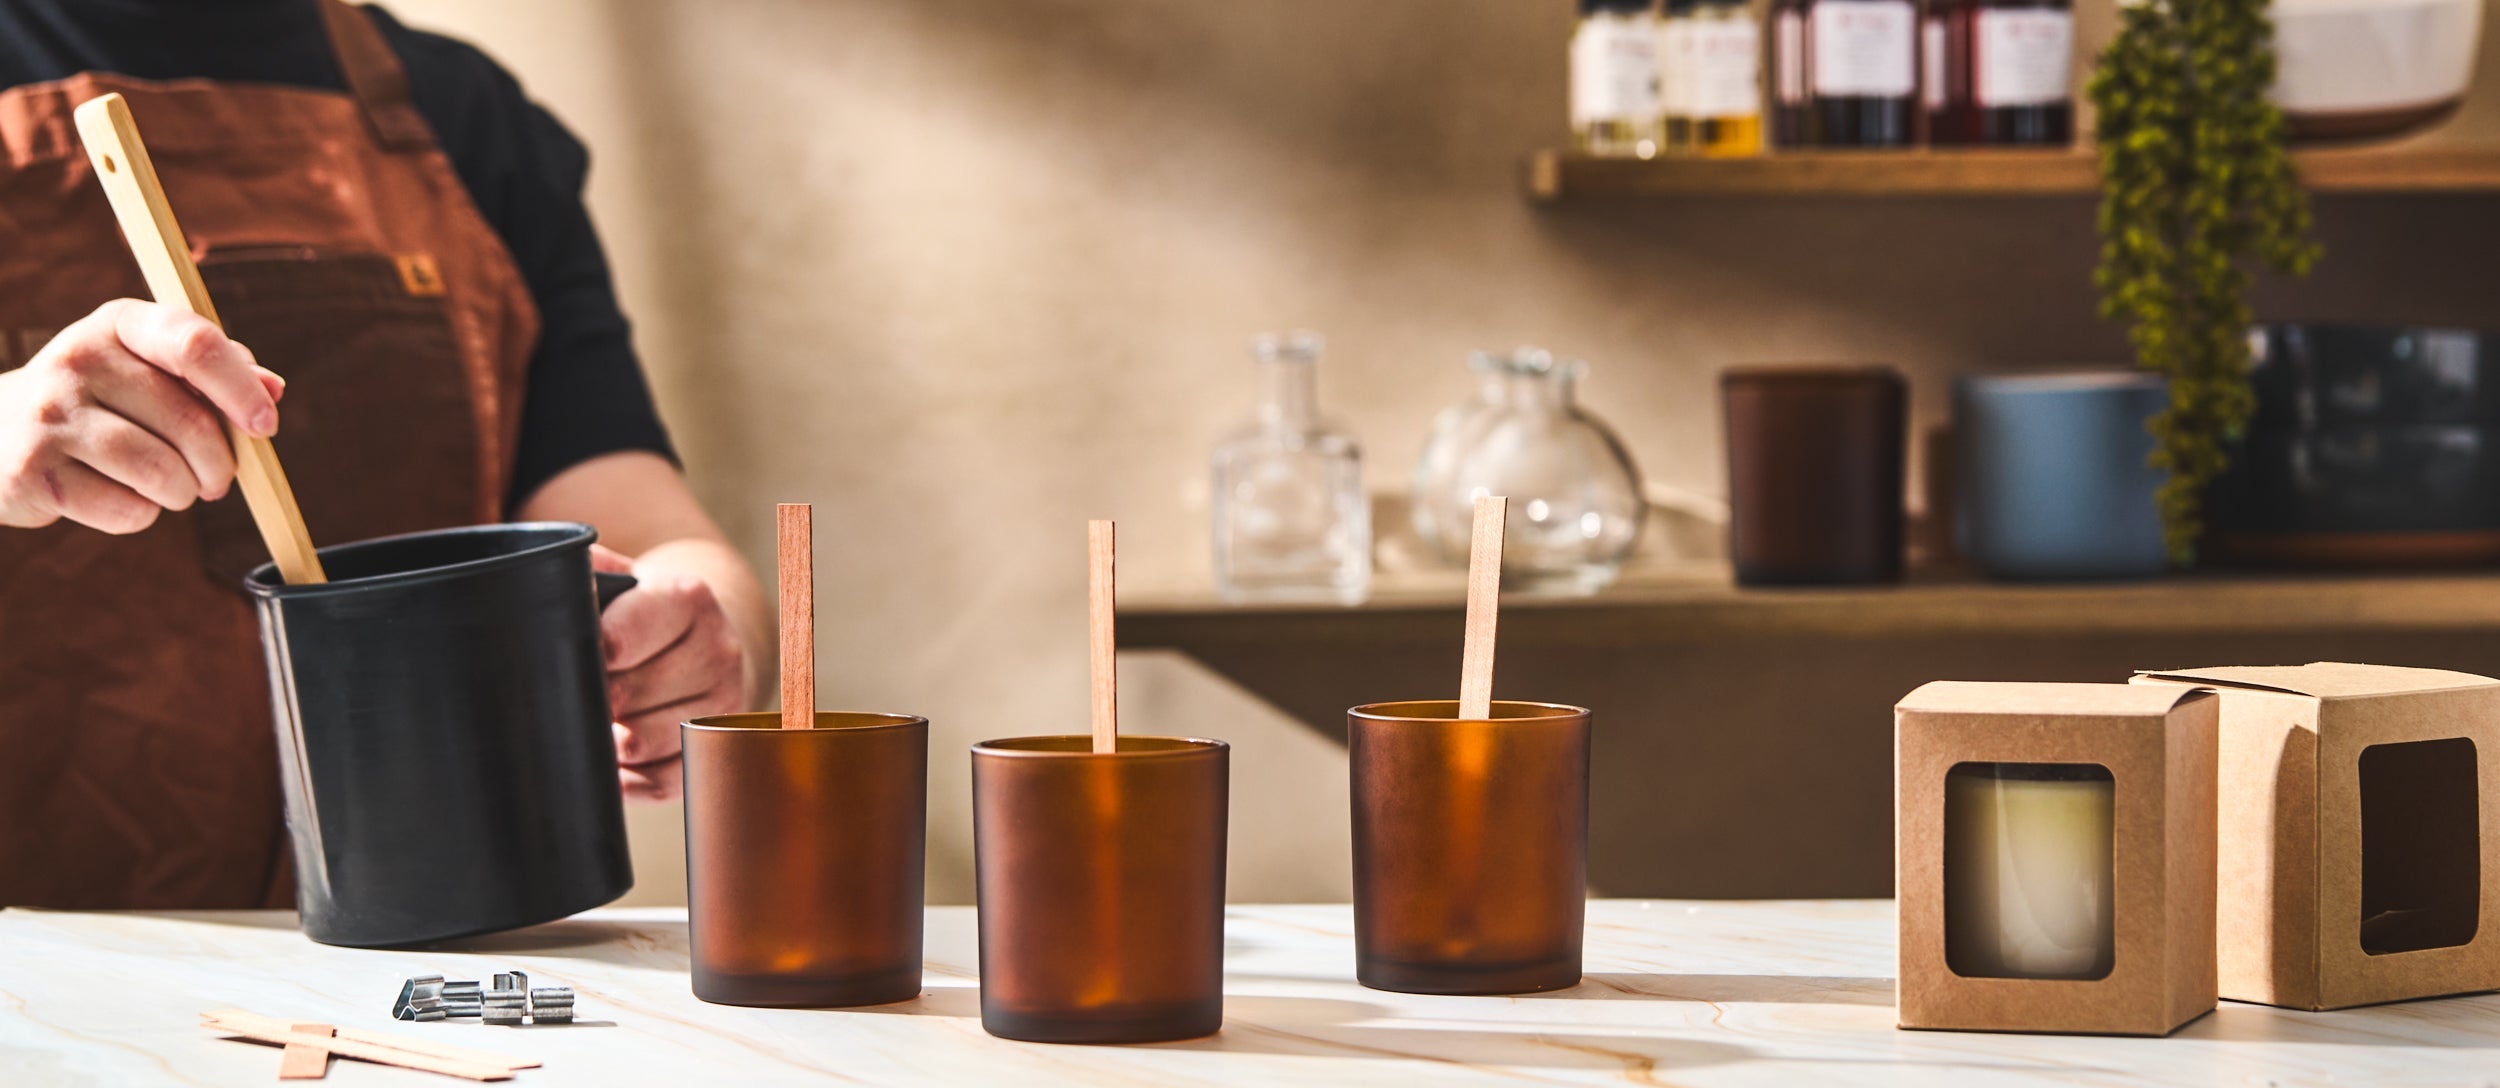
Can Candle Dye Be Used In Skin Care Products?
No, unfortunately our dyes are oil based and not meant to be used in skin care products. There are other dye products on the market that are safe to use in coloring skin care products.
Article
Getting Started
Yes, you can make candles at home, and no, you don't need a studio full of equipment to do it right. Candle making comes down to five decisions and one process: choose a wax, size a wick to your vessel, add fragrance at the right temperature, pour, and cure. That's it. We take that process seriously, because we've watched it go sideways in every way imaginable, so this guide walks through each step in order, tells you what to actually buy for your first pour, and calls out the mistakes that catch nearly every beginner before they catch you.
Jump to:
What You Need to Make a Candle
Choosing Your Wax
Choosing Your Wick
Choosing Your Fragrance
How to Make a Candle, Step by Step
Common Beginner Problems
Ready-Made Kits: The Shortcut
Ready to Pour Your First Candle?
FAQ
Candle making is also a bigger world than you might think, and honestly, we love that about it. The U.S. candle market was valued at roughly $3.68 billion in 2024 and is projected to keep growing at around a 3.9% CAGR (Source: Custom Market Insights ). Member companies of the National Candle Association alone account for roughly 80% of the candles made in the U.S. (Source: National Candle Association ). Here's why that matters to you: the supply chain behind this craft is mature. Good wax, well-tested wicks, and reliable fragrance oils are everywhere. You're not out here inventing a wheel. You're joining a community of people who have already figured out most of the hard parts.
What You Need to Make a Candle
Before you melt anything, gather these seven basics. Most will outlast several batches, so this isn't a one-and-done purchase.
Wax. The base fuel of the candle. What type depends on your vessel and the burn you're chasing, more on that in a second.
Wick. This is the whole difference between an even burn and a candle that tunnels straight down the middle. It's sized by vessel diameter and wax type, not vibes. Check the candle wick size chart before you buy.
Fragrance oil. For scent throw, and yes, we take scent throw personally. Add it at a specific temperature so it actually binds to the wax instead of burning right off.
Vessel. The jar, tin, or mold that holds the candle. Its diameter is the single biggest factor in your wick choice, so pick this first.
Thermometer. A candy or wax thermometer to track pour and fragrance temperatures. Guessing here is where most first candles quietly go wrong.
Pouring pot or double boiler. For melting wax safely and pouring clean, no wax running down the sides of your jar and hardening into a mess.
Scale. For measuring wax and fragrance oil by weight. Trust us, it's far more consistent than eyeballing volume.
Don't want to source these one at a time? TFC's candle making supplies category has everything above, and the candle making kits category bundles it all for you. More on that shortcut below.
Choosing Your Wax
Your wax choice shapes almost everything downstream. How the candle smells while burning, how long it lasts, how it looks once it's set, all of it traces back to this one decision. At a glance:
Wax type
Best for
Trade-off
Soy
Clean, long, even burns; container candles
Softer scent throw than paraffin
Paraffin
Strong scent throw; pillars and votives
Less "natural" positioning; can soot if wicked wrong
Specialty (gel, palm, beeswax blends)
Decorative or novelty projects
Often needs different wicking and pour temps
Soy burns clean and long. Paraffin throws scent hard. Pick based on the burn and throw you actually want, not on which one sounds trendier on a label. If you want the deep dive on each, we've written the full breakdowns: what is soy wax , what is paraffin wax , gel candles (guide coming soon), and wickless wax melts if you want scent filling a room without a flame at all.
Our honest take for a first candle? Soy wax in a glass jar. It tolerates small temperature mistakes better than paraffin, and it's the wax most beginner wick charts are built around, so you're not fighting your materials on top of learning the process.
Choosing Your Wick
Wick size comes down to two things: your vessel's diameter and the wax you're using. Not the size of the whole candle, and definitely not a guess. A wick that's too small won't melt a full pool of wax to the edges, that's tunneling, and it's a slow, wasteful way to burn a candle. A wick that's too big burns too hot, soots the glass, and mushrooms at the tip. Neither is a good look, and both are completely avoidable once you know what you're checking for.
Here's the reliable way to pick one: start with a wick chart matched to your wax type and jar diameter, then test-burn a sample candle for a few hours before you commit to a full batch. You're looking for a full melt pool that reaches the edges of the jar, with a flame that stays steady and doesn't soot the glass. That melt pool is non-negotiable, full stop. If you don't get one, size up or down a step and test again. Feeling ambitious enough to cut and prime your own wicks instead of buying pre-tabbed ones? See how to make homemade candle wicks .
Choosing Your Fragrance
You've got two real options here. Fragrance oils are formulated specifically for candle-making, so they hold up through the heat of melting and burning without falling apart. Essential oils are more natural, sure, but they're often weaker and less stable at wax-melting temperatures, which means the scent you loved in the bottle can disappear once it's lit. For a full comparison of how each performs once a wick is lit, see fragrance oils vs. essential oils .
As a starting point, most fragrance oils are used at roughly 6 to 10% of the total wax weight, though the right load depends on the specific oil and wax you're pairing. Always check the fragrance oil's usage guidelines and your wax supplier's recommended maximum before you commit a whole batch. Adding it at the correct temperature (typically once the melted wax has cooled slightly from full melt, not while it's screaming hot) matters just as much as how much you use. Fragrance oil added too hot burns off before the candle ever sets, and that's scent you paid for going straight into the air instead of into your candle. If your finished candles smell great unlit but weak once burning, that's a scent-throw problem, and how to get a strong candle scent throw covers the fixes.
How to Make a Candle, Step by Step
Here's the condensed version of the whole process, maker to maker. Each step links out to a deeper guide if you want to troubleshoot further once you're actually standing over the pot.
Melt your wax in a pouring pot or double boiler, tracking temperature with a thermometer. Most soy blends reach full melt around 185°F, but check your specific wax's spec sheet since blends vary. Don't walk away from it.
Add fragrance oil at the right temperature. For most soy waxes, that's once the melt has cooled slightly to somewhere in the 165–185°F range, not straight off full melt. Stir for a full minute or two so it's evenly distributed, not pooled at the top waiting to ruin your burn.
Wick the vessel before pouring. Center a properly sized wick (see the wick chart ) and secure it so it stays put as the wax sets, not drifting to one side.
Pour the wax into the vessel once it's cooled to your wax's recommended pour temperature, typically around 130–145°F for soy. Pour too hot and you risk frosting or sinking as it sets; pour too cool and you get poor adhesion and a rough top. Pour slowly and steadily, keeping the wick centered, then set the container somewhere free of drafts to cool undisturbed.
Cure the finished candle. Most soy candles need about 1 to 2 weeks of curing before their first burn, so the fragrance fully binds to the wax and the scent throw hits its full strength. Yes, waiting two weeks is the hardest part.
That's the full pour, start to finish. The details that separate a good candle from one worth cart after cart of repeat orders live in the wax-and-wick pairing and those two temperature checkpoints. Get those right, and the rest really is just patience.
Common Beginner Problems
Almost every first-time candle maker runs into one of these, so if you do too, welcome to the club. None of them mean you've done something unfixable. They're usually a wick, temperature, or curing issue, and all of them respond to a small adjustment on your next batch.
Tunneling. The candle burns straight down the middle instead of melting to the edges, usually from an undersized wick or not letting the first burn run long enough. Full fix: how to fix candle tunneling .
Soot. Black residue on the jar or lid, typically from an oversized wick, a draft, or a wick left untrimmed too long. Full fix: how to remove and prevent candle soot .
Mushrooming. A bulbous buildup at the tip of the wick, usually tied to wick size or fragrance oil load. Full fix: why do candle wicks mushroom .
Weak scent throw. The candle smells faint or not at all while burning, even if it smells strong unlit. We take this one personally, so we've written the whole fix. Full fix: how to get a strong candle scent throw .
Flame too high or too small. A signal your wick doesn't match your wax or vessel. Full fix: candle flame too high or too small .
Hit one of these on your first pour? Don't scrap the hobby over it. Every maker on our team has a first candle they'd rather not talk about. It's almost always one variable (wick size, pour temp, or fragrance load), and an easy fix on the next batch.
Ready-Made Kits: The Shortcut
Rather skip sourcing wax, wicks, fragrance, and a vessel separately? Fair. A beginner kit bundles pre-measured, pre-matched supplies, so your first pour has one less variable to get wrong, and you get straight to the part you actually signed up for. See best candle making kits for beginners for a breakdown of what's included and which kit fits which project.
Ready to Pour Your First Candle?
You now have the full path: wax, wick, fragrance, vessel, pour, cure. From here, the fastest way to a great first candle is to shop candle making supplies directly, or grab a beginner candle making kit so everything is matched and ready to go. Drop everything and pour. Your first melt pool is waiting.
FAQ
Is candle making hard for beginners?
No. The core process (melt, add fragrance, wick, pour, cure) is straightforward and doesn't require special skills. Most early mistakes trace back to wick size or fragrance temperature, and both are easy to correct once you know what to look for.
What wax is best for beginners?
Soy wax is the most forgiving starting point. It burns clean and even, tolerates minor temperature slip-ups better than paraffin, and most beginner wick charts are built around it, which makes sizing more predictable.
How much fragrance oil do I add?
Most fragrance oils are used at roughly 6 to 10% of the total wax weight, but the right amount depends on the specific oil and wax combination. Always check the fragrance oil's usage guidelines and your wax's recommended maximum before pouring.
How long do candles need to cure?
Most soy candles need about 1 to 2 weeks of curing before their first burn. Curing lets the fragrance oil fully bind to the wax, which is what gives you the full scent throw once it's lit.
What supplies do I need to start?
Seven basics: wax, a wick sized to your vessel, fragrance oil, a vessel, a thermometer, a pouring pot or double boiler, and a scale. A beginner kit bundles all of these pre-matched if you'd rather not source them individually.
Article
All Calculators
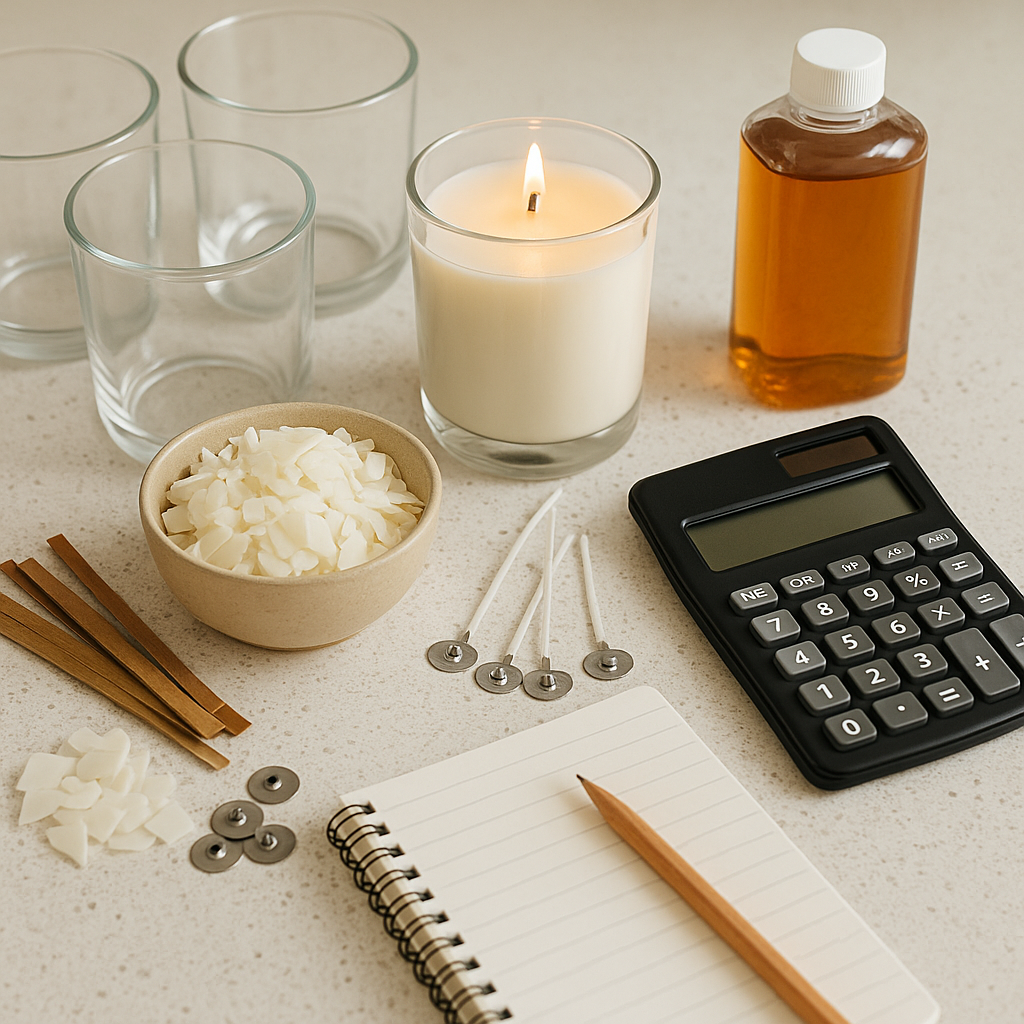
Directions: Click the desired calculator link below to initiate download of the calculator excel file. Once you open the file, you may need to click enable editing at the top to be able to input numbers in the boxes for calculation.
How Many Candles Can I Make?
Trying to figure out how many candles you can make? This calculator will help you figure out how many candles you can make based on the amount of wax you have and how wax much each container will hold.
How Much Wax Do I Need?
If you want to know how much wax you will need to make a certain number of candles, download this calculator and quickly see how much wax you will need.
What Is My Fragrance Load?
If you are trying to achieve a certain fragrance load %, this calculator will help you figure out how to calculate a particular fragrance load %.
How Much Fragrance Oil Should I Use?
Not sure how much fragrance oil you need to use when making candles? Use this calculator to figure out exactly how much fragrance oil you need to use for your candle recipe.

Article
Can Different Types Of Candle Dye Be Blended?
Yes. All of our candle dyes can be mixed together to create unique and custom colors. However, we recommend taking detailed notes so that you are able to accurately recreate the specific color when mixing dyes.
Article
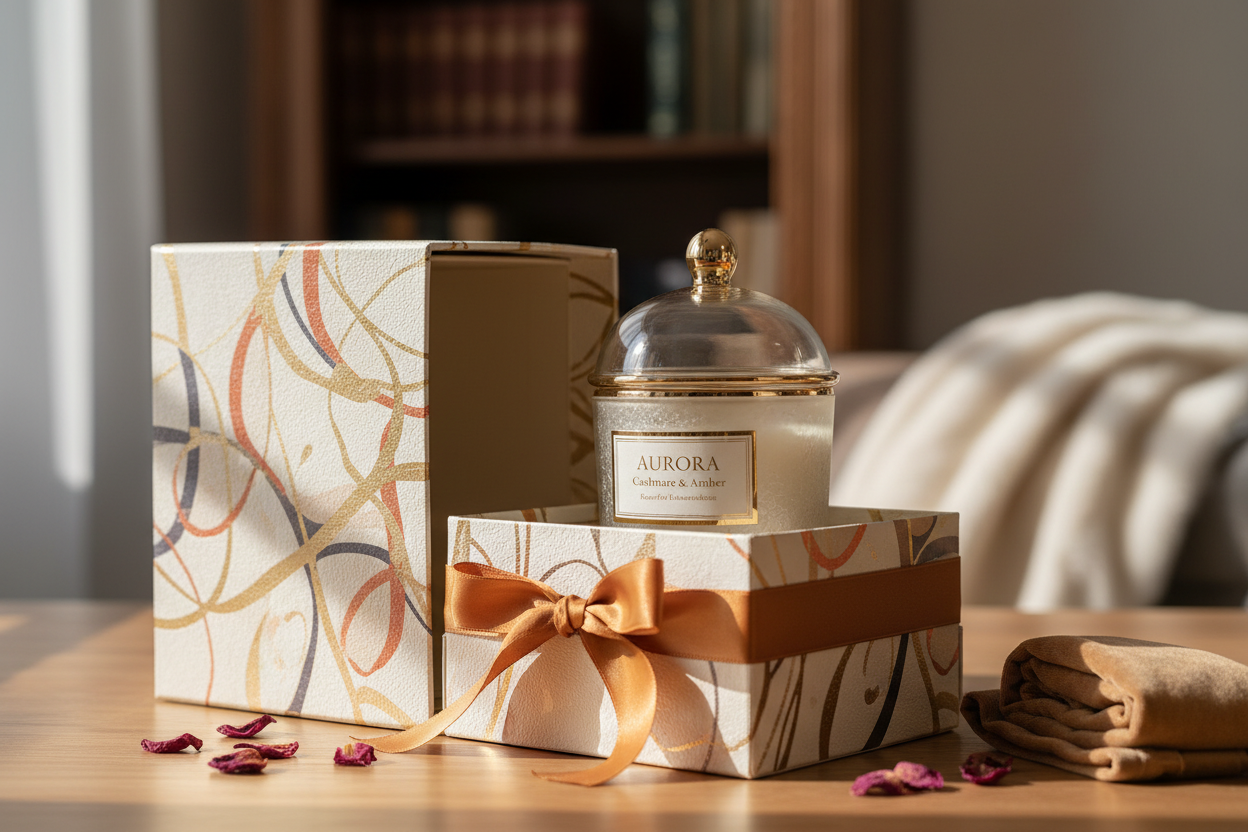
Candle Gift Wrap Tips: How to Wrap a Candle as a Gift
A well-wrapped candle adds to the experience of giving it. Presentation matters, especially for handmade or fragrance-driven gifts. With the right approach, wrapping becomes part of what makes the candle feel thoughtful and complete.
Choose Materials That Work for Candle Wrapping
Start with a Sturdy Candle Gift Base
Jars, tins, and glass vessels need support. A snug box, tray, or insert prevents shifting and absorbs impact during handling. Too much space inside the packaging leads to unnecessary movement, especially during transport. A stable foundation also makes the outer wrap look neater.
Use Wrapping Paper That Supports Candle Shapes
Thin or glossy paper can tear easily under the weight of a candle. Thicker sheets with a bit of texture hold creases better and resist punctures. If there’s any wax residue on the container, use an inner layer, like unbleached tissue, to avoid oil spots bleeding through.
Add Cushioning Without Messing Up Your Candle Gift Wrap
Packing materials should secure the candle, not overwhelm it. Folded tissue, paper shred, or molded trays keep things tight without adding bulk. The candle should sit firmly with minimal room to shift, especially around the base and lid.
Creative Candle Gift Wrapping Ideas
Minimalist Wraps for Jar Candles
A jar wrapped in craft paper and tied with twine offers a clean look. This style leaves space for the scent label to show or allows a tag to carry that information. A wax seal or textured sticker adds detail without overdoing it.
Fabric Gift Wrapping Techniques for Candles
Cotton and linen squares can be folded and tied around the candle, adding softness and structure in one step. These wraps work especially well for smaller vessels or tins. No tape required, just a clean knot or fold keeps it together.
Gift Bags vs. Boxes for Wrapping a Candle as a Present
Bags are quick, but often lack structure. Boxes protect better and keep decorative touches in place. A rigid base also helps avoid tipping and makes it easier to stack or store wrapped candles during peak seasons.
Common Candle Wrapping Mistakes to Avoid
Don’t Skip Protection When Wrapping a Candle
A candle may feel sturdy, but it’s still a weighty, fragile product. Glass can crack, lids can dent, and even thick paper won’t help if there’s no internal support. Use padding and box inserts to reduce risk, especially for breakable containers.
Prevent Wax Smudges While You Gift Wrap
Even a small smear of wax or fragrance oil can stain wrapping paper. Wipe down jars before packaging and use a buffer layer between the candle and exterior wrap. Keeping the surface clean helps the entire gift feel more polished.
Keep Candle Labels Visible (When It Matters)
Scent names, burn instructions, and branding often sit front and center on the candle. If wrapping completely covers the label, include a hang tag or apply a label to the exterior packaging. That extra step avoids confusion, especially in gift sets.
Candle Gift Bundle Packaging Ideas
How to Arrange Multiple Candles in One Gift
Weight and balance matter when wrapping more than one candle. Place heavier jars at the base and use dividers or molded trays to separate each vessel. This keeps the bundle clean-looking and safe to handle.
Finishing Touches for Safe, Gift-Ready Candle Wrap
Ribbon, string, and tags work best when they don’t press directly against the candle. Avoid embellishments with scent or oils, especially if they’ll touch the wax or lid. Stick to dry, inert materials that won’t affect the fragrance or integrity of the candle.
Final Details That Elevate Candle Gift Presentation
Add a Note or Tag to Your Candle Gift Packaging
A small tag with a scent name, brand mark, or gift message adds a personal layer without crowding the wrap. For seasonal or custom candles, this also helps the recipient know what they’re getting before the lid comes off.
Store-Bought vs. DIY Candle Gift Wrap
There’s no need for elaborate designs. Crisp folds, well-cut paper, and a clean ribbon can make just as strong an impression. Whether made in-house or prepped for retail, the goal stays the same: clean, protective, and gift-ready without distraction.
Article
Create Your Own DIY Candle Kit with Custom Recipes
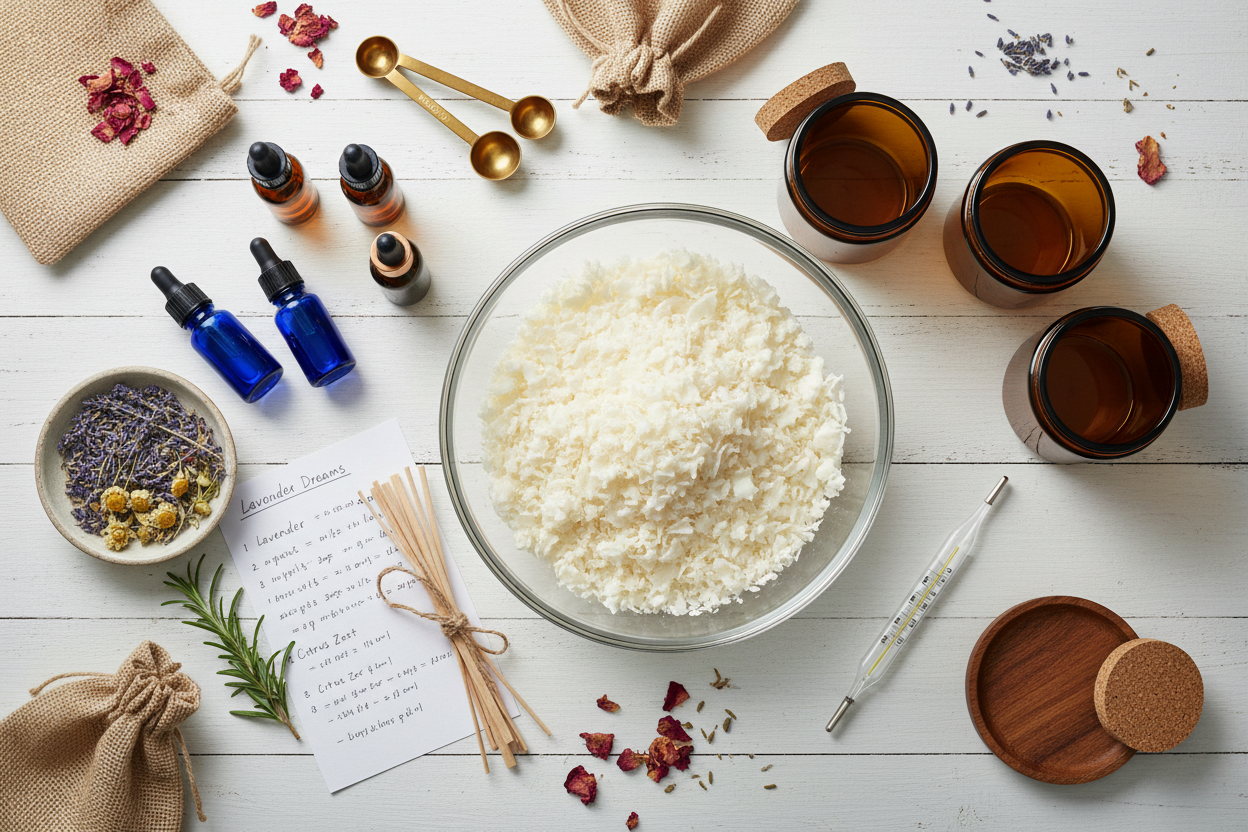
Building a DIY candle kit puts you in full control of your process, materials, and final product. Instead of relying on pre-packed sets, you can tailor every part of the experience, wax type, wick size, fragrance blends, and containers, based on what works best for your space or your customers. It’s more than just crafting; it’s learning how to make candles perform the way they’re supposed to.
Why Build Your Own Candle Kit?
Store-bought kits usually include general-purpose components designed for basic use. That can be helpful in early experiments, but once you’ve poured a few candles, it becomes clear that results improve when the kit matches your preferences and conditions. Your space, fragrance choices, and container styles all affect burn quality. A homemade kit lets you address those variables right away.
Custom kits are also easier to replenish. You’re not locked into a fixed inventory. You can scale up or swap things out based on the seasons, your testing notes, or your scent goals.
What to Include in a Candle Making DIY Kit
The best kits are built around reliable, container-safe supplies. Start by focusing on the four core components: wax, wick, fragrance, and tools. Each of these plays a role in how the candle burns and smells over time.
Choosing the Right Wax
For most beginners, soy wax offers the smoothest learning curve. It holds fragrance well, cools with a creamy finish, and works in a variety of containers. Paraffin wax remains a top performer in scent throw and glass adhesion, though it may require more attention to wick sizing.
Beeswax burns longer and has natural color and scent. It’s less forgiving in terms of container adhesion and fragrance load, so it suits a more advanced setup. Every wax has a different melt point, fragrance load capacity, and cooling behavior, understanding those details makes recipe development more consistent.
Picking the Best Wick
Wick selection affects flame height, fragrance diffusion, and container safety. Cotton wicks offer a steady flame and predictable performance across soy and paraffin systems. Wooden wicks provide a wide melt pool and a gentle crackle, but they need more testing to match vessel size and wax blend.
When sizing a wick, start with your container’s inside diameter and wax type. Use wick guides as a starting point, but burn tests are the only way to confirm results. You’ll want to evaluate how the candle behaves across several burns, especially after a full cure.
Building Custom Fragrance Blends
Creating your own fragrance blend starts with understanding each oil’s strength and character. Some oils, like vanilla or sandalwood, act as base notes and linger longest. Citrus and herbal notes sit at the top and fade more quickly. Balancing these elements gives the candle dimension without overwhelming the space.
Keep IFRA maximum usage levels in mind while building your blend. Each oil comes with a certificate that lists how much can be used in a given application. Container candles typically fall under IFRA Category 12. Staying within safe limits ensures your candles remain skin-safe and compliant for sale or gifting.
Use a scale for accuracy, and test fragrance load levels at 6%, 8%, and 10% to compare throw performance. Blends often behave differently depending on the wax, cure time, and environment.
Candle-Safe Containers & Tools
Not all containers work for candles. Use jars made of thick, heat-resistant glass or metal tins designed for high temperatures. Stay away from ceramics, upcycled glassware, or plastic. A container should have smooth walls, no cracks, and be able to handle long-term heat without shifting or shattering.
For tools, keep it simple. A good thermometer, digital scale, pouring pitcher, and stirring utensil cover most setups. Wick holders or centering tools help keep everything aligned during cooling. No need to overcomplicate your workspace, just choose items that hold up to repeated use.
How to Personalize Your Kit
Think of your kit as a working setup, not a one-time purchase. You can organize it by wax type, season, or project size. Some candle makers prep scent blends ahead of time in labeled bottles, while others rotate oils based on what’s trending or what customers respond to.
Once you’ve tested a few combinations, keep notes on burn results, scent strength, and user feedback. That helps refine future batches and gives your DIY kit a personalized edge you won’t find in off-the-shelf options.
FAQs About DIY Candle Kits
What is the best wax for beginners?
Soy wax tends to offer the most forgiving pour and consistent results. It cools cleanly and pairs well with standard containers and cotton wicks.
How do I create and perfect my own scent recipe?
Start with a balance of top, middle, and base notes. Use small test batches to explore how each blend performs during curing and burning. Track fragrance load, wax type, and throw performance in each trial. Over time, you’ll notice which oils complement each other and which ones need support.
How do I choose the right wick for my kit?
Base your wick choice on the container’s inside diameter and the wax you’re using. Start with a wick size recommended for your wax blend, then test it across at least three full burns. Adjust if you see tunneling, excess soot, or mushrooming.
Safety Tips & Final Thoughts
Each kit should be built with safe burning and consistent results in mind. Use only tested, candle-safe containers. Stay within recommended fragrance load limits, and never skip a wick test. The more intentional your setup, the better your candles will perform.
Disclaimer: Always follow proper candle-making safety practices. Fragrance usage rates should comply with IFRA guidelines. Test each recipe for burn performance before distributing or gifting.
Article
Formulating the Best Housewarming Candle Gift
A Thoughtful Candle Gift That Feels Like Home
A candle brings something quiet and grounding to a new space. It doesn’t compete for attention or take up too much room. It simply works. For new homeowners still finding their rhythm, a well-made candle offers comfort without trying too hard.
It doesn’t need to be sentimental. It just needs to feel settled.
What to Pick When You’re Not Sure What Scents They Like
Go Neutral, Not Boring
Clean cotton, mild citrus, soft florals, and subtle woods tend to land well in unfamiliar spaces. These profiles avoid sharp edges and sit lightly in the air, making them easier to appreciate without guessing personal preferences.
Heavy spice, earthy greens, or complex layered blends can come off as too specific. The goal is to offer something they’ll actually light, again and again.
Set the Mood Without Overpowering the Space
A good housewarming scent blends in without fading. It holds presence but doesn’t announce itself every time someone enters the room. Fragrance oils balanced in a soy wax tend to throw well without overwhelming small spaces.
The best candle gifts create atmosphere, not distraction.
Making Sure Your Candle Gift Doesn’t End Up in a Drawer
Why the Container Can Make or Break a New Home Candle Gift
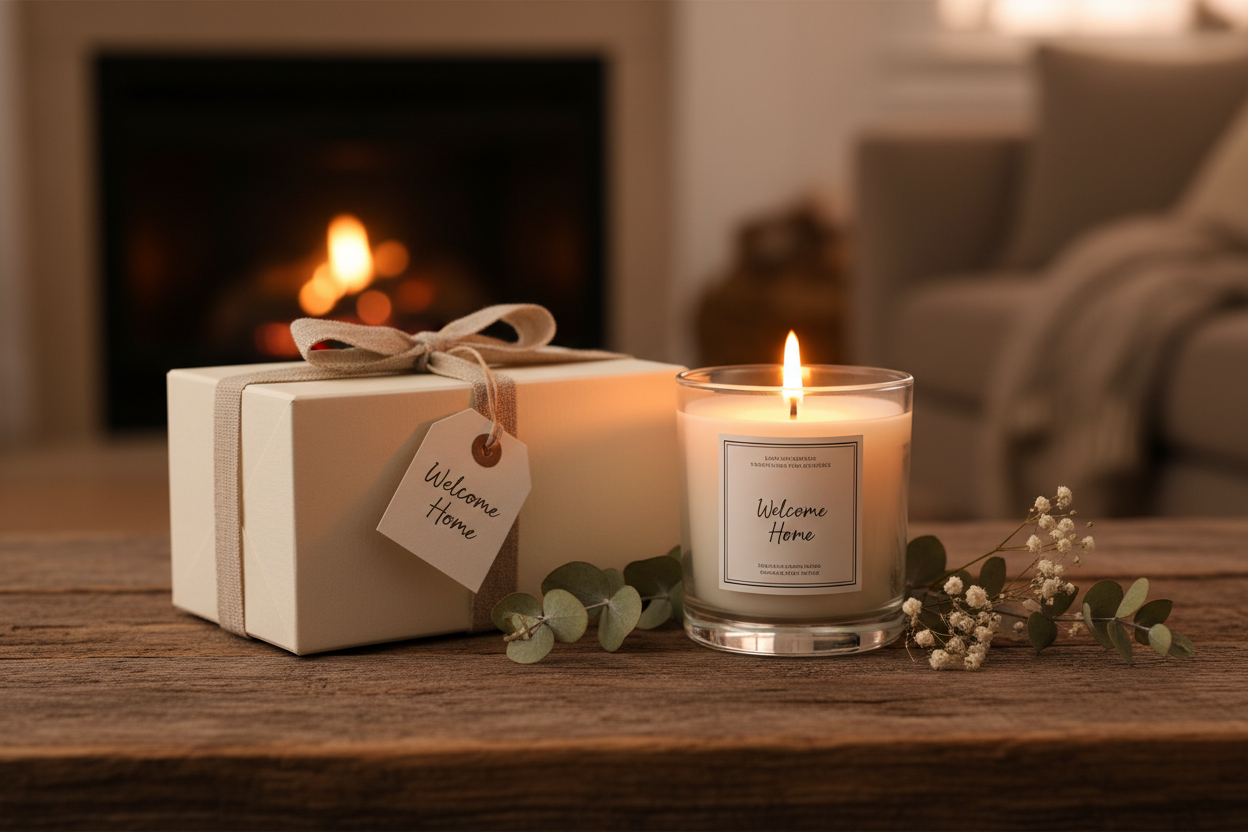
Scent might draw attention first, but the container decides whether a candle feels like part of the home. Minimal glass tumblers, amber jars, and soft matte tins tend to disappear into any style without feeling generic. The packaging matters just as much, clean labels, thoughtful materials, and a cohesive unboxing experience can turn a simple housewarming candle gift into something that feels intentional. Branded jars with loud graphics or seasonal themes usually find the back of a shelf.
Burn Quality Matters More Than You Think
The experience breaks down fast with tunneling, uneven melts, or poor fragrance throw. A well-tested wick, properly cured wax, and clean burn make all the difference. That’s what turns a one-time gift into something they want more of.
Poor performance gets noticed quickly. A candle that burns right gets remembered longer.
Personal Touches That Make a New House Candle Gift Feel Special
It’s the Little Things That Leave an Impression
No need for oversized bows or gift baskets. A hand-written note, a craft label with a quiet message, or even a match striker on the jar adds meaning without overdoing it. The best details are the ones that feel natural, not decorative.
Whether It’s Handmade or Private Label, Keep It Personal
Some candles carry stories. A scent created for a new homeowner. A label with the date they got their keys. These kinds of personal touches resonate without being obvious. Whether it's a one-off pour or a consistent gift for realtors or staging pros, the right details add weight without adding volume.
Last Thoughts on Gifting a Housewarming Scented Candle That Hits the Mark
Stick with clean scents, balanced containers, and quiet presentation. Stay away from fragrances that try to do too much. Label clearly and test thoroughly.
Candles don’t need to be bold to be meaningful. They just need to burn well, smell right, and feel like they belong.
Article
How to Make a Lavender and Chamomile Candle
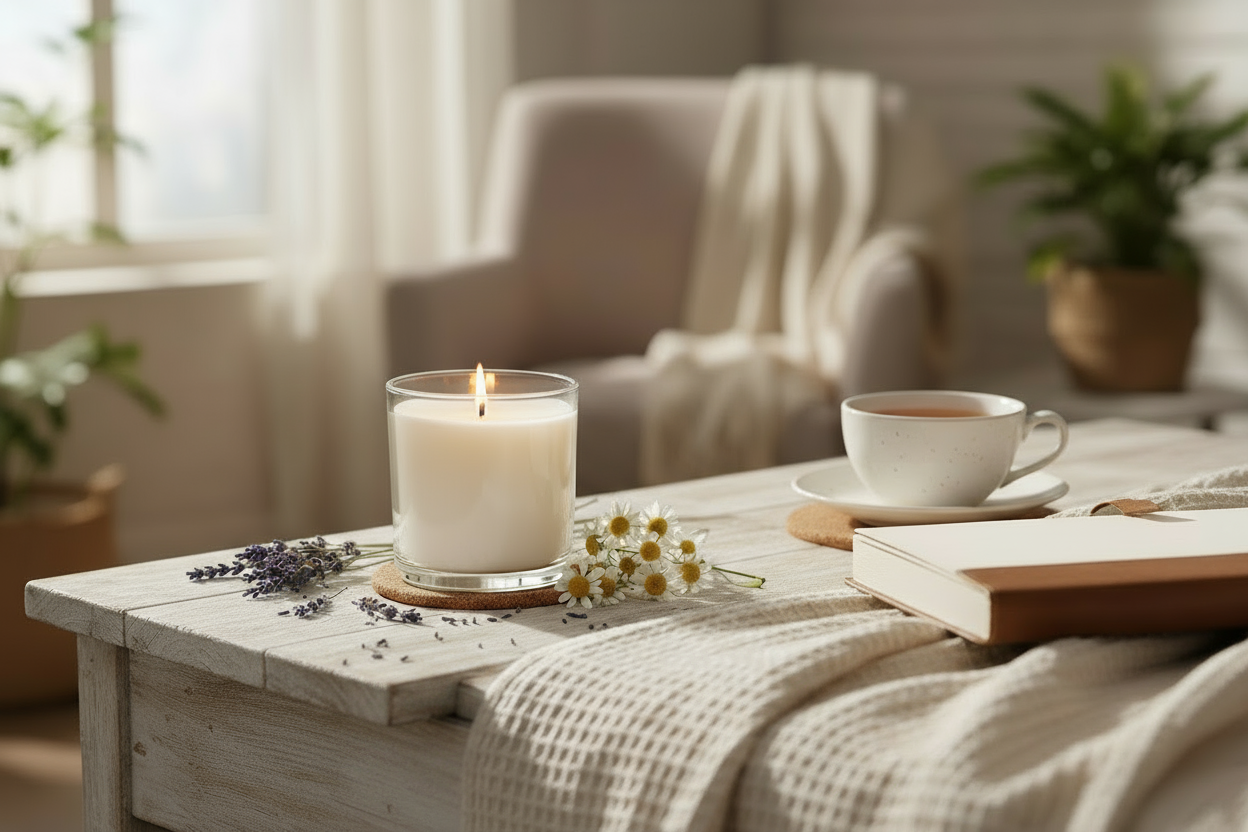
Making your own candles at home is a fun and rewarding way to create a personalized and relaxing atmosphere. This lavender and chamomile candle recipe is perfect for unwinding after a long day. It combines the soothing scents of lavender and chamomile with the warm glow of a handmade candle.
Ingredients for Lavender and Chamomile Candle:
1 cup soy wax flakes (or any other candle wax)
15-20 drops lavender fragrance oil
10-15 drops chamomile fragrance oil
Alternatively 15-25 drops lavender chamomile oil
1 candle wick
1 heat-resistant glass jar or tin (8 oz size works well)
Double boiler or heatproof bowl
Thermometer (optional, but helpful)
Pencil or chopstick (to hold the wick in place)
Instructions for DIY Lavender Chamomile Candle:
Prepare Your WorkspaceMake sure your workspace is clean and free of any flammable materials. Gather all your ingredients and equipment. Lay down some newspaper or parchment paper to catch any spills.
Melt the WaxUsing a double boiler or a heatproof bowl over a pot of simmering water, melt the soy wax flakes slowly. Stir occasionally with a spoon until the wax is completely melted and reaches about 170°F (77°C). If you don’t have a thermometer, the wax should be fully liquid with no remaining flakes.
Incorporate Fragrance OilsAdd 15-20 drops of lavender fragrance oil and 10-15 drops of chamomile fragrance oil to the melted wax. Stir well to combine the oils with the wax. Adjust the number of drops based on your fragrance preference, but be cautious not to add too much, as this can affect how the candle burns.
Attach the WickPlace the wick in the center of your glass jar or tin. You can use a dab of melted wax or a wick sticker to secure it to the bottom of the container. Wrap the top of the wick around a pencil or chopstick and balance it on the rim of the jar to keep the wick centered.
Pour the WaxSlowly pour the melted wax into the container, ensuring the wick remains centered. Leave about half an inch of space at the top. Let the candle sit undisturbed for a few hours until the wax hardens completely.
Trim the WickOnce the candle has cooled and solidified, trim the wick to about 1/4 inch above the wax. Your lavender and chamomile candle is now ready to use!
FAQ for Lavender and Chamomile Candle:
1. How long does it take for the candle to cool and set?The candle typically takes about 4-6 hours to cool and set completely. For best results, let it sit overnight before lighting.
2. Can I use other types of wax?Yes, you can use beeswax, paraffin, or coconut wax. Just be aware that different waxes have varying melting points and burn times.
3. What if my candle cracks when it cools?Cracking can occur if the wax cools too quickly. Pouring the wax at the right temperature (around 150°F or 65°C) and letting it cool gradually can help prevent this.
4. How can I make the scent stronger?You can increase the amount of fragrance oil slightly, but be cautious not to exceed 10% of the total wax weight to ensure a safe burn.
Article
How to Make Homemade Candle Wicks
Table of Contents
How to Make Homemade Candle Wicks
What You Can Use
How to Make and Prime a Cotton Wick
How to Make a Simple Wood Wick
Homemade vs. Sized Wicks
FAQ
Browse Sized Wicks Instead
You can make homemade candle wicks at home from cotton twine or a thin wood strip. Prime it in melted wax first so it burns steady instead of drowning in its own wax pool. Sizing a wick correctly for your jar, wax, and fragrance load takes trial and error. Read more to find out how to make one properly, plus an honest read on when to skip DIY and grab a pre-tabbed wick instead. New to the craft? Our candle making guide covers wax, fragrance load, and cure time before wicks ever come up.
What You Can Use
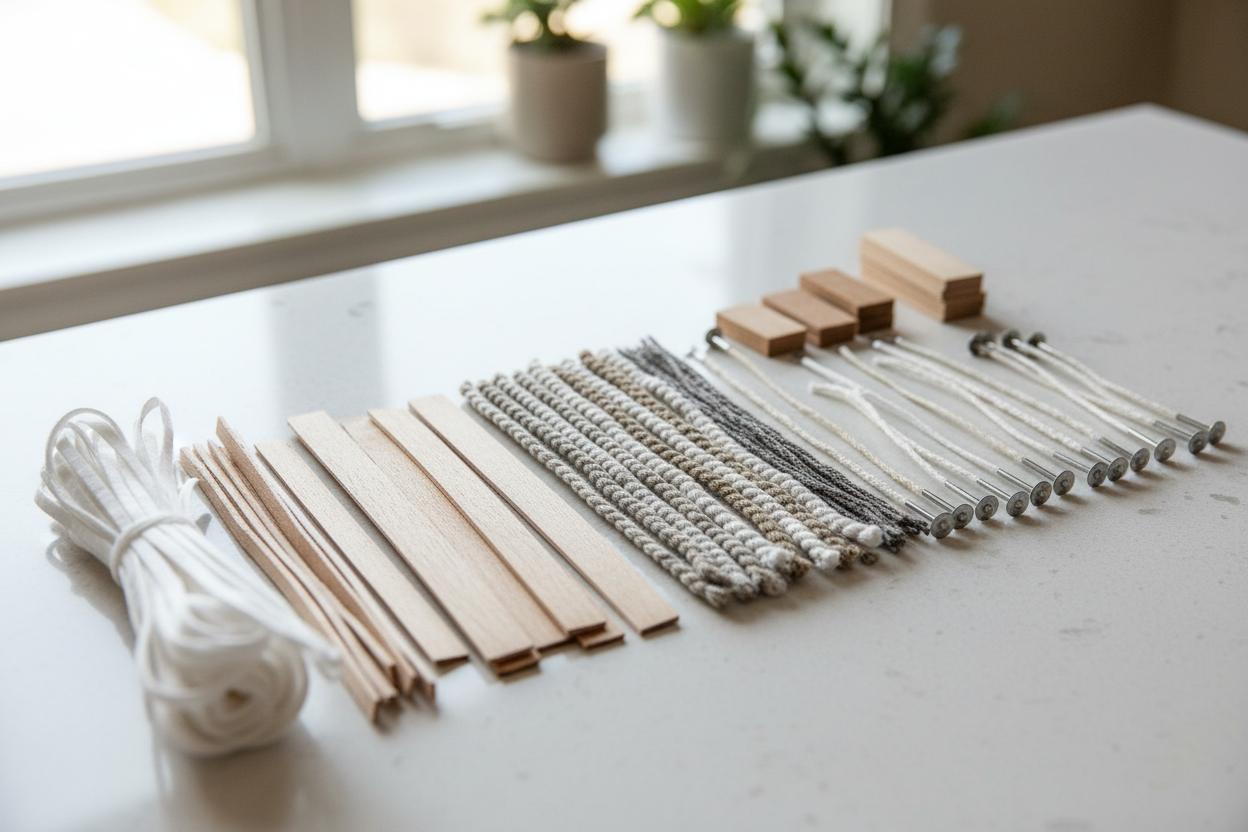
You can make a wick from cotton twine or a thin wood strip, primed in wax. For twine, reach for unbleached cotton butcher's twine. It's 100% cotton, tightly braided, and burns clean once it's been through wax. For something rigid, cut basswood or balsa into thin strips.
Skip anything synthetic, including string, dental floss, embroidery thread, poly or nylon blends. Synthetics don't burn, they melt. Plus, a bead of molten plastic dropping into your wax pool is a real hazard, not just a bad burn.
Diameter matters more than most first-time makers expect. Standard butcher's twine runs a few plies thick, and one strand alone is usually too thin for anything bigger than a votive. Braid two or three lengths together for jar candles, and use the single strands for tealight candles.
How to Make and Prime a Cotton Wick
Priming is the whole trick. A dry wick chars unevenly and drowns fast. A primed one has already soaked up wax, so it lights faster and burns steadier from the very first pool.
Cut your twine to twice the height of your container, plus two extra inches for the tab and overhang.
Melt wax to 180 to 185°F. Thin enough to fully saturate the fibers, hot enough not to scorch them.
Dip the twine into the wax two to three times, a few seconds per pass.
Pull it straight and hold it taut, or hang it, for about 60 seconds while the wax sets. A wick that dries bent burns bent.
Trim the cured wick to about a quarter inch above the tab, then crimp on a metal wick tab.
Soak the wick in melted wax and dry it straight so it burns steadily. Let it cool fully before you seat it in a container and pour. A wick that's still warm can bend under the tab's weight or drift off center, and an off-center wick is the fastest route to a lopsided melt pool.
Light your primed wick before you commit to a full batch. It should catch within a few seconds and burn with a small, steady flame, not a tall flare that gutters out fast. If it struggles to stay lit, braid on another strand of twine and try again.
How to Make a Simple Wood Wick
Wood wicks follow the same logic as cotton, just with a rigid strip instead of braided fiber.
Trim a basswood or balsa strip to about an eighth to three-sixteenths of an inch thick, sized to your container's diameter. Bigger jars need a thicker strip to sustain a wider flame.
Prime it the same way: dip in wax at 180 to 185°F for a few seconds, then let it cool completely.
Seat the primed strip in a wood wick base, or hot glue it to a metal tab, and press it upright and centered before you pour.
Width is less forgiving on wood than on cotton. If it is too thin, you'll fight to keep a flame lit. If it is too thick, you'll get more heat and soot than any fragrance oil can handle. Make sure to test burn before you commit to a full batch. Watch the flame hold along the top edge for a few minutes and confirm it's crackling steady, not guttering or throwing soot up the glass.
Homemade vs. Sized Wicks
A homemade wick can tunnel through a denser wax, or overwhelm a smaller jar and trigger flame problems you did not sign up for. Fragrance oil changes how a wick performs too, and a homemade wick has zero data behind it to predict the reaction. The mushrooming and candle soot on a badly matched wick are not just cosmetic. They are proof the flame is working harder than the wax and fragrance can support.
Container material plays into this too. Glass holds and releases heat differently than tin, and a wick sized for one can drown or overheat in the other, and a sized wick already accounts for that.
A homemade wick earns its place for a quick repair, a travel candle, or a test batch where a perfect melt pool is not the point. For anything you're pouring to sell, gift, or trust in your own living room, start from the wick size chart and work toward your DIY wick.
FAQ
Can you make a candle wick at home?
Yes. Cotton butcher's twine or a thin wood strip both work, as long as you prime them in melted wax first. A dry, unprimed wick chars unevenly and struggles to hold a flame. Homemade wicks are best for a quick fix or a test pour, not for candles you plan to sell or burn regularly.
What can I use as a candle wick?
Unbleached cotton twine and thin basswood or balsa strips are the two reliable options. Skip synthetic string, dental floss, and anything with a poly blend, since those melt instead of burning clean. Stick to natural fiber or untreated wood, and size the thickness to your container before you pour.
How do you prime a homemade wick?
Melt wax to 180 to 185°F, then dip the twine or wood strip two to three times, letting each pass soak in fully. Pull it straight right away and hold it taut for about 60 seconds while it cools. A wick that dries crooked burns crooked, so straightening during the set is not optional.
Are homemade wicks safe?
They can be, if you prime them properly and match the thickness to your jar size. The risk is inconsistency. A wick that's too thin drowns, and one that's too thick overheats the glass and throws extra soot. For candles you'll burn often or give away, a properly sized wick performs more predictably than a homemade one.
Browse Sized Wicks Instead
Once you've tested a homemade wick and felt the difference a proper size makes, our pre-tabbed wicks , wood wicks , and wick sample packs take the guesswork out entirely. Every one is tested against real wax and fragrance loads, more than a kitchen-counter twine dip can promise. Our candle making guide has the rest of what you need to go from a homemade fix to a real batch.
Article
Do Candles Have an Environmental Impact?
Candles offer warmth, fragrance, and ambiance, but some makers and customers are asking important questions about sustainability. Do candles cause pollution? Are certain waxes or wicks more eco-conscious than others? Can candles affect indoor air quality?
If you're looking to reduce your environmental impact while still enjoying the craft, choosing responsibly sourced materials, avoiding waste, and following clean-burning guidelines is a good place to start. Try our ECO Candle Wick Series, designed to minimize mushrooming and soot leading to a cleaner, more efficient burn.
If you're trying to make more informed choices for candle air pollution or sustainability, either as a consumer or small-batch maker, understanding the environmental considerations behind candle ingredients and production is a great place to start.
Are Candles Bad for the Environment?
Candles are not inherently harmful, but like many consumer products, their environmental footprint depends on the materials used, how they are made, and how they are burned.
The Carbon Footprint of Candles
All candles release small amounts of carbon dioxide when burned. This is true for paraffin, soy, beeswax, and other fuel-based waxes. However, the emissions are relatively low compared to other common household activities. Still, large-scale production and transportation of raw materials can add to a product’s total carbon footprint.
Do Candles Release CO2?
Yes, burning any hydrocarbon-based wax releases CO₂. Paraffin, which is derived from petroleum, has a higher carbon output per gram burned than soy or coconut wax. That said, burning one or two candles in a ventilated room will not create dangerous CO₂ levels on its own.
Candles and Indoor Air Pollution
Scented candles can contribute to indoor air pollution, especially if they’re made with lower-quality ingredients or burned improperly.
Do Candles Contribute to Indoor Air Pollution?
Incomplete combustion, long wicks, or poor ventilation can cause candles to release soot and volatile organic compounds (VOCs). Over time, this can accumulate in enclosed spaces. Most concern comes from paraffin wax burned in unventilated areas or heavily fragranced candles without proper formulation testing.
Are Candle Fumes or Smoke Toxic?
There’s no strong evidence that occasional use of scented candles in a ventilated space poses health risks. Still, prolonged exposure to soot or strong synthetic fragrances can irritate sensitive individuals. Using candles with high-quality fragrance oils and following IFRA guidelines helps reduce this risk.
Are Candles Sustainable?
Sustainability varies across wax types, production methods, and packaging practices.
Comparing Wax Types: Paraffin vs. Soy vs. Coconut
Paraffin wax is petroleum-derived, non-renewable, and has a higher carbon footprint.
Soy wax is plant-based and renewable but may involve heavy land use or deforestation depending on the source.
Coconut wax tends to require less land and water to produce and is often praised for its lower environmental impact.
When evaluating sustainability, it helps to look at the full supply chain, including how crops are farmed and whether waxes are blended or pure.
Packaging, Sourcing, and Waste Considerations
Glass containers, such as Jelly Jars, can be reused or recycled, but not all candle vessels are recyclable through curbside programs. Avoiding plastic-heavy packaging, sourcing locally when possible, and batching orders for shipping can help reduce waste in production and delivery.
Tips for Choosing More Eco-Conscious Candle Supplies
Cleaner Wicks and Fragrance Guidelines
Look for wicks that are lead-free and made from cotton or paper cores. Use fragrance oils at recommended levels based on IFRA’s usage standards. Overloading candles with fragrance can lead to poor burn performance and increase indoor emissions.
Reducing Waste in Candle Making
Test in small batches to avoid excess waste
Repurpose glass containers when safe and appropriate
Print labels in bulk to cut packaging material use
Use recyclable filler and craft boxes for shipping
Frequently Asked Questions
Q: Are candles pollutants?A: Candles do emit small amounts of CO₂ and soot, but when burned properly and made with quality materials, their environmental impact is considered minimal in the home.
Q: Do candles cause air pollution?A: Improper burning or poor ventilation can lead to soot or VOCs building up indoors. Trimming the wick and burning candles in a ventilated space reduces this risk.
Q: Do candles pollute indoor air?A: Yes, if burned improperly or made with low-quality wax and fragrance. Choose clean-burning ingredients and follow best practices for wick trimming and ventilation.
Q: Are candles bad for the environment?A: Some waxes, like paraffin, are said to have a larger environmental footprint. More sustainable alternatives include soy or coconut wax, especially when sourced responsibly.
Q: Do candles release CO₂?A: Yes, all candles release carbon dioxide as part of the combustion process. Plant-based waxes tend to have a lower carbon footprint than petroleum-derived waxes.
Q: Do scented candles pollute the air?A: They can, depending on the quality and amount of fragrance used. Following IFRA usage limits and choosing safe, tested fragrances helps prevent overloading the air.
Q: Are candle fumes toxic?A: Most fumes are not considered toxic at normal usage levels, but people with sensitivities may react to strong scents or excessive soot. Choosing clean, well-formulated products helps prevent this.