How to Make Homemade Candle Wicks
You can make homemade candle wicks at home from cotton twine or a thin wood strip. Prime it in melted wax first so it burns steady instead of drowning in its own wax pool. Sizing a wick correctly for your jar, wax, and fragrance load takes trial and error. Read more to find out how to make one properly, plus an honest read on when to skip DIY and grab a pre-tabbed wick instead. New to the craft? Our candle making guide covers wax, fragrance load, and cure time before wicks ever come up.
What You Can Use
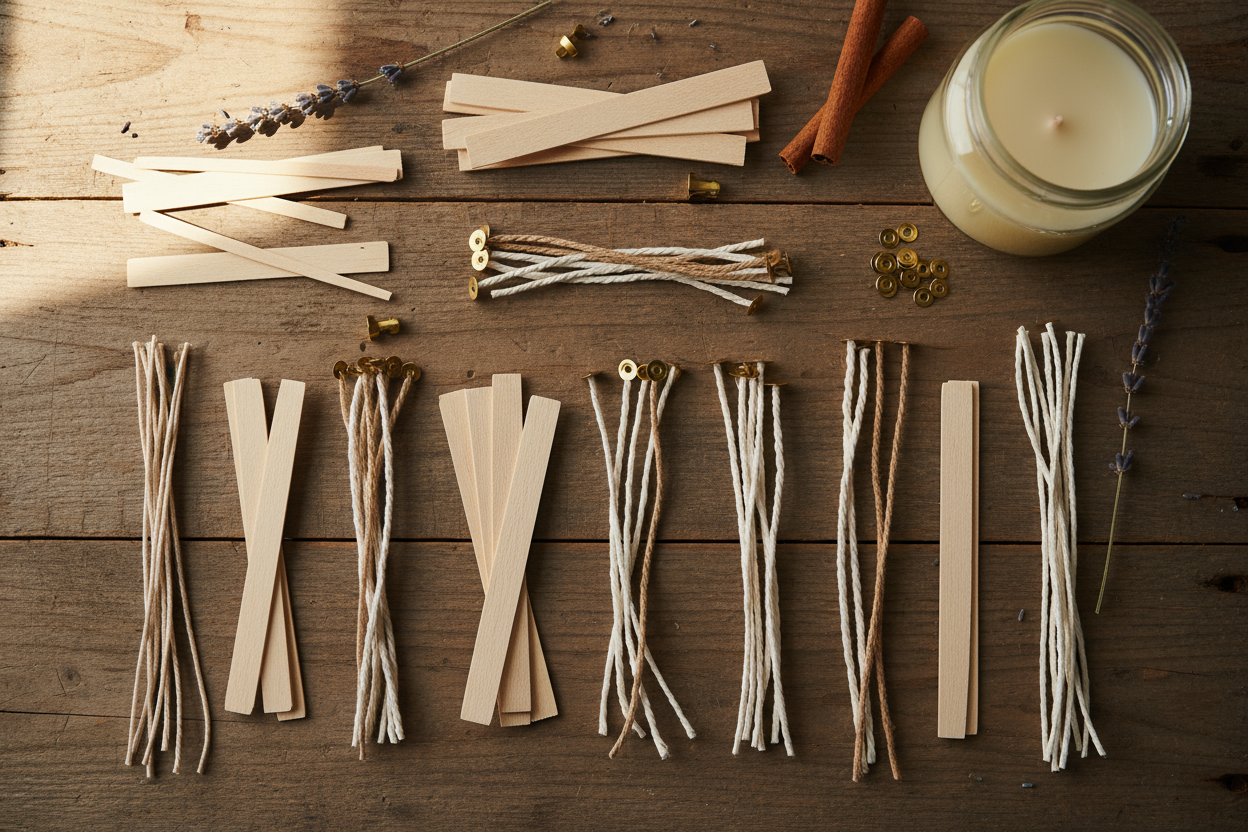
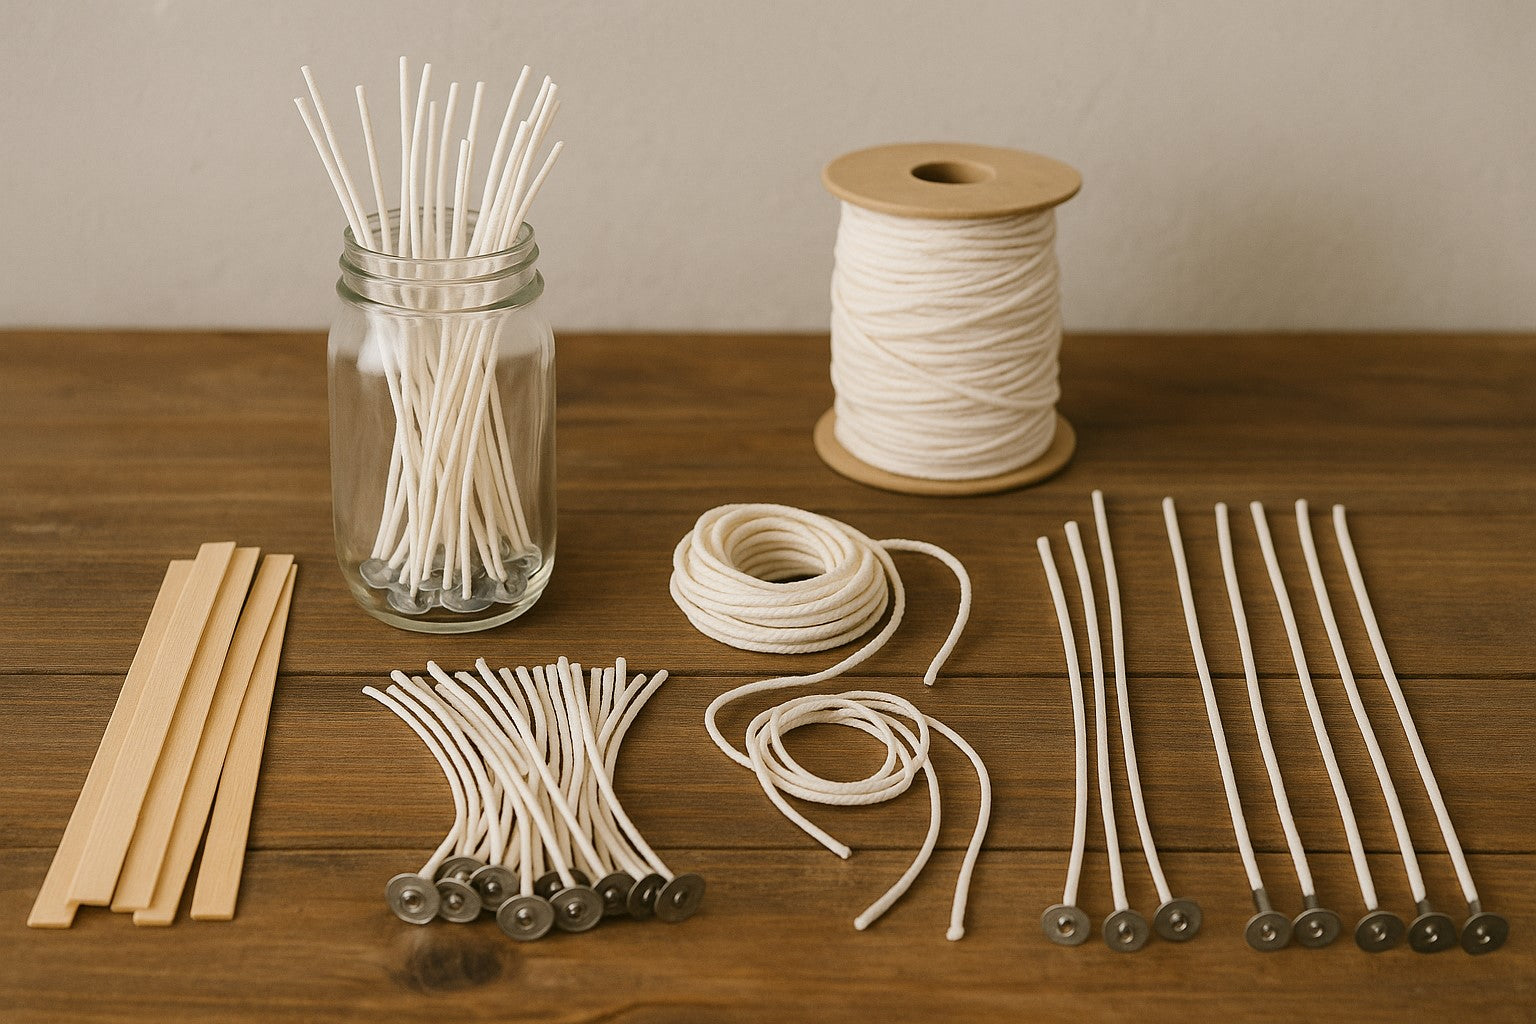
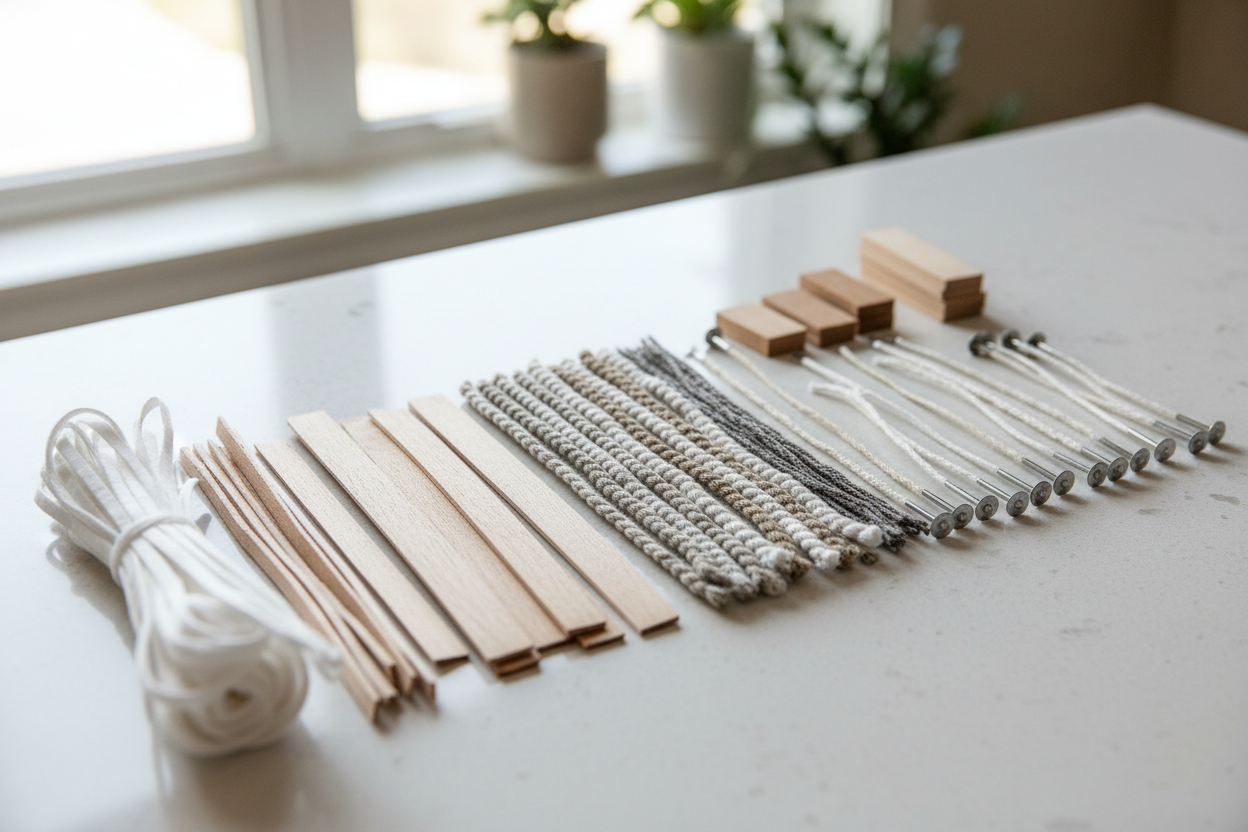
You can make a wick from cotton twine or a thin wood strip, primed in wax. For twine, reach for unbleached cotton butcher's twine. It's 100% cotton, tightly braided, and burns clean once it's been through wax. For something rigid, cut basswood or balsa into thin strips.
Skip anything synthetic, including string, dental floss, embroidery thread, poly or nylon blends. Synthetics don't burn, they melt. Plus, a bead of molten plastic dropping into your wax pool is a real hazard, not just a bad burn.
Diameter matters more than most first-time makers expect. Standard butcher's twine runs a few plies thick, and one strand alone is usually too thin for anything bigger than a votive. Braid two or three lengths together for jar candles, and use the single strands for tealight candles.
How to Make and Prime a Cotton Wick
Priming is the whole trick. A dry wick chars unevenly and drowns fast. A primed one has already soaked up wax, so it lights faster and burns steadier from the very first pool.
-
Cut your twine to twice the height of your container, plus two extra inches for the tab and overhang.
-
Melt wax to 180 to 185°F. Thin enough to fully saturate the fibers, hot enough not to scorch them.
-
Dip the twine into the wax two to three times, a few seconds per pass.
-
Pull it straight and hold it taut, or hang it, for about 60 seconds while the wax sets. A wick that dries bent burns bent.
-
Trim the cured wick to about a quarter inch above the tab, then crimp on a metal wick tab.
Soak the wick in melted wax and dry it straight so it burns steadily. Let it cool fully before you seat it in a container and pour. A wick that's still warm can bend under the tab's weight or drift off center, and an off-center wick is the fastest route to a lopsided melt pool.
Light your primed wick before you commit to a full batch. It should catch within a few seconds and burn with a small, steady flame, not a tall flare that gutters out fast. If it struggles to stay lit, braid on another strand of twine and try again.
How to Make a Simple Wood Wick
Wood wicks follow the same logic as cotton, just with a rigid strip instead of braided fiber.
-
Trim a basswood or balsa strip to about an eighth to three-sixteenths of an inch thick, sized to your container's diameter. Bigger jars need a thicker strip to sustain a wider flame.
-
Prime it the same way: dip in wax at 180 to 185°F for a few seconds, then let it cool completely.
-
Seat the primed strip in a wood wick base, or hot glue it to a metal tab, and press it upright and centered before you pour.
Width is less forgiving on wood than on cotton. If it is too thin, you'll fight to keep a flame lit. If it is too thick, you'll get more heat and soot than any fragrance oil can handle. Make sure to test burn before you commit to a full batch. Watch the flame hold along the top edge for a few minutes and confirm it's crackling steady, not guttering or throwing soot up the glass.
Homemade vs. Sized Wicks
A homemade wick can tunnel through a denser wax, or overwhelm a smaller jar and trigger flame problems you did not sign up for. Fragrance oil changes how a wick performs too, and a homemade wick has zero data behind it to predict the reaction. The mushrooming and candle soot on a badly matched wick are not just cosmetic. They are proof the flame is working harder than the wax and fragrance can support.
Container material plays into this too. Glass holds and releases heat differently than tin, and a wick sized for one can drown or overheat in the other, and a sized wick already accounts for that.
A homemade wick earns its place for a quick repair, a travel candle, or a test batch where a perfect melt pool is not the point. For anything you're pouring to sell, gift, or trust in your own living room, start from the wick size chart and work toward your DIY wick.
FAQ
Can you make a candle wick at home?
Yes. Cotton butcher's twine or a thin wood strip both work, as long as you prime them in melted wax first. A dry, unprimed wick chars unevenly and struggles to hold a flame. Homemade wicks are best for a quick fix or a test pour, not for candles you plan to sell or burn regularly.
What can I use as a candle wick?
Unbleached cotton twine and thin basswood or balsa strips are the two reliable options. Skip synthetic string, dental floss, and anything with a poly blend, since those melt instead of burning clean. Stick to natural fiber or untreated wood, and size the thickness to your container before you pour.
How do you prime a homemade wick?
Melt wax to 180 to 185°F, then dip the twine or wood strip two to three times, letting each pass soak in fully. Pull it straight right away and hold it taut for about 60 seconds while it cools. A wick that dries crooked burns crooked, so straightening during the set is not optional.
Are homemade wicks safe?
They can be, if you prime them properly and match the thickness to your jar size. The risk is inconsistency. A wick that's too thin drowns, and one that's too thick overheats the glass and throws extra soot. For candles you'll burn often or give away, a properly sized wick performs more predictably than a homemade one.
Browse Sized Wicks Instead
Once you've tested a homemade wick and felt the difference a proper size makes, our pre-tabbed wicks , wood wicks , and wick sample packs take the guesswork out entirely. Every one is tested against real wax and fragrance loads, more than a kitchen-counter twine dip can promise. Our candle making guide has the rest of what you need to go from a homemade fix to a real batch.