Top 10 Common Candle Making Problems
Even seasoned candle makers run into frustrating issues now and then—uneven burns, poor scent throw, and wax that just won’t cooperate. If you’ve been troubleshooting your way through test batches, you’re not alone. These are 10 of the most common problems that come up during the candle making process, plus what to check, tweak, or fix to get better results.
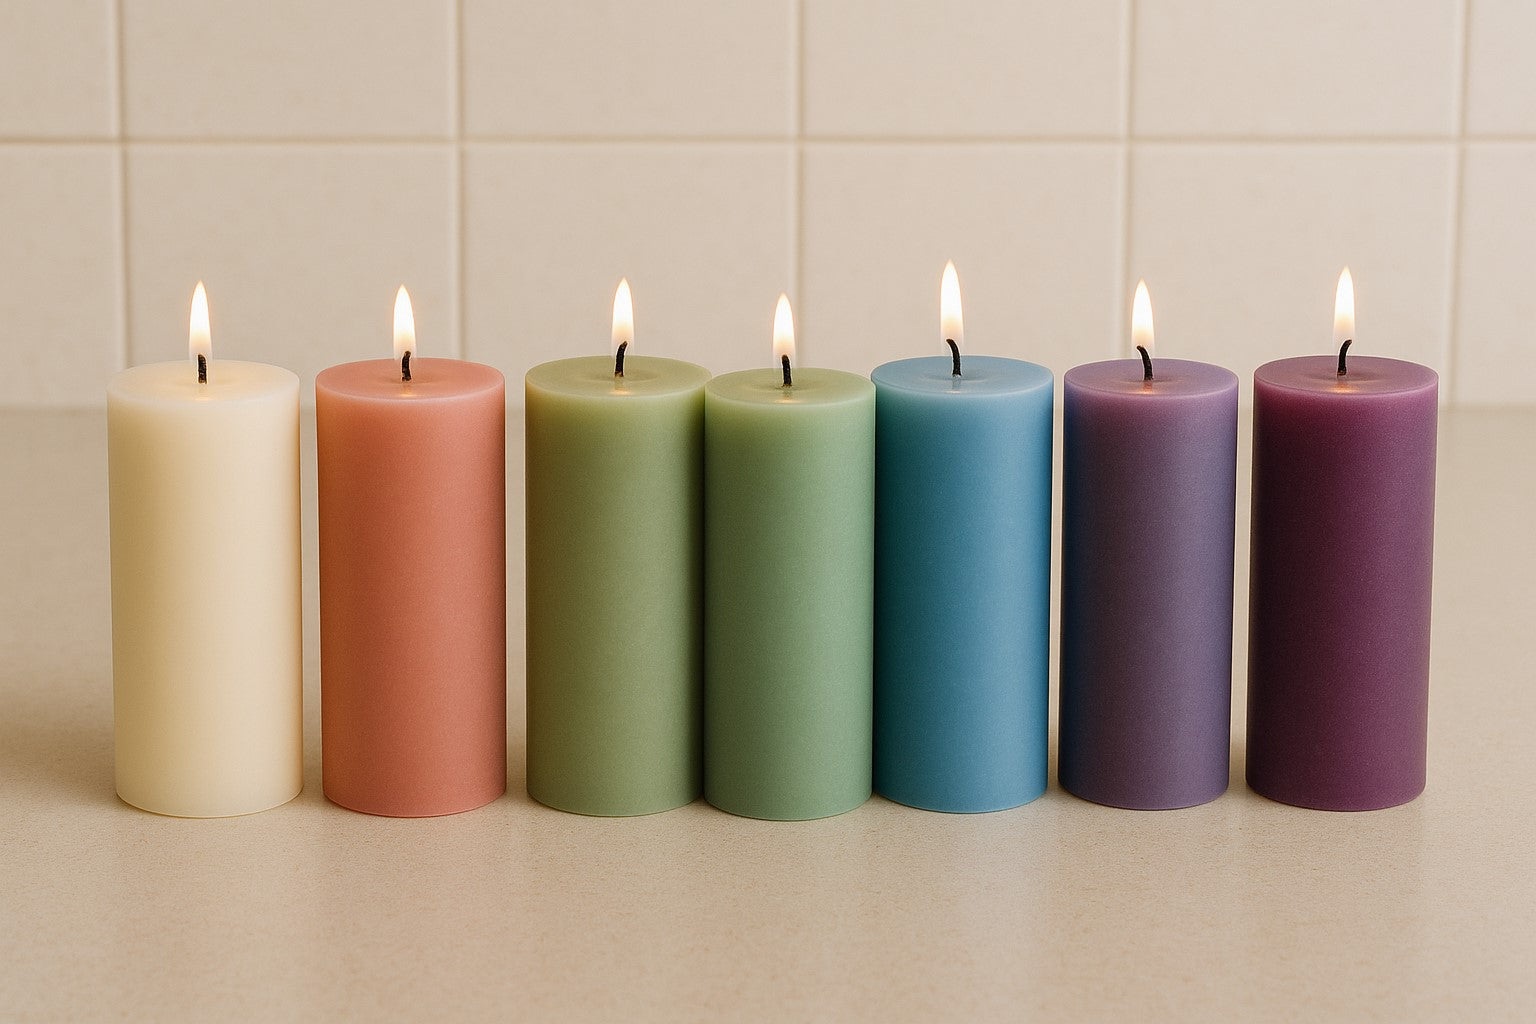
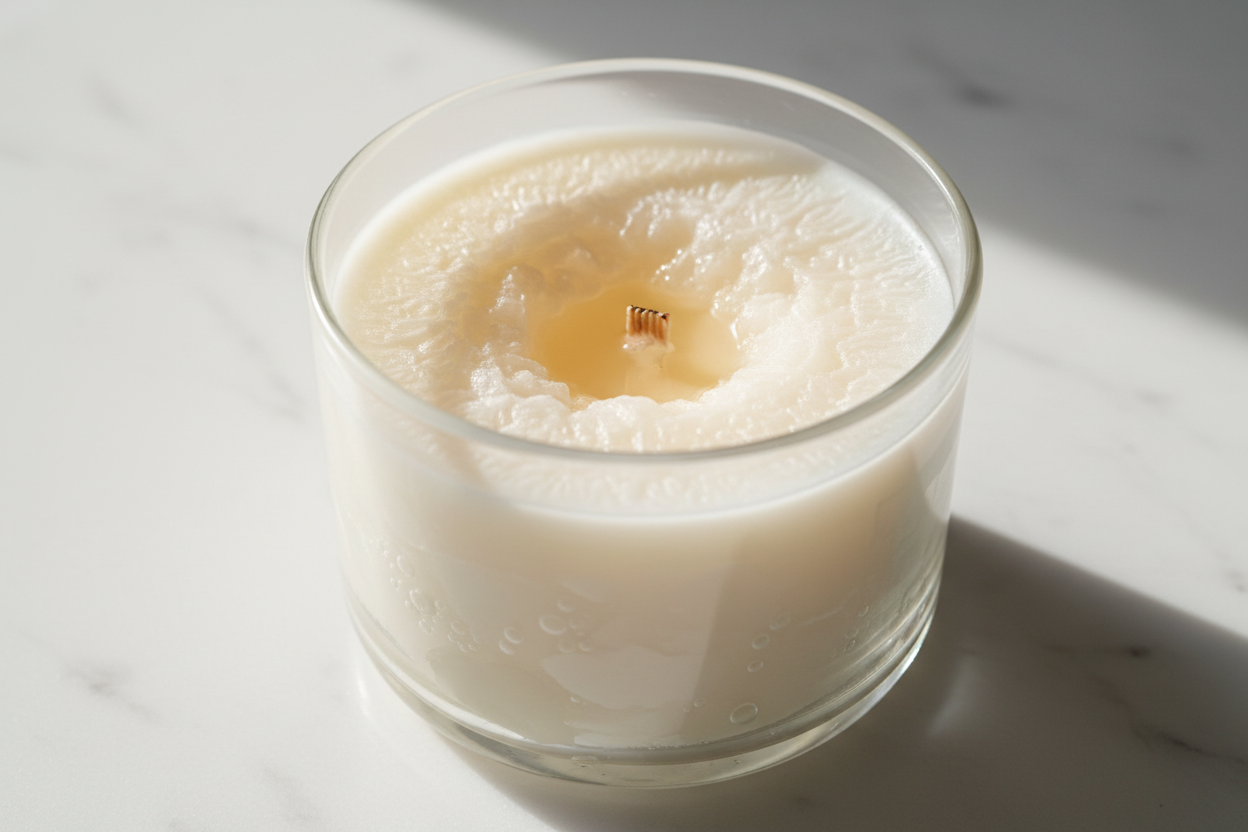
Uneven Burns, Tunneling, and the Elusive Full Melt Pool
1. Tunneling that wastes wax
If your candle only burns down the center, leaving wax stuck to the sides, your wick may be too small or your burn sessions too short. A good melt pool should reach the edges within 2–3 hours.
2. Uneven surface after burning
Wicks that lean, burn too hot, or flicker excessively can cause lopsided melt pools. Check wick size, placement, and whether the container is on a level surface.
Quick fix: Use a properly sized wick for your container and wax type. Let the candle burn long enough the first time to set the memory burn.
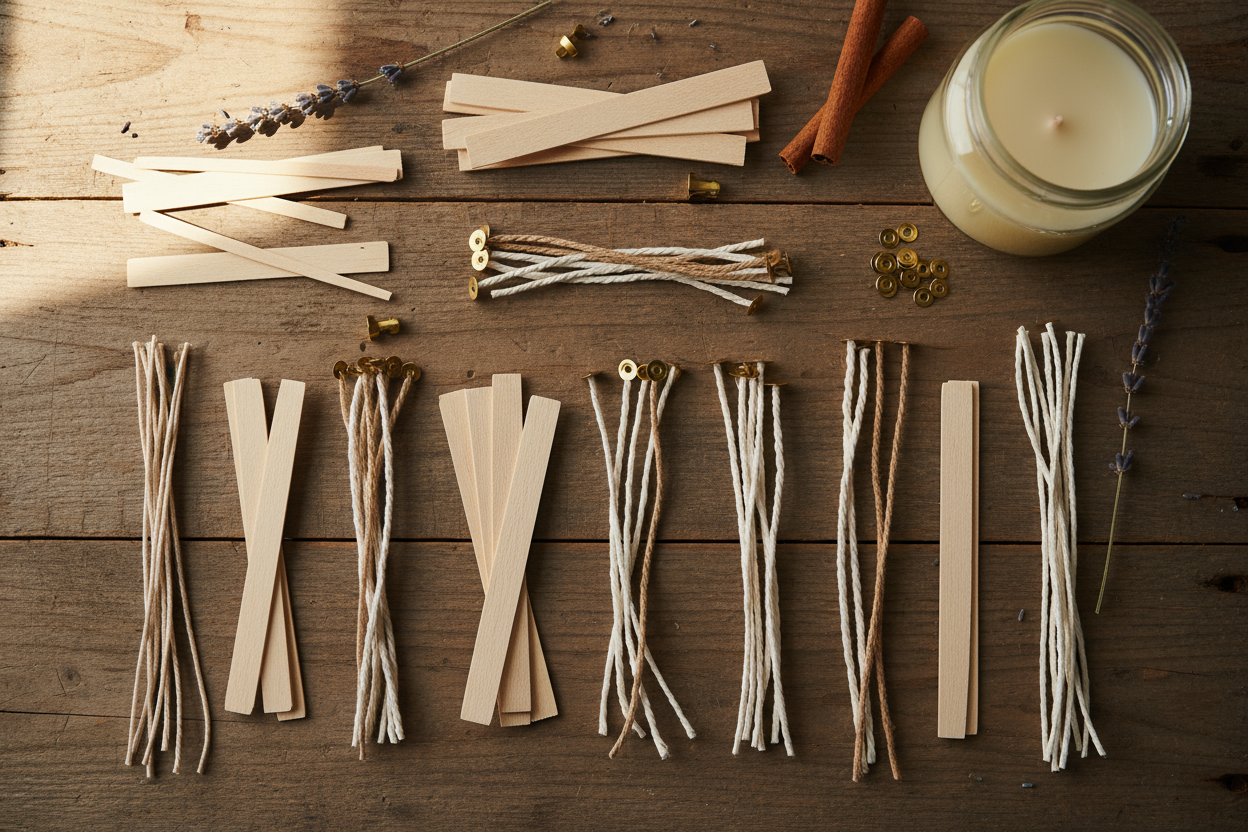
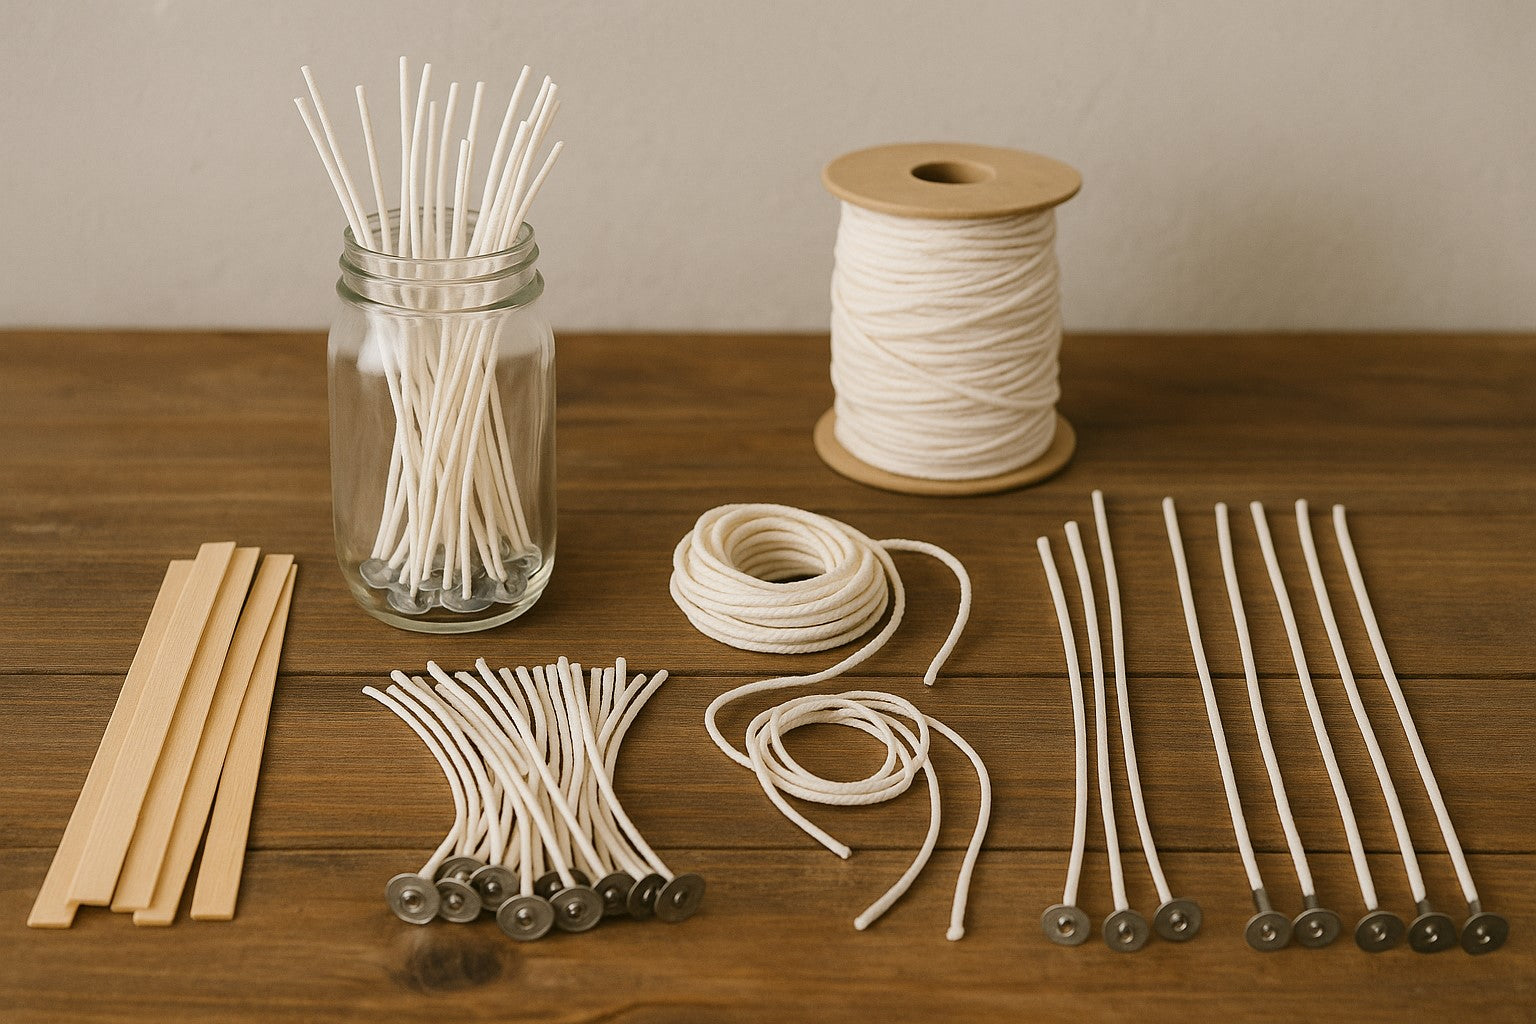
Wick Woes: Crackling Sounds, Shifting Wicks, and Burn Troubles
3. Wick moving off-center or detaching
If your wick floats, leans, or shifts during pouring, it likely wasn’t secured well. Wick tabs or hot glue can help hold it in place.
4. Unstable or noisy flame
A crackling or dancing flame may mean the wick is too large, or there’s too much fragrance oil. It can also point to air bubbles or poor wax adhesion.
Troubleshooting tip: Stick your wick down firmly and use a wick bar to keep it centered. Trim it to ¼ inch for a clean, steady burn.
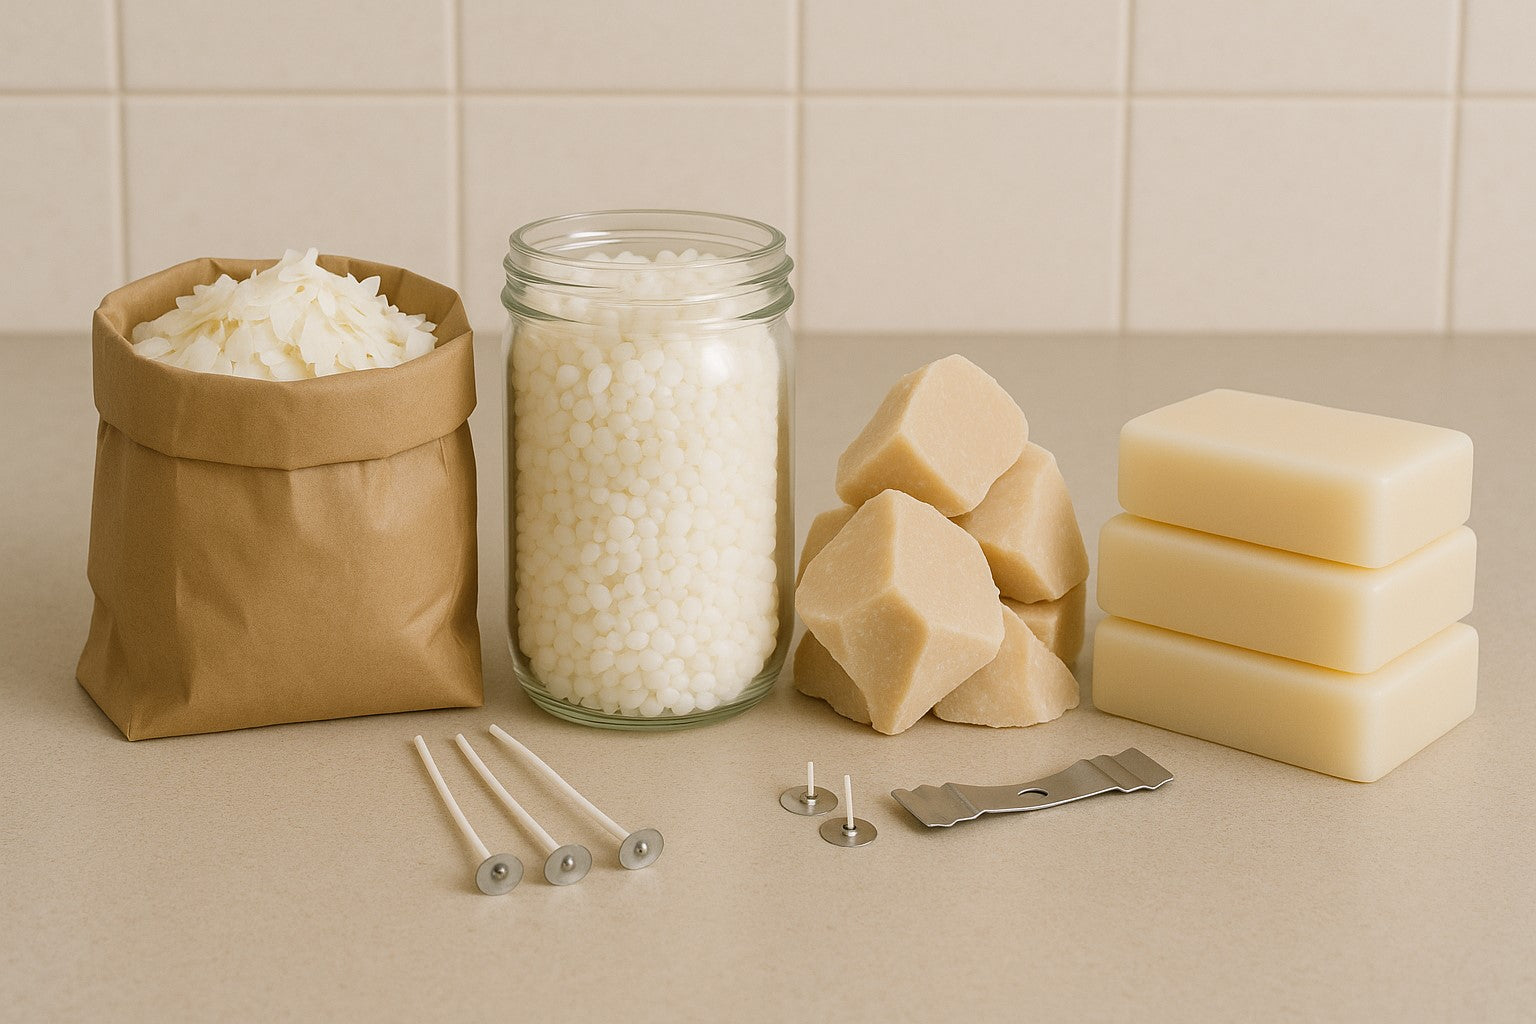
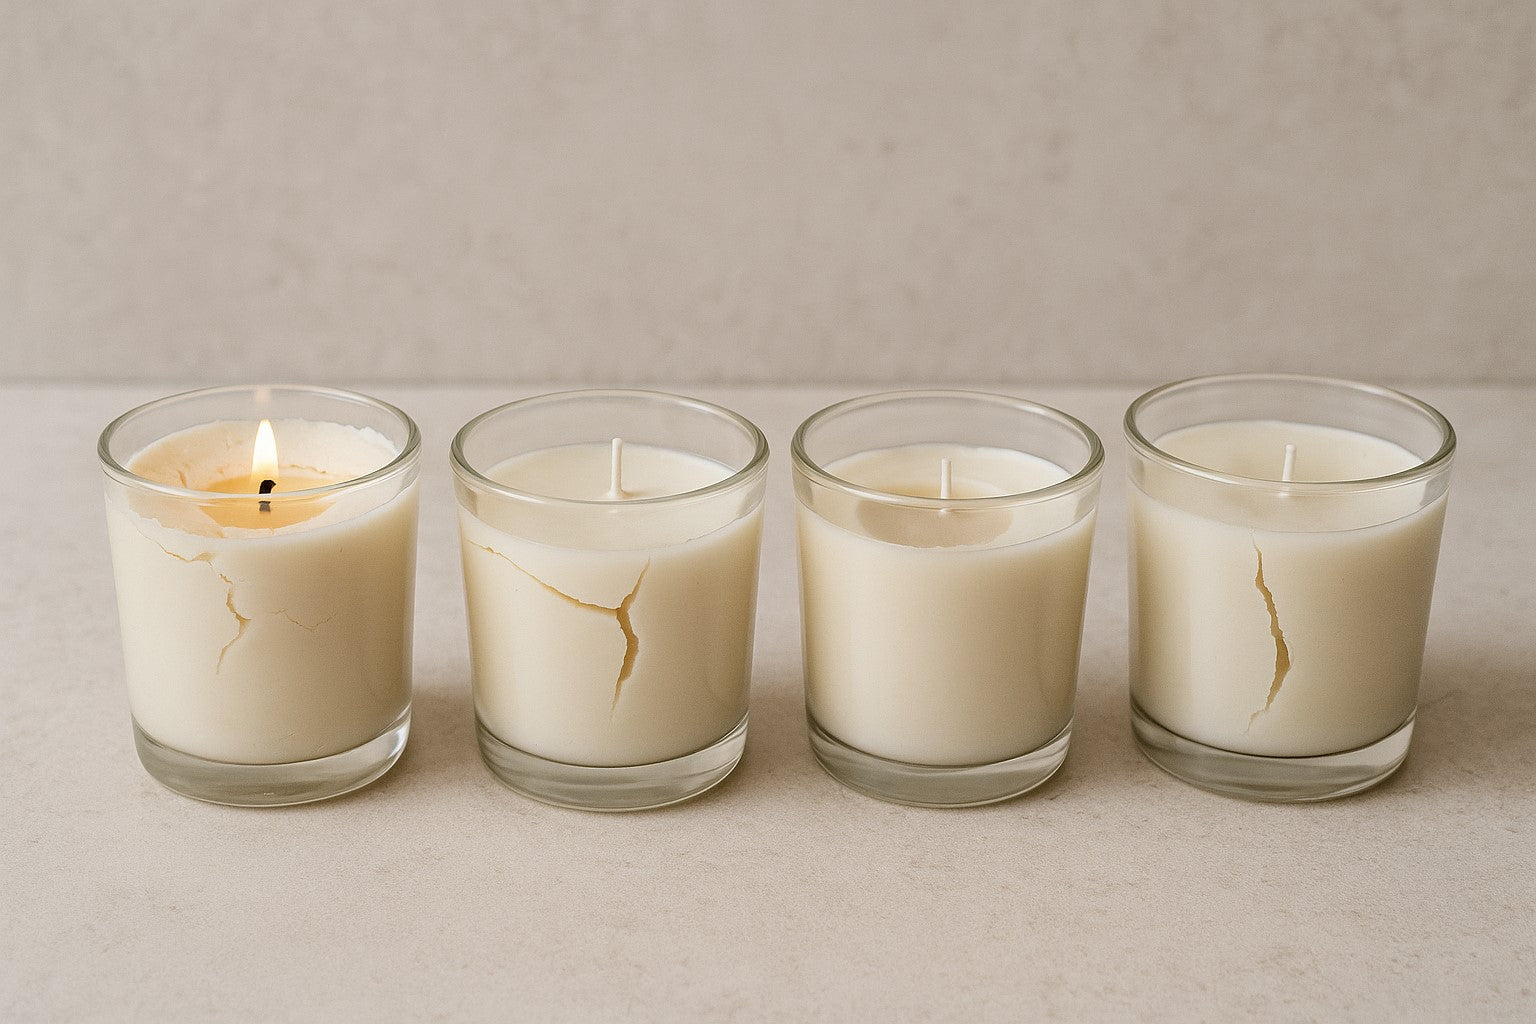
Wax Issues: Wet Spots, Air Bubbles, and Frosting Frustrations
5. Wet spots on the container
These small air gaps between wax and glass aren’t dangerous, but they can be unsightly. They often come from temperature fluctuations during cooling.
6. Frosting or bumpy tops
Especially common in soy wax, frosting appears as white, crystalline patches. It doesn’t affect performance but can be minimized with temperature control and additives.
What helps: Pour wax slowly at the right temperature, avoid cold containers, and let the candle cool gradually at room temperature.
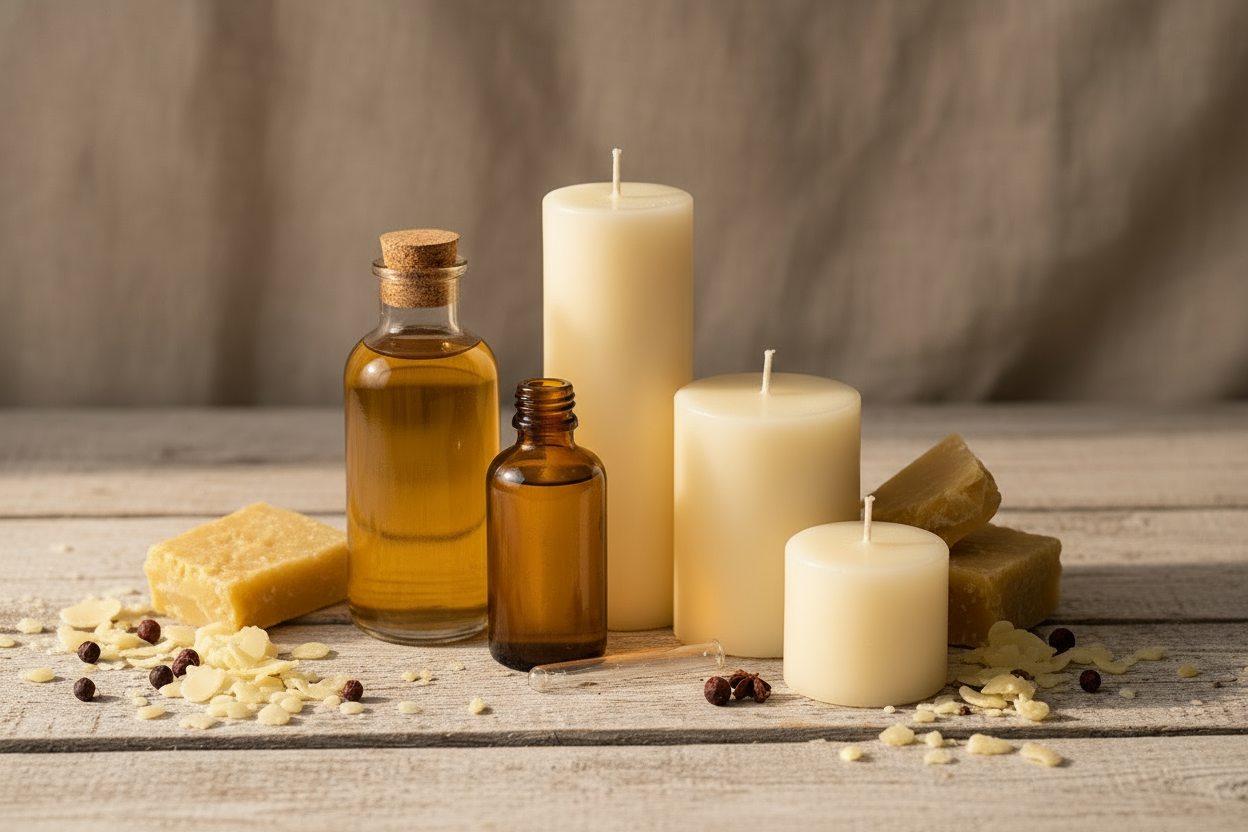
Scent Throw Struggles and Curing Time Confusion
7. Weak hot or cold throw
If your candle smells great in the bottle but fades when burned, the issue may be poor fragrance binding, incorrect fragrance load, or inadequate cure time.
8. Fragrance oil added at the wrong temp
Adding scent when wax is too hot can cause it to evaporate. Too cold, and it won’t bind properly with the wax.
Boost scent performance by:
-
Using the recommended fragrance load for your wax
-
Adding FO at the optimal temp (check the product page for guidance)
-
Curing for at least 3–7 days in a stable environment
Candle Shelf Life and Storage FAQs
9. Discoloration and scent fading over time
Exposure to sunlight, heat, or moisture can affect both the appearance and scent of your finished candles. Natural waxes are especially sensitive to UV.
10. Wicks that don't light after long-term storage
If candles are stored improperly, wicks can absorb moisture or oils, making them hard to light or causing them to sputter.
Storage solutions:
Keep finished candles in a cool, dry place away from direct sunlight. Use dust covers or lids to protect the surface and prevent scent loss.
A better burn starts with better habits. Whether you're troubleshooting your first candle or fine-tuning your holiday batch, knowing these common missteps helps you make more consistent, high-quality candles. And remember—always test, take notes, and give your creations time to cure.
Disclaimer: The Flaming Candle is not responsible for the performance of any recipes or techniques mentioned above. Always conduct your own testing and research to ensure safety and proper performance. Follow IFRA guidelines for fragrance usage and do not use additives or botanicals not approved for candle making.